4 – Master(tig) 2500, 2503, 3500, 3503 MLS™/ 0311
© COPYRIGHT KEMPPI OY
Master(tig) 2500, 2503, 3500, 3503 MLS™/ 0311 – 5
© COPYRIGHT KEMPPI OY
1
2
1.
2.
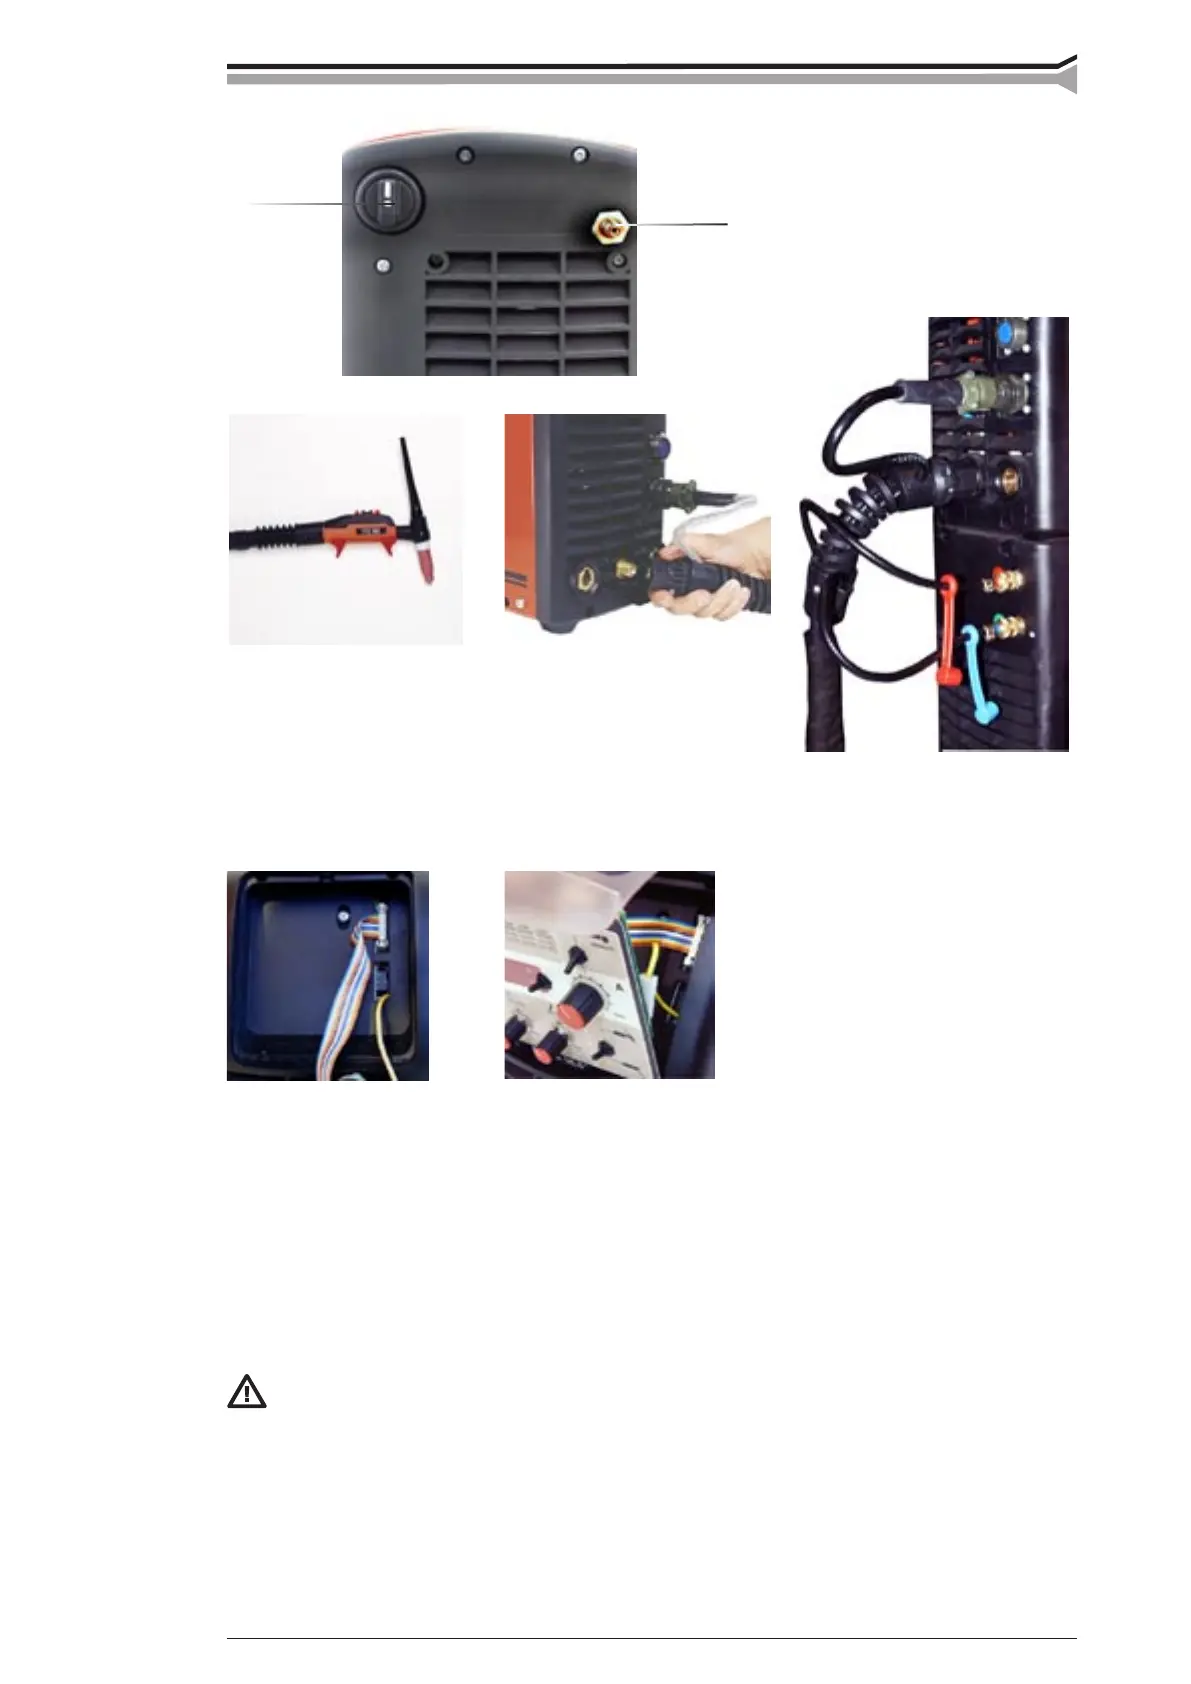
Rear of machine
1. Mains switch
2. Snap connector for gas
Torch Installing gas-cooled
torch
Installing water-cooled torch
2.5. INSTALLATION OF THE PANEL
1. Fasten the cable connectors of the function panel to the power source (2 pieces).
2. Place the bottom edge of the panel behind the securing clips on the machine. Then gently
push the upper part of the panel into place. Make sure that the cables do not get damaged, conti-
nue gently pushing the upper part of the panel until it clips into place.
2.6. MAINS CONNECTION
Only an authorised electrician is allowed to install mains cable and plug!
The power source is equipped with a 5-meter mains cable without plug. The plug may be instal-
led by an authorised electrician only. The fuse and cable sizes are given in the Technical data at
the end of this manual.
 Loading...