Ribbing
Cuello acanalado
Attaching ribbing Jsso easy and gives you a tantastic finish+
Poner cuellos acanatados es muyfdcil y da un aeabado fantdstico.
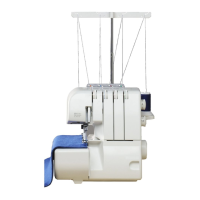
Machine Setting
Number of threads : 4
Number ot needles 2
Differential feed ratio ; 1.0
Stitch length : 3
Needle thread tensions (Orange & Blue) 3 to 6
Upper looper thread tension fRed) : 3 to 6
Lower looper thread tension (Green) : 3 to 6
Needle plate setting knob S
Thread Polyester thread
Ajuste de la m6quina
Ntimero de hilos : 4
Ntbnero de agujas ,2
Relaci6n de avance diferenctat : 1.0
Longitud de puntada : 3
Tensiones de los hilos de aguja Inaranja y a_d) : 3 a 6
Tensifn del hilo det ojo-guia supertor (rojo) : 3 a 6
Tensifn del hilo dei ojo-guia infertor (verde) : 3 a 6
BorOn de posici6n de la ptaca de agtqas _ S
Hilo Hilo de polifster
J
5O
Method M_todo
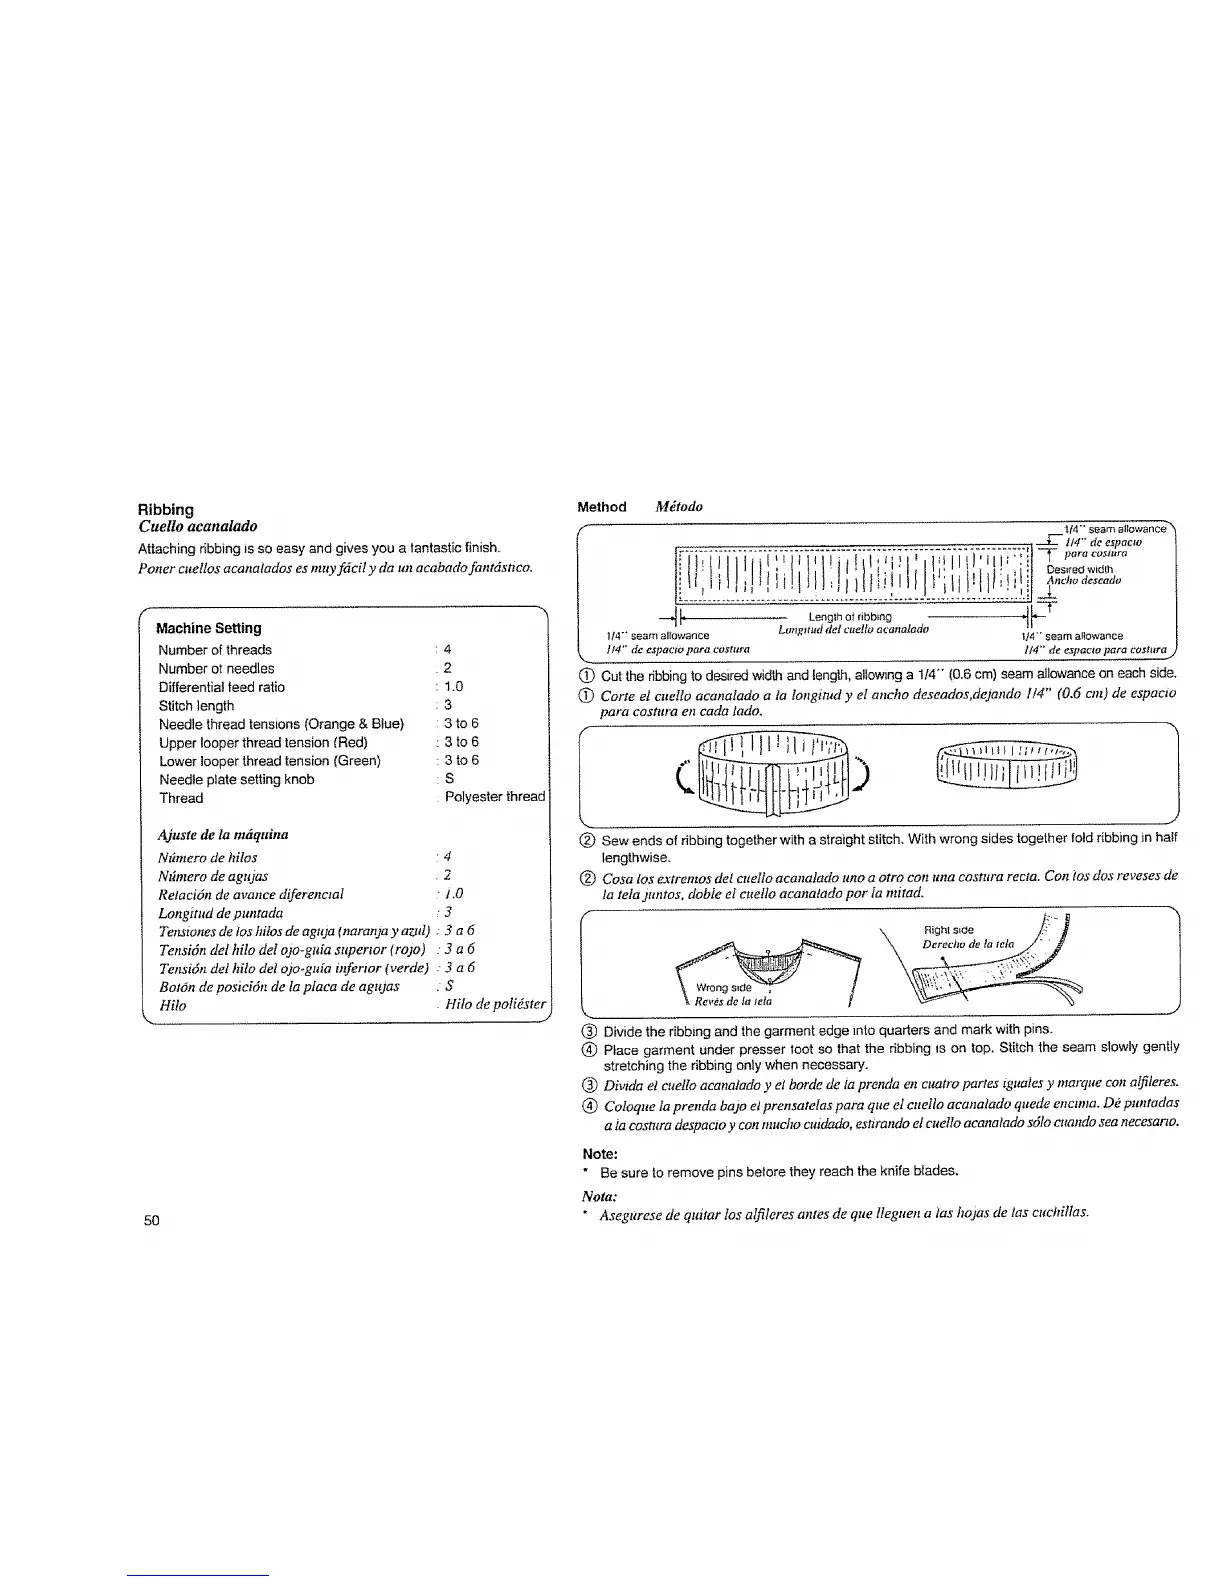
f 114- seam allowance_'
, _ ll4" de espacto
l , ' 1 : [ Desired w dlh
IN'" seam allowance Longnt_ddef caetfo acanalado 1/4- seam allowance
114" de espacto para costura 114" de espacto para eostar.u_a
(_ Cut the ribbing to desired width and length, allowing a 1/4- (0.6 cm) seam allowance on each side.
(_) Corte el cuello aeanafado a ta longimd y et ancho deseados, dejando 1/4" (0.6 cm) de espaclo
para costura en eada fado.
f-
(_) Sew ends of ribbing together with a straight stitch. With wrong sides together fold ribbing in half
lengthwise.
@ Cosa los extremos del cuelle aeanalado uno a otto con una costura recta. Con los des reveses de
la rein juntos, dobie et cuello acanatado por Ia mitad.
Derecho de tateta
@ Divide the ribbing and the garment edge into quarters and mark with pins.
(_ Place garment under presser loot so that the ribbing is on top. Stitch the seam slowly gently
stretching the ribbing only when necessary.
(_) Divida et cuel!o acanafado y el borde de ia prenda en cttatro partes tguales y marque con atfileres.
@ Coloque la prenda bajo el prensatelas para que el cuello acanatado quede enctma. D# puntadas
a la costltra despacto y con macho cuidado, esttrando el cuello acanatado sdlo cuando sea necesano.
Note:
" Be sure to remove pins belore they reach the knife blades.
Nota:
• Asegttrese de quitar los alfileres antes de que lleguen a (as hojas de 1as eudtillas.