B3000 SERVICE MANUAL
60-200807-000, REV C 59
K. BIN FULL SENSORS (Located on each side of the of the K-Cup bin cavity)
See REMOVAL of OUTER PANELS (page 36). After completion of panel removal, the technician
must attach an ESD wrist strap to themselves and the metal base plate of the brewer. See REMOVAL
of MAIN PCB MODULE (page 58). After completion of PCB removal:
To remove the LEFT side LED, as you face the brewer.
1. Remove the screw holding the LEFT LED in place.
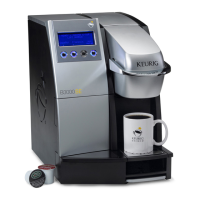
2. Disconnect the bin sensor. This connection is in the upper left corner of the main PCB area.
Unclip the MALE end of the connection from the chassis by squeezing the retaining tabs
together.
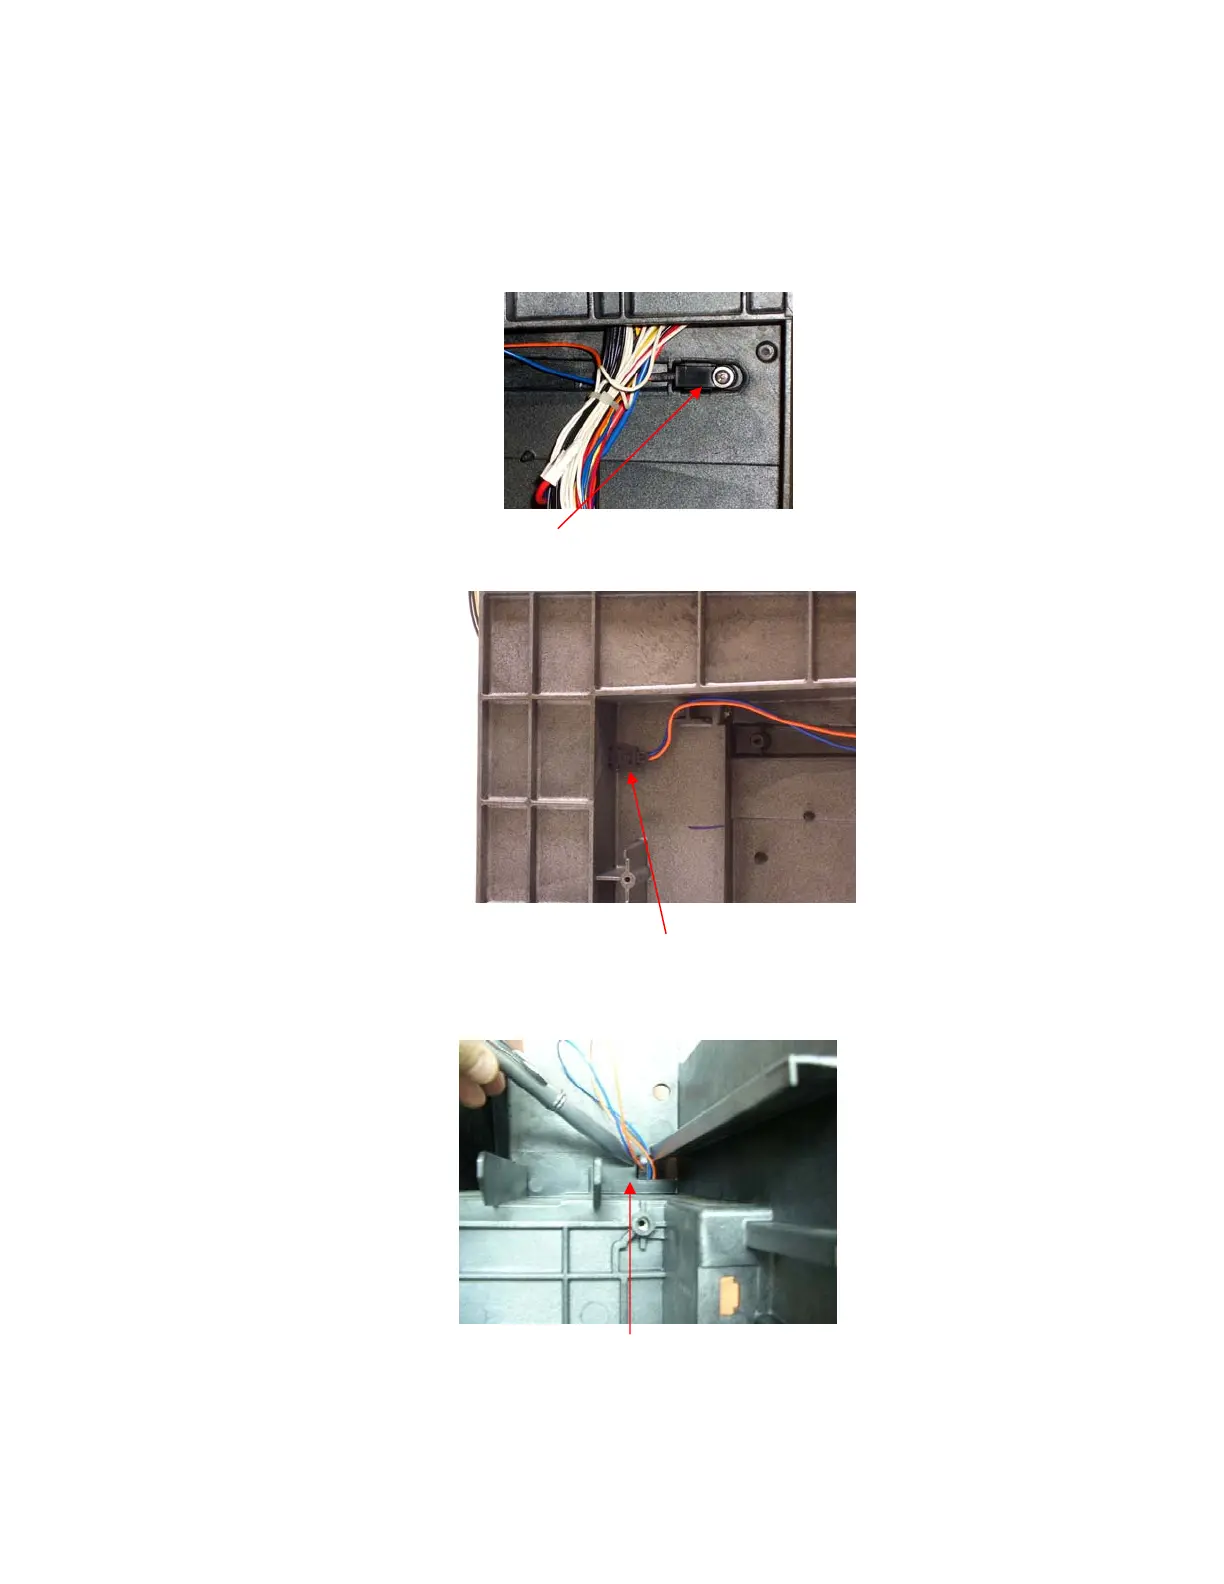
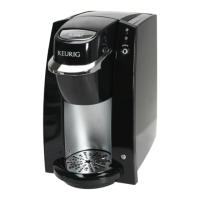
3. Carefully pull the MALE connector through the chassis opening behind the Cold Water Tank.