Do you have a question about the Key Automation VIPER SEZ7U and is the answer not in the manual?
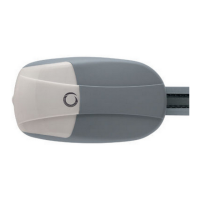
Overview of the electromechanical irreversible gear motor for garage doors.
Details the contents of the automation system and guide packages.
Lists different models, their power, and technical specifications.
Provides detailed technical data and usage limits for each model.
Specifies typical installation cables required for various connections.
Instructions for assembling the guide chain into three parts.
Steps for connecting the motor body to the guide rail.
Guidance on positioning and mounting the guide and motor onto the door.
Procedure for manually opening the door in case of power failure.
Diagram illustrating electrical connections for photocells, STOP, and step/step commands.
Explanation of the 2-digit LCD display behavior in normal operating mode.
Steps for preparing and powering on the system for customization.
Instructions for setting the limit of the door's opening position.
Instructions for setting the limit of the door's closing position.
Procedure to activate the motor's force learning process.
Guide to adjusting and saving the motor's force level.
Configuration of the radio control reception mode (rolling or fix code).
How to configure the photocell function for opening and closing.
Configuration of the time duration for automatic door closure.
Enabling or disabling the alarm for 2000 operating cycles.
Adjusting the open/stop/close command to only open.
Final step to save programmed data; abandoning programming will lose changes.
Procedures for saving and deleting radio transmitters.
Highlights common malfunctions, their causes, and solutions.
Procedures for testing components and the overall automation system.
Steps for commissioning the automation system after successful testing.
Instructions for connecting the 900KBPK battery charger.
| Brand | Key Automation |
|---|---|
| Model | VIPER SEZ7U |
| Category | Garage Door Opener |
| Language | English |


 Loading...