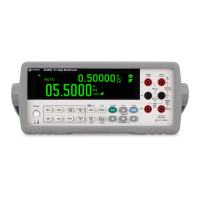
Getting Started 1
Keysight U3401A User’s and Service Guide 41
Performing diode and continuity test
The diode test measures the forward voltage of a semiconductor junction of
approximately 0.5 mA. The beeper will emit a single beep tone when the input
voltage is below +0.7 V (approximately 1.4 kΩ) and emits a continuos beep tone
when the input voltage is below 50 mV (approximately 100 Ω).
– Measurement method: 0.5 mA ± 0.2% constant current source, open-circuit
voltage limited to < +9 V
– Continuity threshold: 10 Ω fixed
– Input protection: 500 V DC or AC RMS
To test a diode, switch the circuit power off, and remove the diode from the circuit.
Then proceed as follows:
1 Press to toggle the diode and continuity function. The default function
is diode measurement.
2 Connect the red and black test leads to the input terminal as shown in
Figure 1-16 on page 42.
3 Connect the red test lead to the positive terminal (anode) of the diode and the
black test lead to the negative terminal (cathode). Refer to Figure 1-16 on
page 42.
4 Read the display.
5 Reverse the probes and measure the voltage across the diode again as shown
in Figure 1-17. Assess the diode according to the following guidelines:
– A diode is considered good if the multimeter displays OL in reverse bias
mode.
Disconnect circuit power and discharge all high-voltage capacitors before
testing diodes to avoid damaging the multimeter.
The cathode of a diode is indicated with a band.