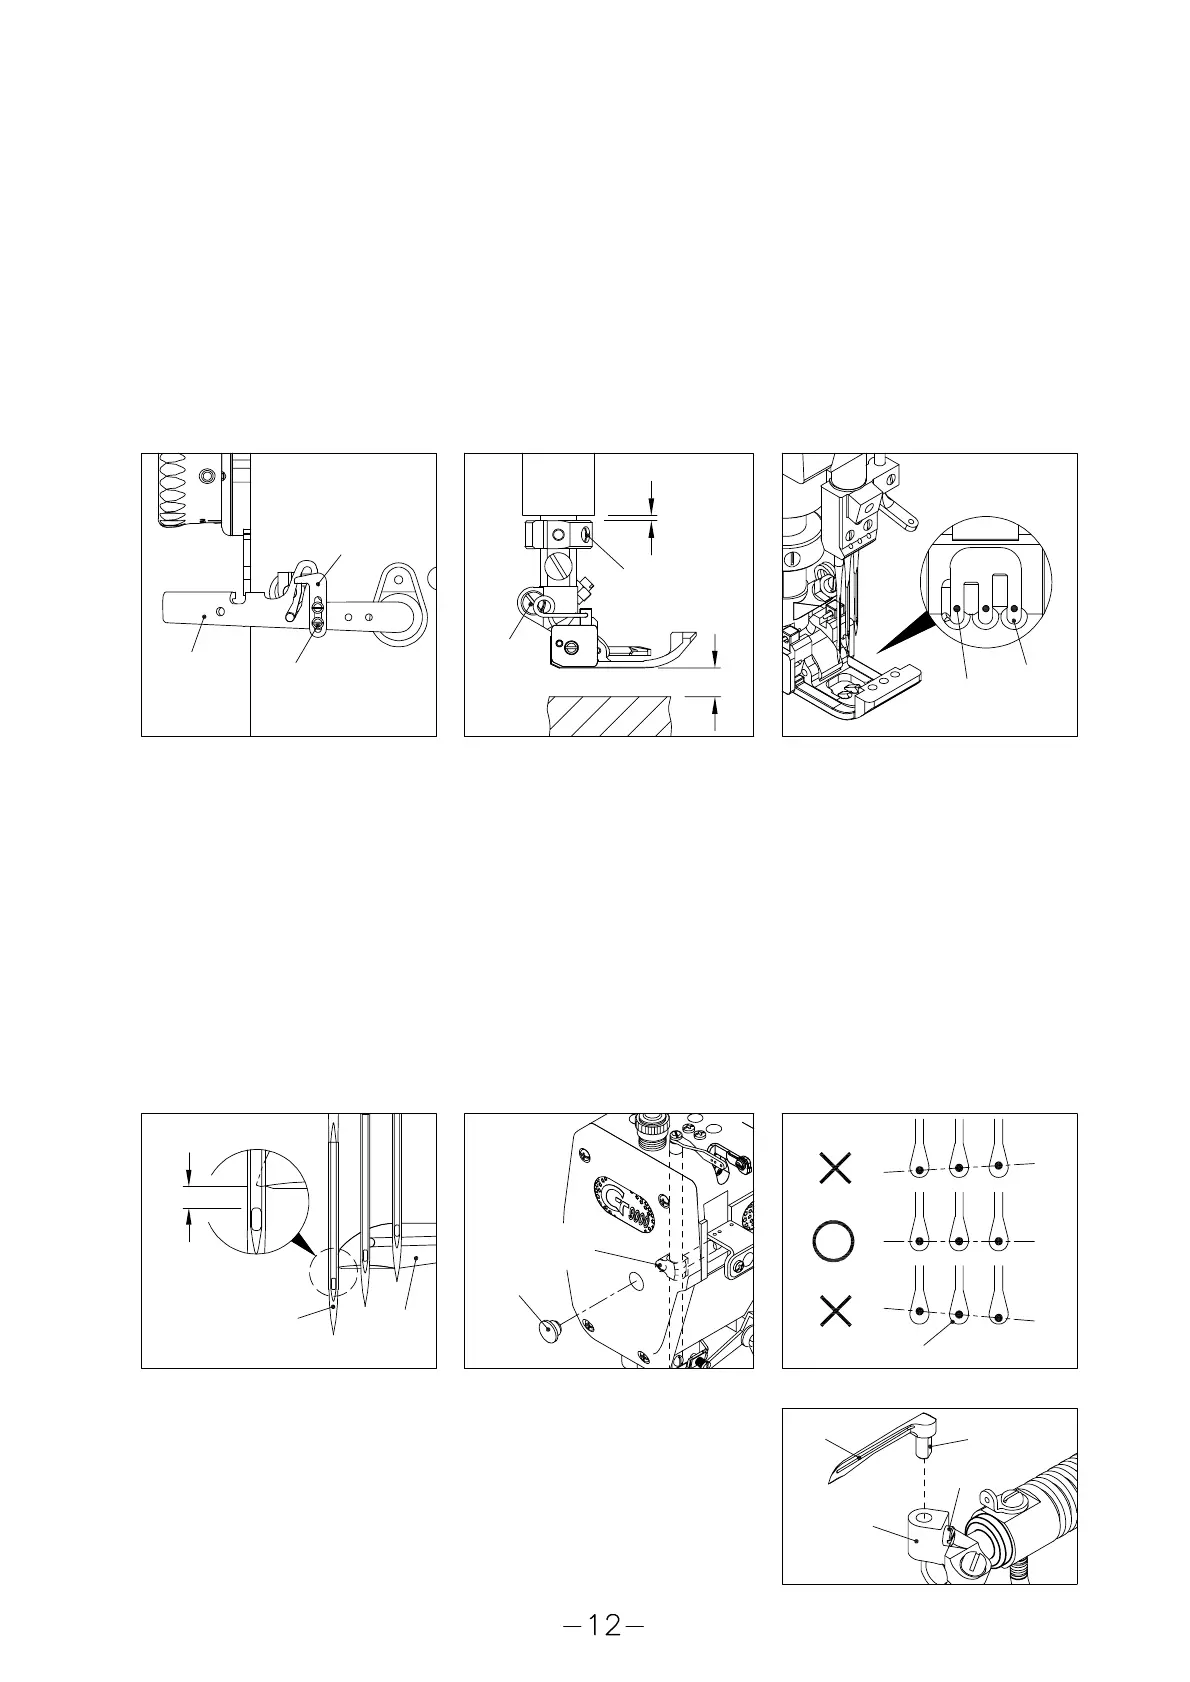
某些調整的工作,取下壓腳會比較容易進行,取出壓腳的方法如下,以螺絲(B) 放鬆止動鉤(C),放鬆
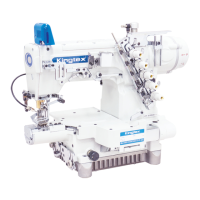
8-1. 更換壓腳及設定提昇高度 Adjusting presser foot and setting the height of presser foot
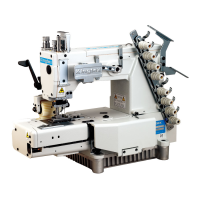
8-2. 針棒高度及針落點 Adjusting the height of needle bar and needle drop point
當結線鉤(I)與左針(H)交會時,鉤尖在針孔上方約0.5~1.0mm,為針棒高度設定標準位置。(圖 4)
It will be easier to conduct some adjustments by taking off the presser foot as follows : Loosening screw B in order
to loosen stopper B, loosening screw D and collar screw E pressing down level A, lifting needle bar in order to take
When the tip of looper I comes to the center of left needle H, the looper should position above the upper end of
Loosen the screw K of needle bar clamp and adjust the needle bar to get proper height. After adjustments, tighten
調整時取下針棒護蓋上的孔塞(J),放鬆螺絲(K),上下移動針棒到適當位置,在鎖緊螺絲(K)前必須
壓腳螺絲(D)、定位環螺絲(E),壓下扳手(A),昇高壓腳棒後即可拿出壓腳。(圖 1、2)
needle eye by 0.5~1.0 mm as this is the standard position for needle bar. (Fig. 4)
the screw K of needle bar clamp and make sure the needles are in the center of needle drop hole L of needle plate.
完成後依反向順序裝回,並且使壓腳針孔(G)對正縫針(F)。(圖 3)
crank point to the set screw Q, then, tighten set screw Q.
Insert looper M into looper holder P, make sure flat surface N. of looper
確實將結線鉤(M)貼緊承座(P)後再鎖緊螺絲(Q)。
將結線鉤(M)插入承座(P)的孔內,柄部平面部份(N)對正螺絲(Q),
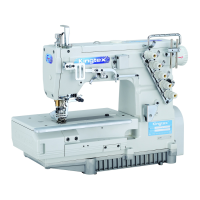
8-3. 安裝下結線鉤 How to install looper
A
B
C
5mm
0.2mm
D
E
F
G
H
0.5~1.0mm
I
J
K
M
P
Q
N
確認縫針對正針板孔(L)的中心。(圖 5、6)
Fig. 1 Fig. 2 Fig. 3
Fig. 4 Fig. 5
off presser foot. (Please refer to Fig. 1 and Fig. 2)
(Fig. 5、6)
right into the center of the needle hole G of presser foot. (Please refer to Fig. 3)
After finished the adjustment, please tighten the screw in reverse sequence and please make sure needle F point
L
Fig. 6
 Loading...