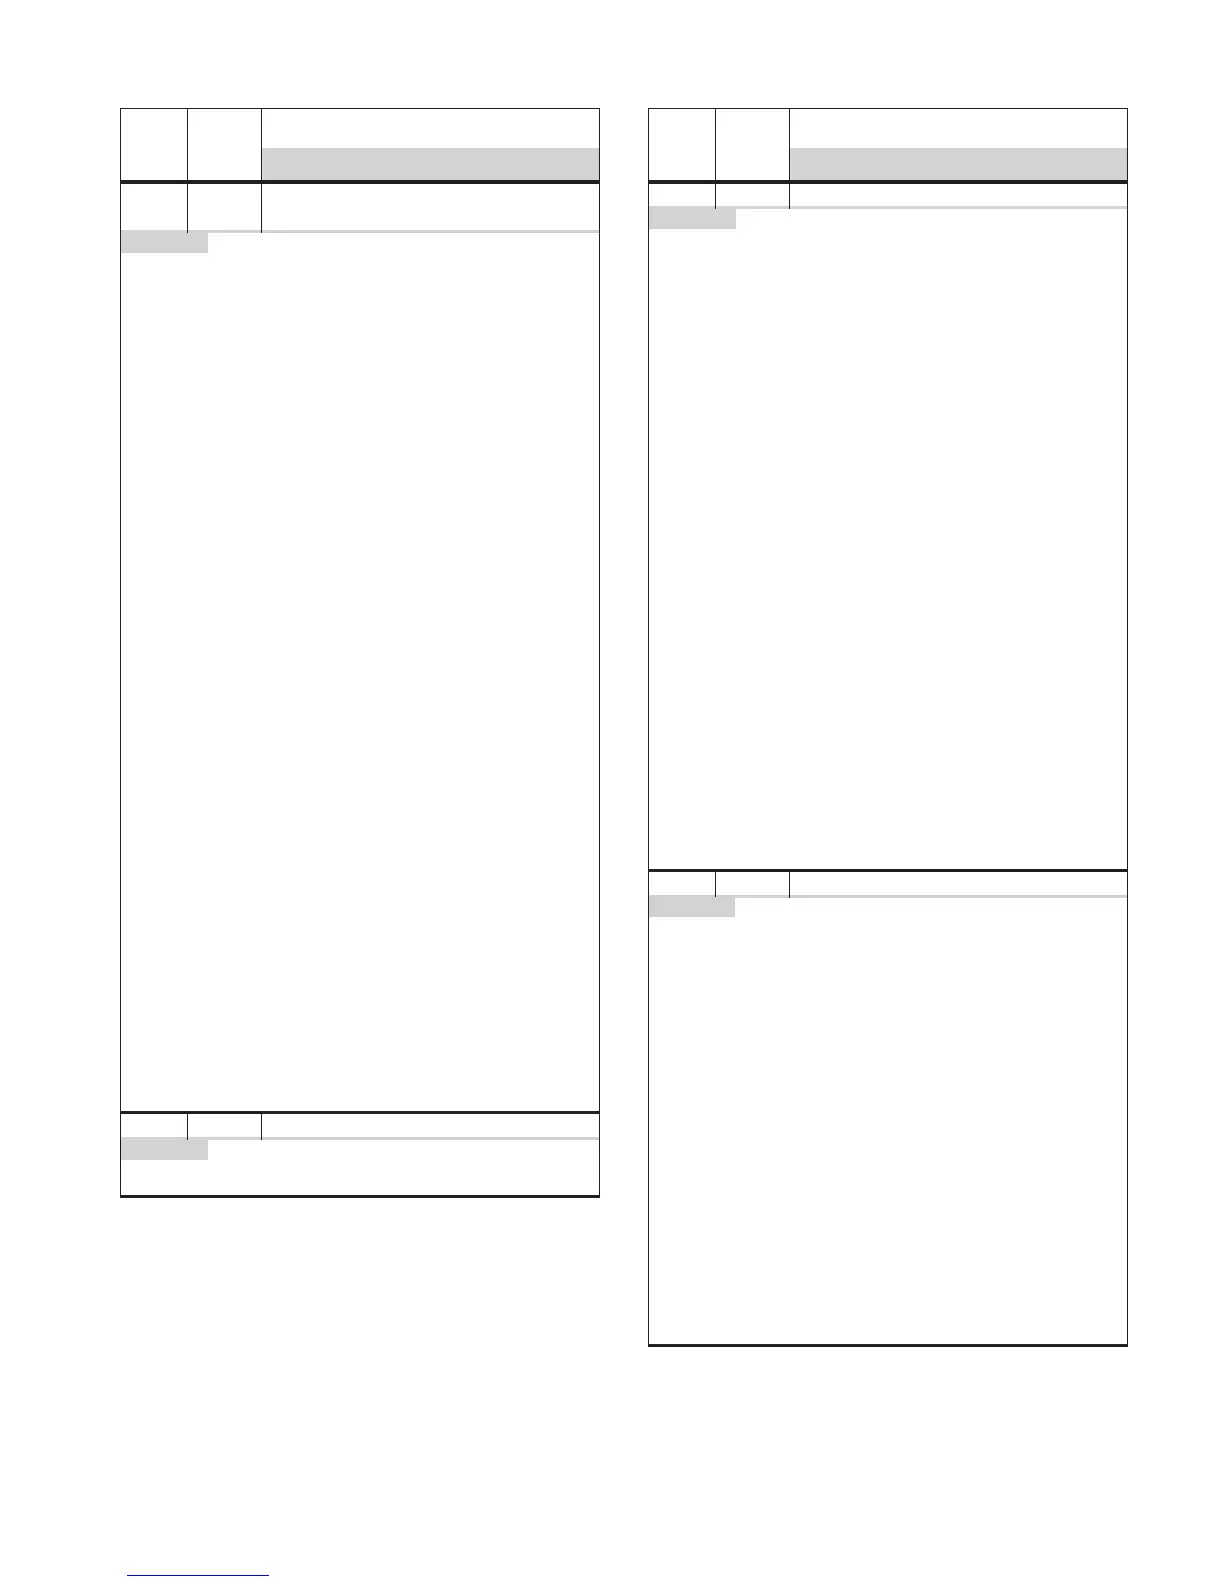
FAILURE
(Leftmost
2 Clock
Digits)
ERROR
(Rightmost
2 Clock
Digits)
MESSAGE/DESCRIPTION
SUGGESTED CORRECTIVE ACTION PROCEDURE
F6
E1
E2
COOK ovenOVERTEMPERATURE
CLEAN oven OVER TEMPERATURE
PROCEDURE:
Beforeproceeding, press OFF, OFF, STARTtoenter the Diagnostic
mode and verify theerror codes.
A. If oven is off,turn ovenon and inspect allofthe elements, convectring, bake
andbroil.Visually inspect all elementstoensurethey are not operating.
B. Unplugovenor disconnect power. Wait 10 seconds.
C. Plug in oven or reconnectpower.
D. Enter into theDiagnostic modebypressing OFF, OFF, START.
E.Press the BAKEkey to cycle the bake relay on and off as longasDiagnostics
modeiswithinthe first 120 secondsof powerup.
F. If the bake relaydoesnot cycle, proceedtostepG.
G. Unplugovenor disconnect power for 30 seconds.
H. Plug in oven or reconnectpower.
I. Enter into Diagnosticsbypressing OFF, OFF, START.Press the BAKEkey and
cyclerelay on and off.
If the bake relaydoesnot cycleonand off, go to step P.
If the element does notcycle with the relay, go to step N.
If the element does cycleonand off, go to step J.
J.Press the BROILkey, while in Diagnostics mode, to cycle the broilrelays. Press
BROILkey one timefor outerbroil element. Ensure outerbroil relayenergizes by
inspecting the outerbroil element.Press BROILkey again for innerbroil element.
Ensureinnerbroil relayenergizes by inspectingthe inner broil element.
If broilrelay does not turn on andoff,gotostepP.
If the element does notcycle with the relay, go to step N.
If the element does cycleonand off, go to step K.
K. Press the CONVECT key,while in Diagnostics mode, to cycle the convect relay
on andoff.
L. If the convectrelay doesnot turn on andoff,gotostepP.
M. If the element does notcycle with therelay,gotostepN
.
N. Unplu
govenor disconnect power.
O. Check integrityofall harness wiresand connections between the appliance
managerand the electricalelements. Ensure allwiringand connections between
the appliance manager and elements, and the appliance managerand user
interfaceare intact and properlyseatedand that no wires areshorted or
damaged.
If the wiring connectionsare intact,gotostepQ.
If the wiring connectionsare damaged, go to step S.
P. Unplugovenor disconnect power.
Q. Replace the appliance manager. Go to step R.
R. Replaceuserinterface board. Go to step S.
S. Replace the harness.
T. Replaceall partsand panels before operating.
U. Plug in oven or reconnect power.
V. Verifyoperation is normal. Press OFF, OFF, STARTtoreenter Diagnostic mode
and complete checks.
F6
E3
MINI OVEN/WARM DRAWER OVER TEMPERATURE
PROCEDURE:
Ovenis not equipped with this feature. If error occurs, before
proceeding press OFF, OFF, STARTenter into Diagnostics modeand verify the error
codes,thenreplace userinterface with correctcontrolassociatedwiththis product.
FAILURE
(Leftmost
2 Clock
Digits)
ERROR
(Rightmost
2 Clock
Digits)
MESSAGE/DESCRIPTION
SUGGESTED CORRECTIVE ACTION PROCEDURE
F6
E4
USER INTERFACE/APPLIANCE MANAGERMISMATCH
PROCEDURE:
Before proceeding, press OFF, OFF,START to enter the Diagnostic
modeand verify the errorcodes.
A. Unplugovenordisconnect power. Waitfor 10 seconds.
B. Pluginovenorreconnect power.
C. Enterinto Diagnostics modebypressing OFF, OFF, START.
D. Press BAKE. Ensure bake relay energizesbyinspecting bakeelement.
E. Press BROILone time for outer broilelement.Ensure outer broil relay energizes
by inspectingthe outer broilelement.
F. Press BROILagain for inner broil element.Ensureinner broil relay energizesby
inspectingthe inner broilelement.
G. Press SELFCLEAN to drivedoorlatch to lock door.Press again to reset the
doorlatch to normal state.
H.Press COOKtoactivate the low speedcooling fan. Press againfor high speed.
I. If allfunctions are working, the AM andUIare properly working.
J. Exit Diagnostics by pressing OFF.
K.PressBAKEand ensure that bake relay energizesand the control entersthe
bakepreheat.Waitupto60seconds to ensure error has been resolved.Iferror
returns, proceedtostepL.
L. Unplugovenordisconnect power.
M. Removecovers for accessto ovencontrols.
N. Replace the appliancemanager.Ensureall connections are properlyseated. Go
to step O.
O. Replace all parts and panels before operating.
P. Pluginovenorreconnect power.
Q. Press BAKEand ensure the bake relay energizesand the control entersinto
bake/preheat. Waitupto60 seconds to ensureerrorhas been resolved.
If error returns,gotostepR.
R. Replace the user interface.Ensureall connectionsare properly seated. Go to
step S.
S. Replace all parts and panels before operating.
T. Pluginovenorreconnect power.
U. Press BAKEand ensure the bake relay energizesand the control entersinto
bake/preheat. Waitupto60 seconds to ensureerrorh
as been resolved.
F6
E5
NO CAVITY SIZE COMMAND
PROCEDURE:
Before proceeding, pressOFF,OFF,STA RT to enter Diagnostics mode
andverify the error codes.Control should immediately powerupincavity sizeselect
mode. Usingkey #6 (down) andkey #3 (up) scroll through to locate thecorresponding
cavity size. Oncelocated, pressthe startkey to accept thepropercavitysizefor the
unit being programmed. Controlshouldreinitialize to cavity size selected. If error
returns at least60 seconds aftercavity size has been set, go to step A.
A. Unplug oven or disconnect power. Wait 10 seconds.
B. Pluginovenorreconnect power.
C. Enterinto Diagnosticsmodebypressing OFF, OFF, START. Press #6
(down) once main diagnosticsscreenappears. Screen should identifycavitysize
for unit being programmed. If this is incorrectly shown,press CLOCKtoedit
current programmedsize. Press#6(down)tolocate thepropercavitysize. Once
located, pressSTA RT to accept thenew cavity size. Controlwillreset andinitialize
the newcavitysize programmed.Wait for60 seconds to ensure errorhas been
corrected. If errorreturns, proceedtostepD.
D. Unplug oven or disconnect power.
E. Replaceuserinterface oven control ensuringall connectionsare properly seated
andgotostepF.
F. Replaceall partsand panels before operating.
G. Pluginovenorreconnect power.
H. Controlmay powerupincavitysize selectmode. Setcavity sizeasoutlined in
step Cbylocating proper cavitysizeand pressingSTA RT oncelocated.
I. Wait foratleast6
0 seconds to ensure erro
rhas beencorrected.



 To Next Page