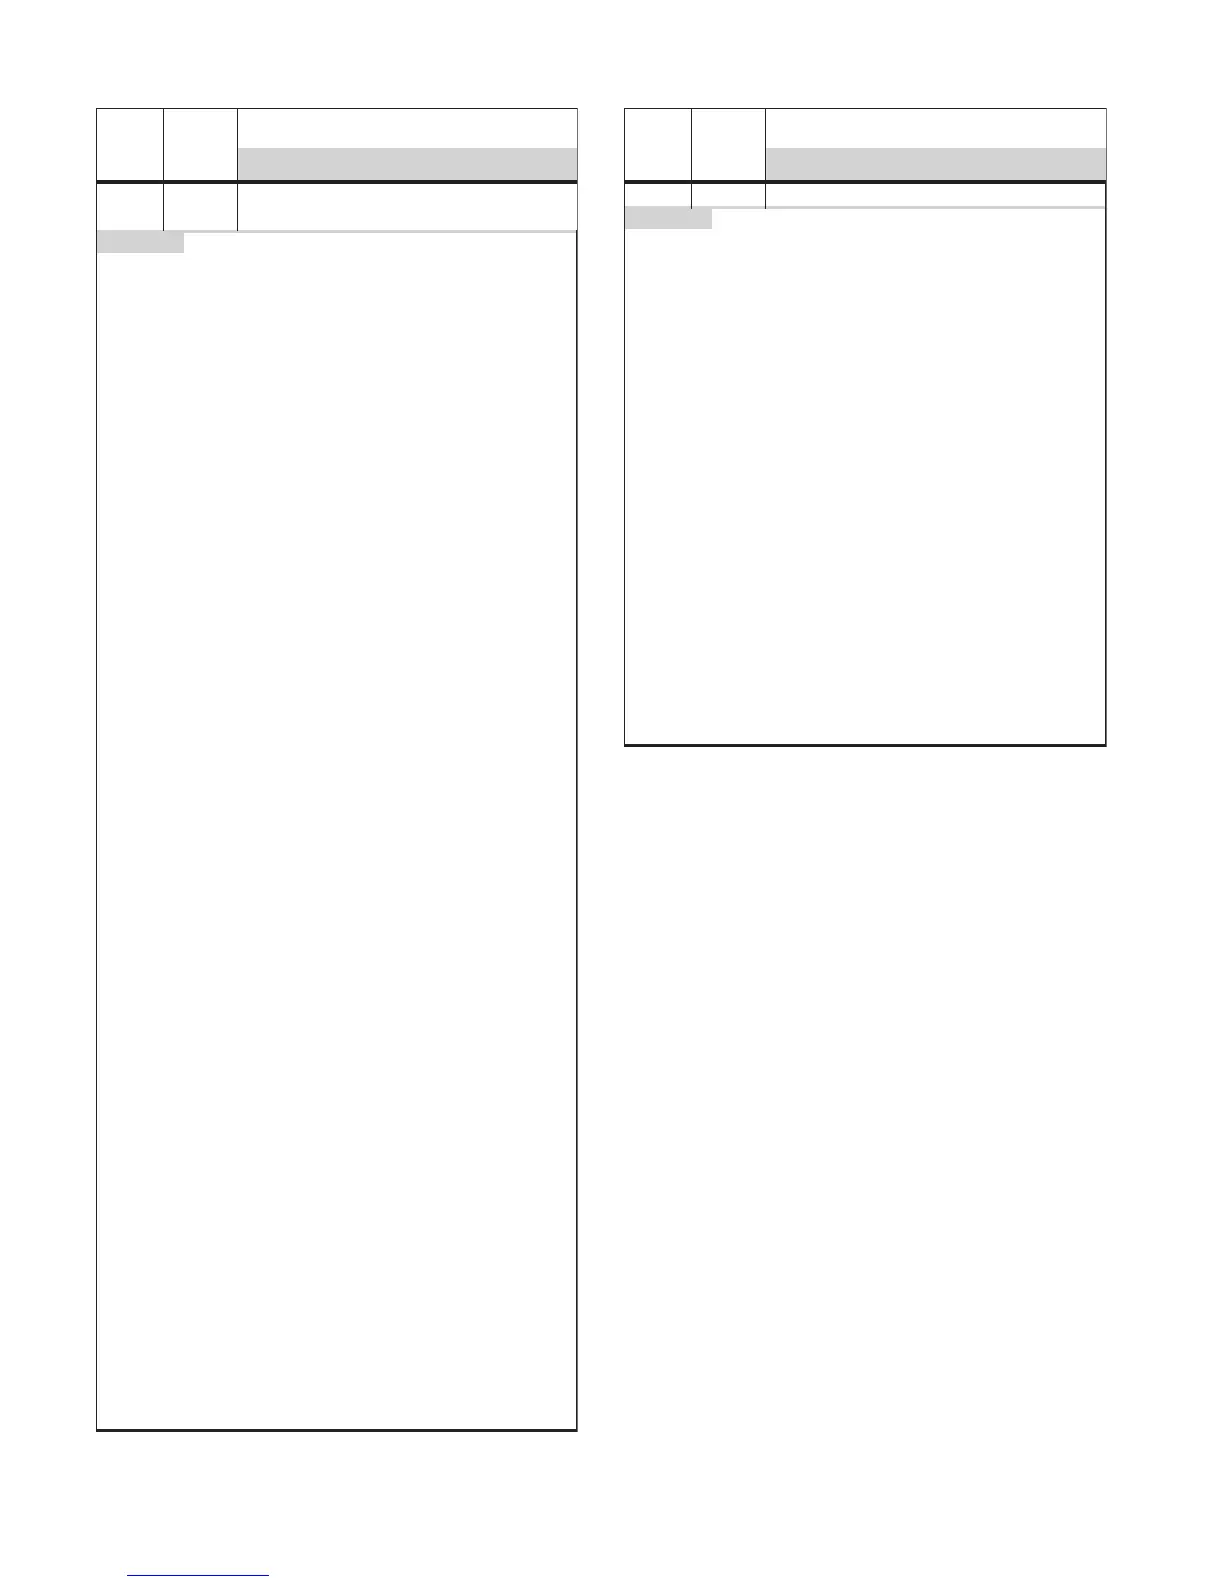
FAILURE
(Leftmost
2 Clock
Digits)
ERROR
(Rightmost
2 Clock
Digits)
MESSAGE/DESCRIPTION
SUGGESTED CORRECTIVE ACTION PROCEDURE
F5
E0
E1
DOORAND LATCH SWITCHDONOT AGREE
DOOR LATCH NOT OPERATING.
PROCEDURE:
Beforeproceeding, press OFF, OFF, STARTtoenter the Diagnostic
mode and verify theerror codes.
TO VERIFY DOORSWITCH:
A. Whilein diagnostics, open the oven door.The second digit on the clockdisplay
shouldtogglebetween “1” and “0”as the door opensand closes. Whendooris
closed displayshould show“1”, whenthe door is open display shouldshow“0”.
If the second digitonthe clockdisplay did not toggle,gotostepB.
If the digit did nottoggleafter replacingthe door switch, go to step D.
If the digit did nottoggleafter replacingthe door switchharness,gotostepF.
B. Unplugovenor disconnect power.
C. Replacedoor switch. (Ifdoor switchis integral to the door/latch motor
assembly, replace the entire door/latch motor assembly). Go to step H.
D. Unplugovenor disconnect power.
E.Check the integrityof the harnesswires and connections betweenthe
appliance managerand the door/latch assembly. Ensure thereare no shorted
or pinched wires.
If the wiring harnessis pinched or damaged, replacethe door switchharness.
Go to step H.
If wiring harnessisgood, go to step H.
F. Unplugovenor disconnect power.
G. Replaceappliance manager. Go to step H.
H. Replaceall partsand panels before operating.
I.Plug in oven or reconnect power.
J. Press OFF, OFF, STARTto reenter Diagnostic mode. RepeatstepA.
TO VERIFY DOORLATCH SWITCH/MOTOR ASSEMBLY:
A. Whilein diagnostics, pressthe CLEAN key within the first 120 secondsofpower
up to cycle the latch motor to the lockedposition. “1” shoulddisplay in the first
clockdigit fromthe leftwhenlocked.Press the CLEANkey to cycle the latch
motor to theunlockedposition. Thefirst clock digitshould toggleto “0” when the
door is unlocked.
If the digit did nottoggle, go
to step B.
If motor runs continuously
,waituntil motor reaches theunlockedposition,open
the door and pressthe OFF key.Gotostep B.
If motor didnot run go to step H.
If the digit did nottoggleafter replacing the door latch motor assembly, go to
step D.
If the digit did nottoggleafter replacing the door switchharness,gotostepF.
If the digit did toggle,doorlatch switchis operatingcorrectly.
B. Unplugovenor disconnect power.
C. Replacedoorlatch motor assembly. Go to step K.
D. Unplugovenor disconnect power.
E. Check integrityofall harness wiresand connectionsbetween the appliance
managerand the door latch switchassembly. Ensure no wiresare pinched or
damaged.
If the wiring harnessisdamaged replace the door latchswitchharness.Goto
step K.
If wiring is good go to step K.
F. Unplugovenor disconnect power.
G. Replaceappliance manager. Go to step K.
H. Unplugovenor disconnect power.
I. Check integrityof latch mechanism, ensuringalignment of latch assemblyand
door slot. Correct any mechanical malfunction.
J. Check continuity of the latch motor andelectrical connections betweenthe
appliance managerP8and motor.
If the continuity is present, replaceappliance manager. Go to step K.
If the continuity is notpresent,gotostepK.
K. Replaceall partsand panels before operating.
L. Plug in oven or reconnectpower.
M. Press OFF, OFF, STARTto reenter Diagnostic mode. RepeatstepA.
FAILURE
(Leftmost
2 Clock
Digits)
ERROR
(Rightmost
2 Clock
Digits)
MESSAGE/DESCRIPTION
SUGGESTED CORRECTIVE ACTION PROCEDURE
F6
E0
LOST COMMUNICATIONS
PROCEDURE:
Before proceeding, press OFF, OFF,START to enterDiagnostics
modeand verify the errorcodes.EnsureAMsoftware, UI software and EEPROM
CHECKSUM versionsappearonthe lower text line. If AM software version doesnot
appear,UIand AM maynot be communicating.
A. Unplugovenordisconnect power.
B. Open the back panelsand make sure the P6 connectoronthe appliance
manager and P2 connector on the userinterface are fully inserted.Ifitisnot,
plug in to the connectorand proceedtostepF.Ifitis plugged in, go to step C.
C. Visually inspectall the wires between P6 on the appliancemanagerand P2 on
the user interface. Makesurewires arenot cutorpinched.Ifthe wires appear to
be intact, performacontinuity check betweenP6-1ofthe
appliance managerand P2-1 of theuser interface board. Complete for
P6-2 (AM) to P2-2 (UI), P6-4 (AM) to P2-4 (UI),and P6-5 (AM) to P2-5 (UI).
All the measurements made shouldbelessthan5
Ω
.
If anyofthese measurements exceedthe 5
Ω
,gotostepE.
If the measurementsare less than 5
Ω
reconnect P2, go to step D.
D. Replace the appliancemanager.GotostepF.
E. Replace the wiring harness(signal). Go to step F.
F. Ensure allwiring connections are properlyinserted.
G. Replaceall parts and panels before operating.
H. Pluginovenorreconnect power.
I. Observefor longer than 1minuteto determine if error has been repaired.
J. If error does notappear,initiate a bakecycle.Let thecycle runfor at least60
seconds.
If no erroroccurs,cancel thecycle, the problemhas been repaired.
If error occurs again, restartthe troubleshooting procedureatstepA.(Except in
step D, replacethe user interfaceboard if appliancemanagerhas alreadybeen
replaced.)



 To Next Page