2-12
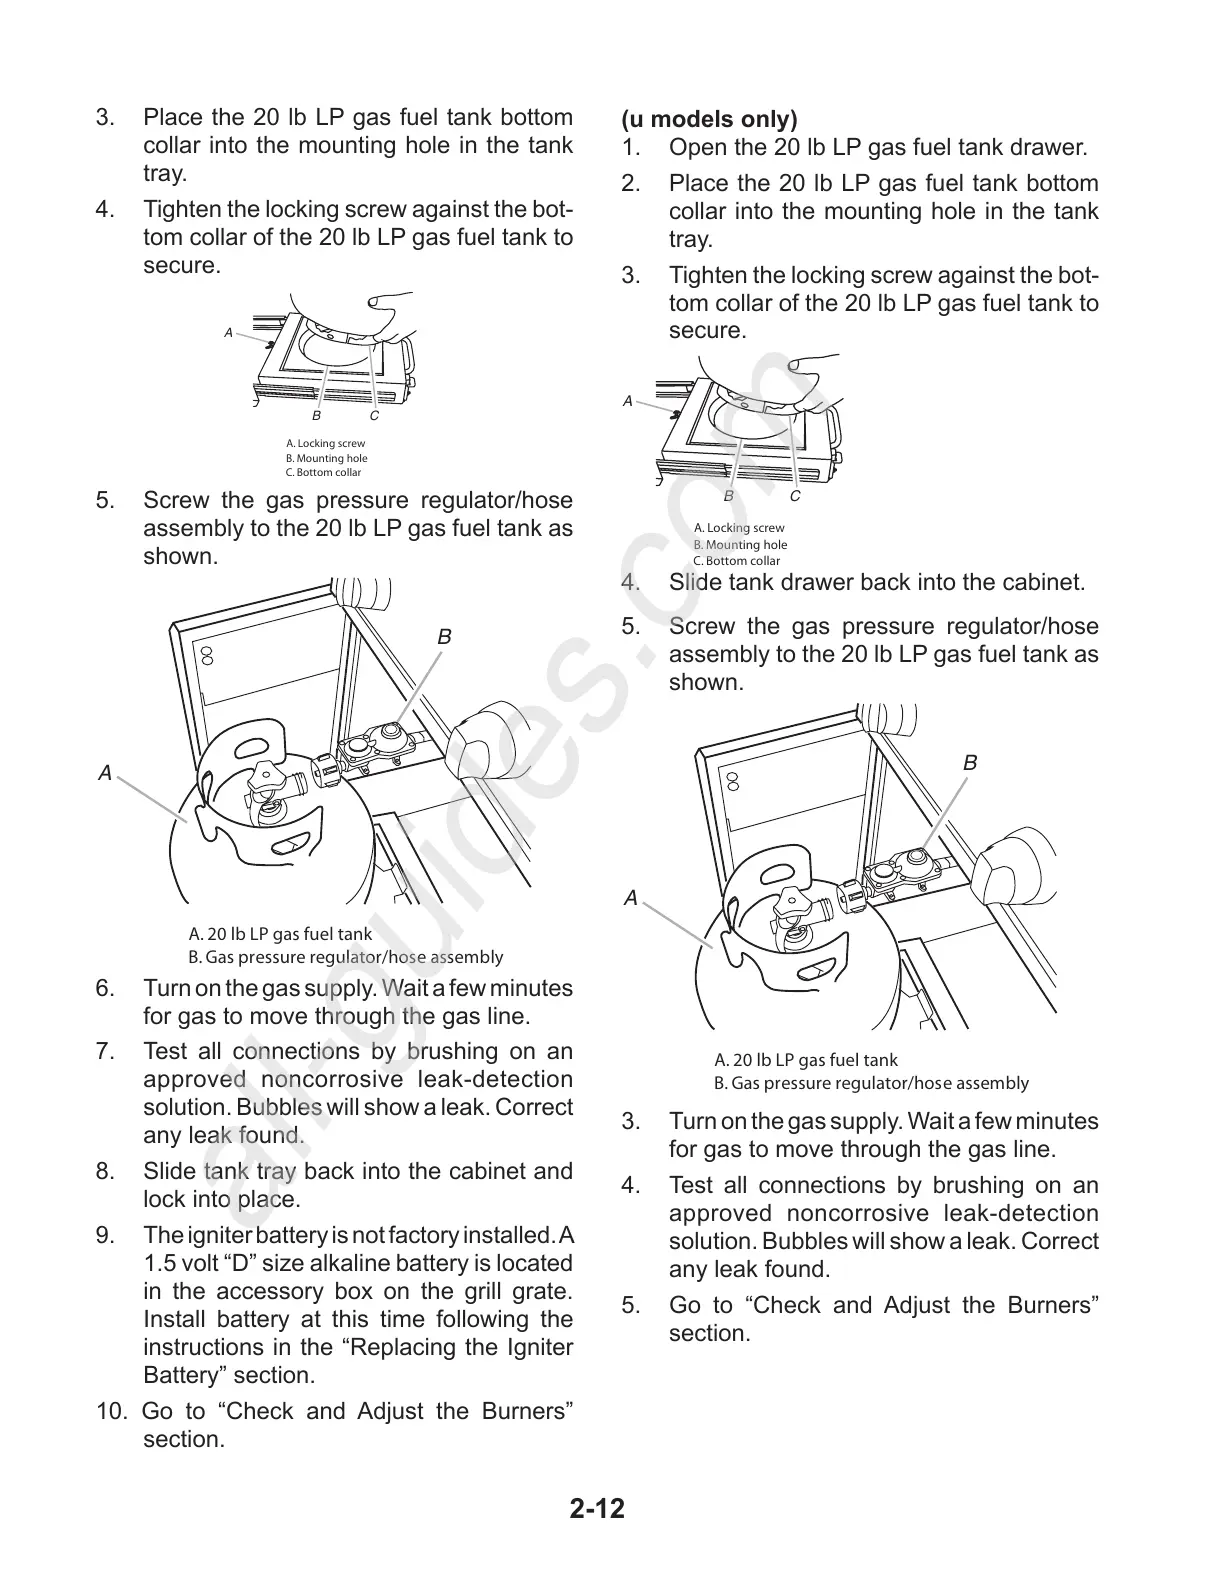
3. Place the 20 lb LP gas fuel tank bottom
collar into the mounting hole in the tank
tray.
4. Tighten the locking screw against the bot-
tom collar of the 20 lb LP gas fuel tank to
secure.
A. Locking screw
B. Mounting hole
C. Bottom collar
A
B C
5. Screw the gas pressure regulator/hose
assembly to the 20 lb LP gas fuel tank as
shown.
A. 20 lb LP gas fuel tank
B. Gas pressure regulator/hose assembly
A
B
(u models only)
1. Open the 20 lb LP gas fuel tank drawer.
2. Place the 20 lb LP gas fuel tank bottom
collar into the mounting hole in the tank
tray.
3. Tighten the locking screw against the bot-
tom collar of the 20 lb LP gas fuel tank to
secure.
A. Locking screw
B. Mounting hole
C. Bottom collar
A
B C
4. Slide tank drawer back into the cabinet.
6. Turn on the gas supply. Wait a few minutes
for gas to move through the gas line.
7. Test all connections by brushing on an
approved noncorrosive leak-detection
solution. Bubbles will show a leak. Correct
any leak found.
8. Slide tank tray back into the cabinet and
lock into place.
9. The igniter battery is not factory installed. A
1.5 volt “D” size alkaline battery is located
in the accessory box on the grill grate.
Install battery at this time following the
instructions in the “Replacing the Igniter
Battery” section.
10. Go to “Check and Adjust the Burners”
section.
5. Screw the gas pressure regulator/hose
assembly to the 20 lb LP gas fuel tank as
shown.
A. 20 lb LP gas fuel tank
B. Gas pressure regulator/hose assembly
A
B
3. Turn on the gas supply. Wait a few minutes
for gas to move through the gas line.
4. Test all connections by brushing on an
approved noncorrosive leak-detection
solution. Bubbles will show a leak. Correct
any leak found.
5. Go to “Check and Adjust the Burners”
section.
All manuals and user guides at all-guides.com
all-guides.com