KNOX COMPANY | 800-552-5669 | TECHSUPPORT@KNOXBOX.COM | KNOXBOX.COM | OPE-KSCNFG-0292-I | PAGE 11 of 25
Adding a Network Template
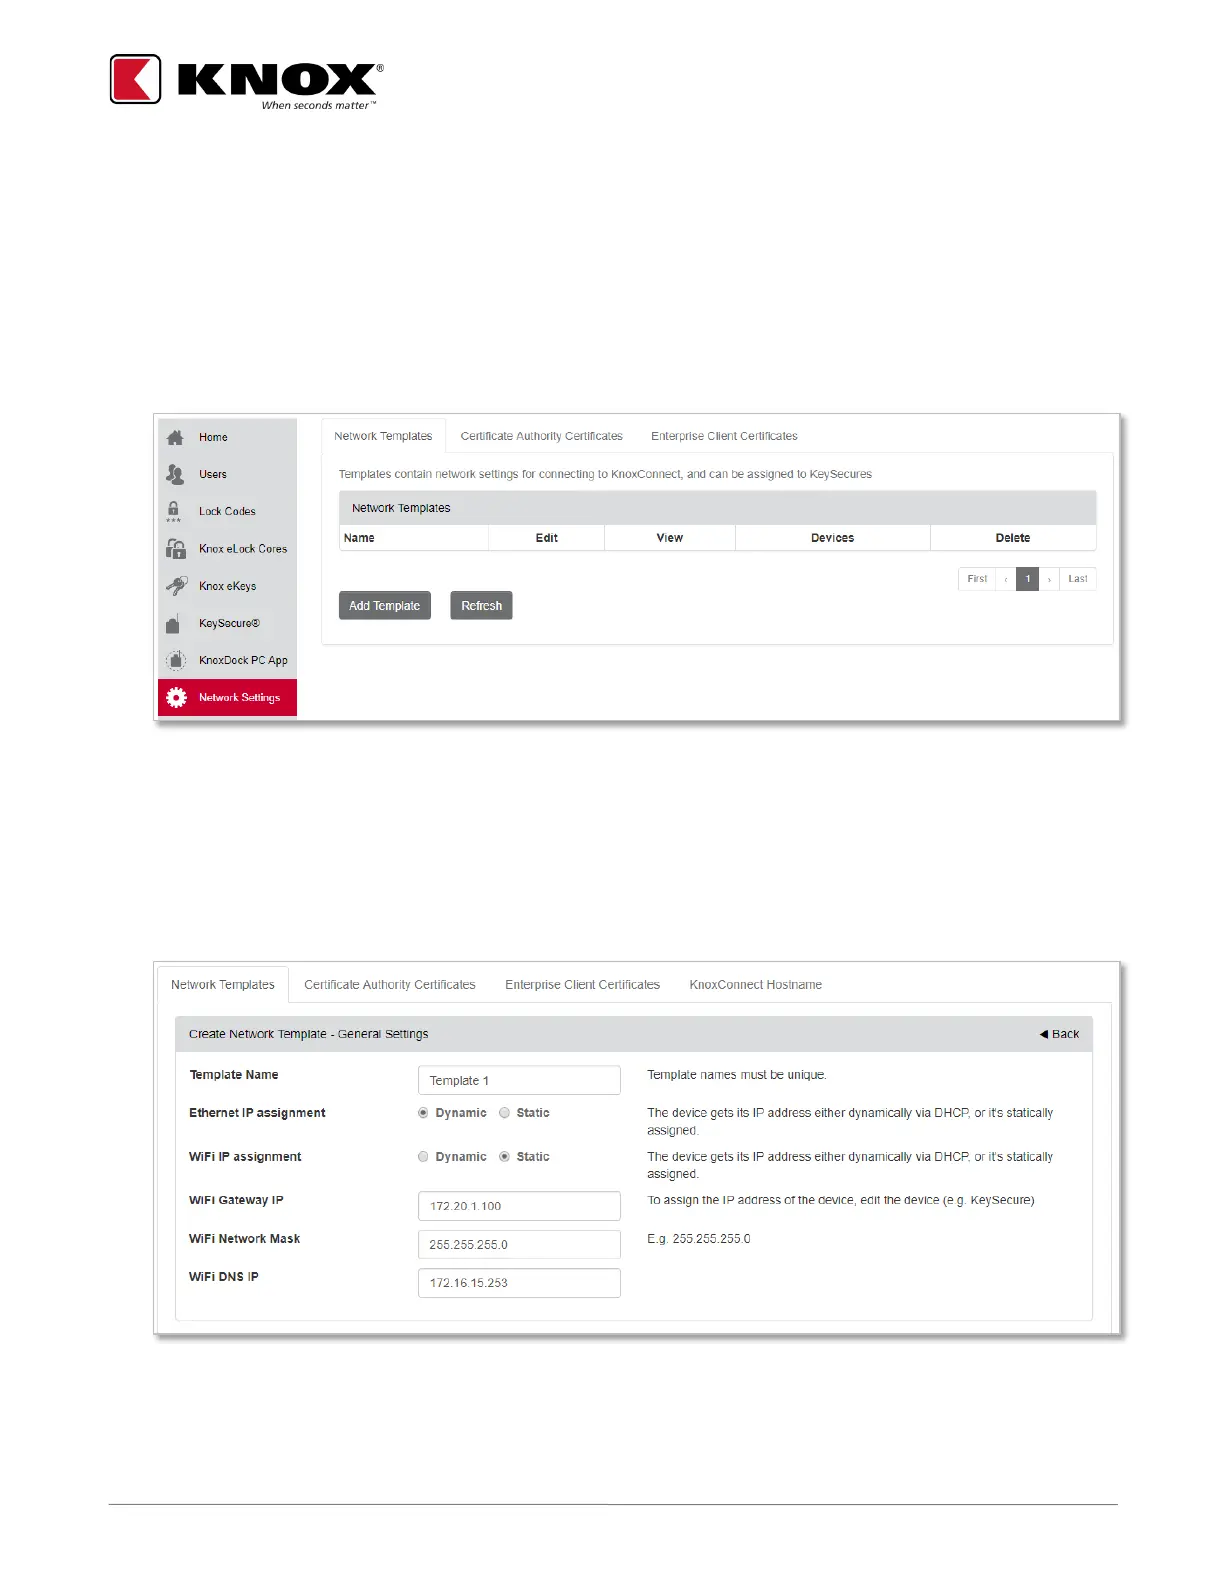
Network connection settings are established by creating Network Templates. The Network Template contains
profiles for networks that the Knox devices will use to communicate with KnoxConnect Cloud and can be applied
to one or more Knox devices allowing for quick configuration. Each template can support up to seven network
profiles, which can be prioritized. To begin, a default network access template must be established.
1. From the KnoxConnect side menu, select Network Settings and then select the Network Templates tab.
2. Select Add Template Button.
3. Provide a name for the template in the Template Name field.
4. Select IP assignment type for Ethernet and WiFi:
a. If devices will get their IP addresses dynamically using DHCP, select the Dynamic radio button.
b. If devices will have static IP addresses, select the Static radio button and populate the Gateway IP,
Network Mask and DNS IP fields.
Note: Knox devices are unable to switch between Ethernet and WiFi. Ignore IP assignment type that is not
relevant to your configuration.

 Loading...