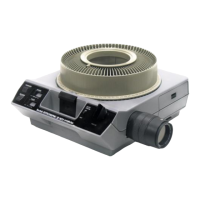
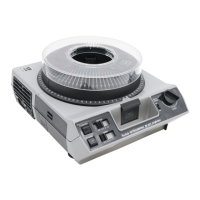
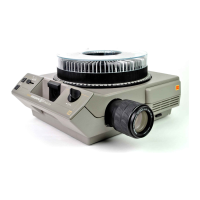
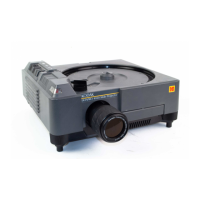
TRAY REMOVAL SCREW
FIGURE 9
Proceed
as
follows:
l.
Turn the coin-slotted
TRAY
REMOVAL
SCREW
(Figure 9)
in
either direction
as
far
as
it will
go_
2_ While holding the screw
in
this position,
lift
the
tray
off
the projector_
3_
Remove the obstruction from the projector gate
by
de-
pressing the select button,
or
correct any other cause of the
malfunction_
4_
With
the
locking
ring
in place,
turn
the
tray
upside
down_
Rotate the bottom plate,
or
slide retainer, until the latch
engages the notches
in
the plate (or until the index hole is
adjacent to the index notch
on
the 140 tray)_
See
page
5_
Place the tray
on
the projector_ Repair the damaged slide
(if
this
was
the cause) and return
it
to the
tray_
ALTERNATIVE PROJECTION METHODS
l.
Slides
in
tray
without
tray
ring:
By
leaving the tray ring
off, slides
can
be
inserted or removed
easily_
This simplifies
editing_
2 _
With
the
KODAK
CAROUSEL
Stack
Loader:
Lets you project
and edit
up
to
40
2 x 2-inch slides
in
cardboard or
thin
plastic mounts (_040- to _060-inch thick) without using a
slide tray.
3.
Without
a
slide
tray:
A single slide
can
be
shown simply
by
inserting
it
, correctly oriented, into the projector gate
as
shown
in
Figure 10.
To
remove the slide, depress the select
button.
FOR
LONG-RUN APPLICATIONS
If
the projector
is
to
be
run
for
an
unusually long period of
time, these precautions should
be
observed:
• Provide
for
unrestricted flow of air
to
and from the open-
ings
in
the projector housing.
If
the projector
is
to
be
used
in
a window display or
in
a cabinet, provide a duct for warm air
expelled from the rear grill vent.
In
some cases, additional
forced air ventilation may
be
needed.
•
Keep
air circulating through the projector. Air at normal
room temperature
is
satisfactory.
Detailed information
on
long· run applications
is
contained
in
Kodak Pamphlets No. S-53, Heavy-Duty
Operation
of
KODAK
EKTAGRAPHIC and
CAROUSEL
Slide
Projectors,
and No_
S-56,
The Care and Maintenance
of
KODAK
CAROUSEL
Slide
Trays. Prices and ordering information
for
these and other
related Kodak publications are given
in
Kodak Publications
list
No.
MPE·l,
available free from Eastman Kodak Com-
pany, Dept. 412L, Rochester, N.
Y. 14650.
8
FIGURE
10
S
ELE
CT BUTTON
after
the
showing
-a
shutdown
procedure
.
We
recommend
that
you use a standard shutdown procedure
after your slide presentation has
been
completed. This will
help provide proper care of the projector and will make cer-
tain
it
is
ready
for
the next user.
1.
Rotate the slide tray to the zero position, using the select
button (page
7,
RANDOM PROJECTION).
2. Move the power switch to
OFF
.
(The right rear corner of your projector may
be
uncomfort-
ably warm
for
several minutes
after
you switch off the power
-the
maximum temperature reached, however, will
be
well
below the danger point
for
the lamp, projector, tray, or slides.
If
the projector must
be
handled immediately after a slide
presentation or the lamp must
be
changed quickly, the fan
can
be
run to accelerate cooling of the projector.)
3. Remove the slide tray from the projector.
4. Retract the elevating and leveling feet.
5. Retract the lens (focus knob).
6. Disconnect the remote-control and power-cord plugs.
Store the cords
in
the cord compartment.
If
there
is
no
need
to
move the equipment before your
next slide presentation, you
can
omit steps 4 through 6.
 Loading...
