


S
Sabrina MorrisonAug 13, 2025
What to do if my Kodak Scanner image quality is poor?
- JJonathan LongAug 13, 2025
If the image quality is poor or has decreased, clean the scanner. Refer to the procedures in Chapter 5, Maintenance.
What to do if my Kodak Scanner image quality is poor?
If the image quality is poor or has decreased, clean the scanner. Refer to the procedures in Chapter 5, Maintenance.
What to do if my Kodak Scanner won't scan?
If the scanner will not scan or feed documents, ensure that: * The power cord is securely plugged into the back of the scanner and the wall outlet. * The power supply green LED is lit. * The power switch is on. * The wall outlet is not defective. * The PC was restarted after installing the software. * The document(s) is making contact with the feed rollers. If feeding a stack of documents (more than 40) at a 25 degree angle, shingle the bottom documents so the feed rollers can grasp the first document and start the feeding process.
Why does my Kodak Scanner show black background bleed-through?
When scanning translucent documents, black bleed-through may be displayed on the image. To minimize this, adjust the Contrast value or select Draft (Fixed) TWAIN or Fixed Processing in ISIS to improve the image or use the Kodak White Background Accessory.
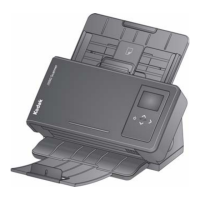
What to do if no images are being displayed by Kodak i1210?
If you are scanning one-sided documents or are using a Kodak i1210 or i1310 Scanner, be sure the side you want to scan is facing the input tray (not facing you). For more information, see the section entitled, “Scanning your documents” in Chapter 3.
Why is my Kodak Scanner running so slow?
The Kodak i1200 and i1300 Series Scanners are designed to operate with USB 2.0, but will still work with a USB 1.1 port, though at a slower speed. To improve the scanner speed, update your operating system or hardware to support USB 2.0.
What to do if my Kodak i1210 Scanner documents are jamming?
If documents are jamming or multiple documents are feeding, check the following: * Ensure the side guides are adjusted for the document width. * Ensure the output tray is adjusted for the document length. * Confirm all documents meet the size, weight, and type specifications as described in “Document preparation”. * Ensure the scanner and tires are clean. * Confirm the feed module is properly and securely installed.
How to fix roller marks on Kodak i1210 documents?
If roller marks appear on the document after scanning, clean the rollers. Refer to Chapter 5, Maintenance, for the cleaning procedure.
What to do if Kodak i1210 Scanner images are not being cropped correctly?
If the cropping options are enabled (Automatically Detect and Straighten (Automatic), Automatically Detect or Border Reduction (Aggressive)) and your images are not being cropped correctly, clean the imaging area. Refer to Chapter 5, Maintenance, “Cleaning the imaging area”.
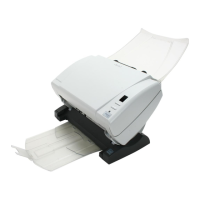
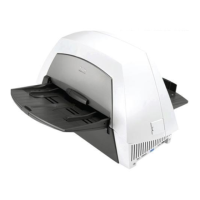
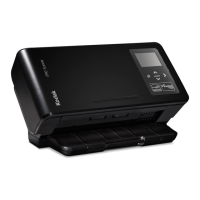
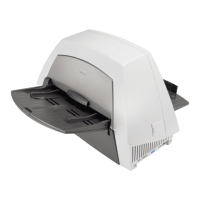
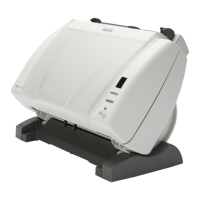
Lists key capabilities and specifications of the i1200/i1300 series scanners.
Covers user precautions, environmental info, and regulatory statements.
Lists box contents and necessary PC configurations.
Step-by-step guide for installing hardware and software.
Instructions for connecting power, USB, and securing the scanner.
Instructions for attaching the output tray.
Completing the scanner driver and application software installation.
Using the Scan Validation Tool to confirm setup.
Turning the scanner on/off and adjusting its physical position.
Adjusting trays, guides, and preparing documents for scanning.
Configuring and using shortcut buttons for scanning tasks.
Introduction to image processing, testing, and TWAIN.
Adjusting image quality and scanner-specific options.
Detailed setup for document types and ISIS driver features.
Procedures for cleaning rollers, separation modules, and replacing parts.
Guidance on resolving common scanner issues and interpreting indicator lights.
Technical details and specifications of the scanners.
Details on limited warranty, exclusions, and service options.
| Type | Document Scanner |
|---|---|
| Scan Element | CIS |
| Optical Resolution | 600 dpi |
| Scan Speed (Color, 200 dpi) | 30 ppm |
| Scan Speed (Black & White, 200 dpi) | 30 ppm |
| Duplex Scanning | Yes |
| Automatic Document Feeder (ADF) Capacity | 50 sheets |
| Connectivity | USB 2.0 |
| Scanning Technology | Contact Image Sensor (CIS) |
| Maximum Document Size | 8.5 x 14 in |
| Supported Operating Systems | Windows |