
M
Mrs. Christine HicksSep 17, 2025
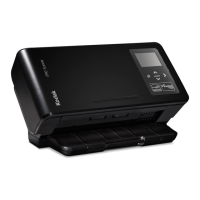
What to do if no images are being displayed by my Kodak i1200?
- EElizabeth LynchSep 18, 2025
If you are scanning one-sided documents or are using a Kodak i1210 or i1310 Scanner, be sure the side you want to scan is facing the input tray (not facing you).