A-61560 April 2008 11
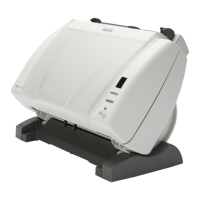
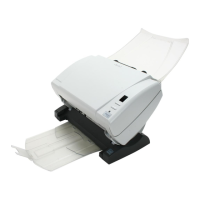
Attaching the
output tray
• Slide the output tray along the center guide underneath the scanner
platform as shown below:
NOTE: The output tray can be placed in a variety of positions to meet
your scanning needs. See the section entitled, “Adjusting the
output tray” in Chapter 3 for more information.
Connecting the power cord
to the scanner
Use only the power supply that was provided with the Kodak i1200/
i1300 Series Scanner. Do not substitute another power supply model or
another manufacturer’s power supply.
After the drivers have been installed, connect the power supply and
power cord to the scanner. Make sure that the power outlet is located
within 1.52 metres (5 feet) of the scanner and is easily accessible.
1. Select the appropriate AC power cord for your region from the
supply of power cords packed with your scanner.
2. Attach the power cord for your power type to the power supply.
3. Plug the output power cord from the power supply into the power
port located on the back of the scanner.
4. Plug the other end of the power cord into the wall outlet.
Align
center
guide
 Loading...