A-61676 June 2010 2-1
2 Installation
Contents Installation checklist........................................................................2-1
Making connections ........................................................................2-1
Installing the software .....................................................................2-2
Installation checklist • After the scanner has been unpacked, it is recommended that you
keep the original carton and all packing materials in case you need
them later.
• Read the Kodak SideKick 1400u User’s Guide located on the
Installation Resource CD.
NOTE: If Autoplay is disabled, go to the Windows taskbar, select
Start>Run and type D:\SETUP.EXE, where “D” is the CD-
ROM drive. Click OK. Select your language and click OK.
Then click View Manuals.
• Verify the system requirements. Refer to Appendix A, Specifications.
• Connect the scanner. See the next section entitled, “Making
connections”.
• Install the software. See the section entitled, “Installing the software”
later in this chapter.
You are now ready to scan. Refer to the instructions for your scanning
or document management software application.
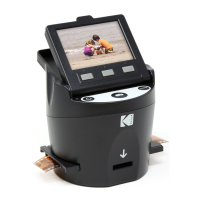
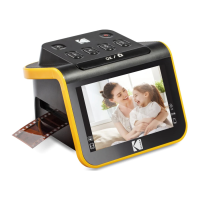
Making connections 1. Plug the power cord into the AC power input on the back of the
scanner and connect the other end to a power outlet.
2. Connect the USB cable to an available USB 2.0 port on the host PC
and connect the other end to the USB port on the scanner.
NOTE: Do not connect the scanner to a USB hub.
 Loading...