
J
jthomasAug 15, 2025
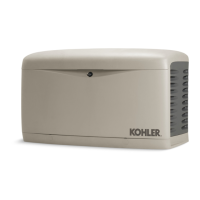
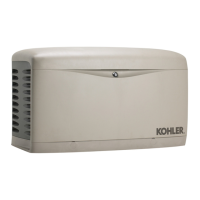
What to do if my Kohler 11RMY cranks but does not start?
- RRobert CampbellAug 15, 2025
If your Kohler Portable Generator cranks but doesn't start, there might be several reasons: * The fuel valve might be off, so turn it on. * The air cleaner could be clogged, requiring cleaning or replacement. * The ignition system might be defective, needing testing or component replacement. * A voltage regulator fuse could be blown, requiring a fuse replacement. If the fuse blows again, check the generator components. * A controller fuse could be blown, requiring a fuse replacement. If the fuse blows again, check the circuit and components. * There may be an open wiring terminal or pin, so check continuity. * The overspeed setting on the electronic governor board might be too low; in this case, readjust the overspeed on the governor board.