54
[Preparation]
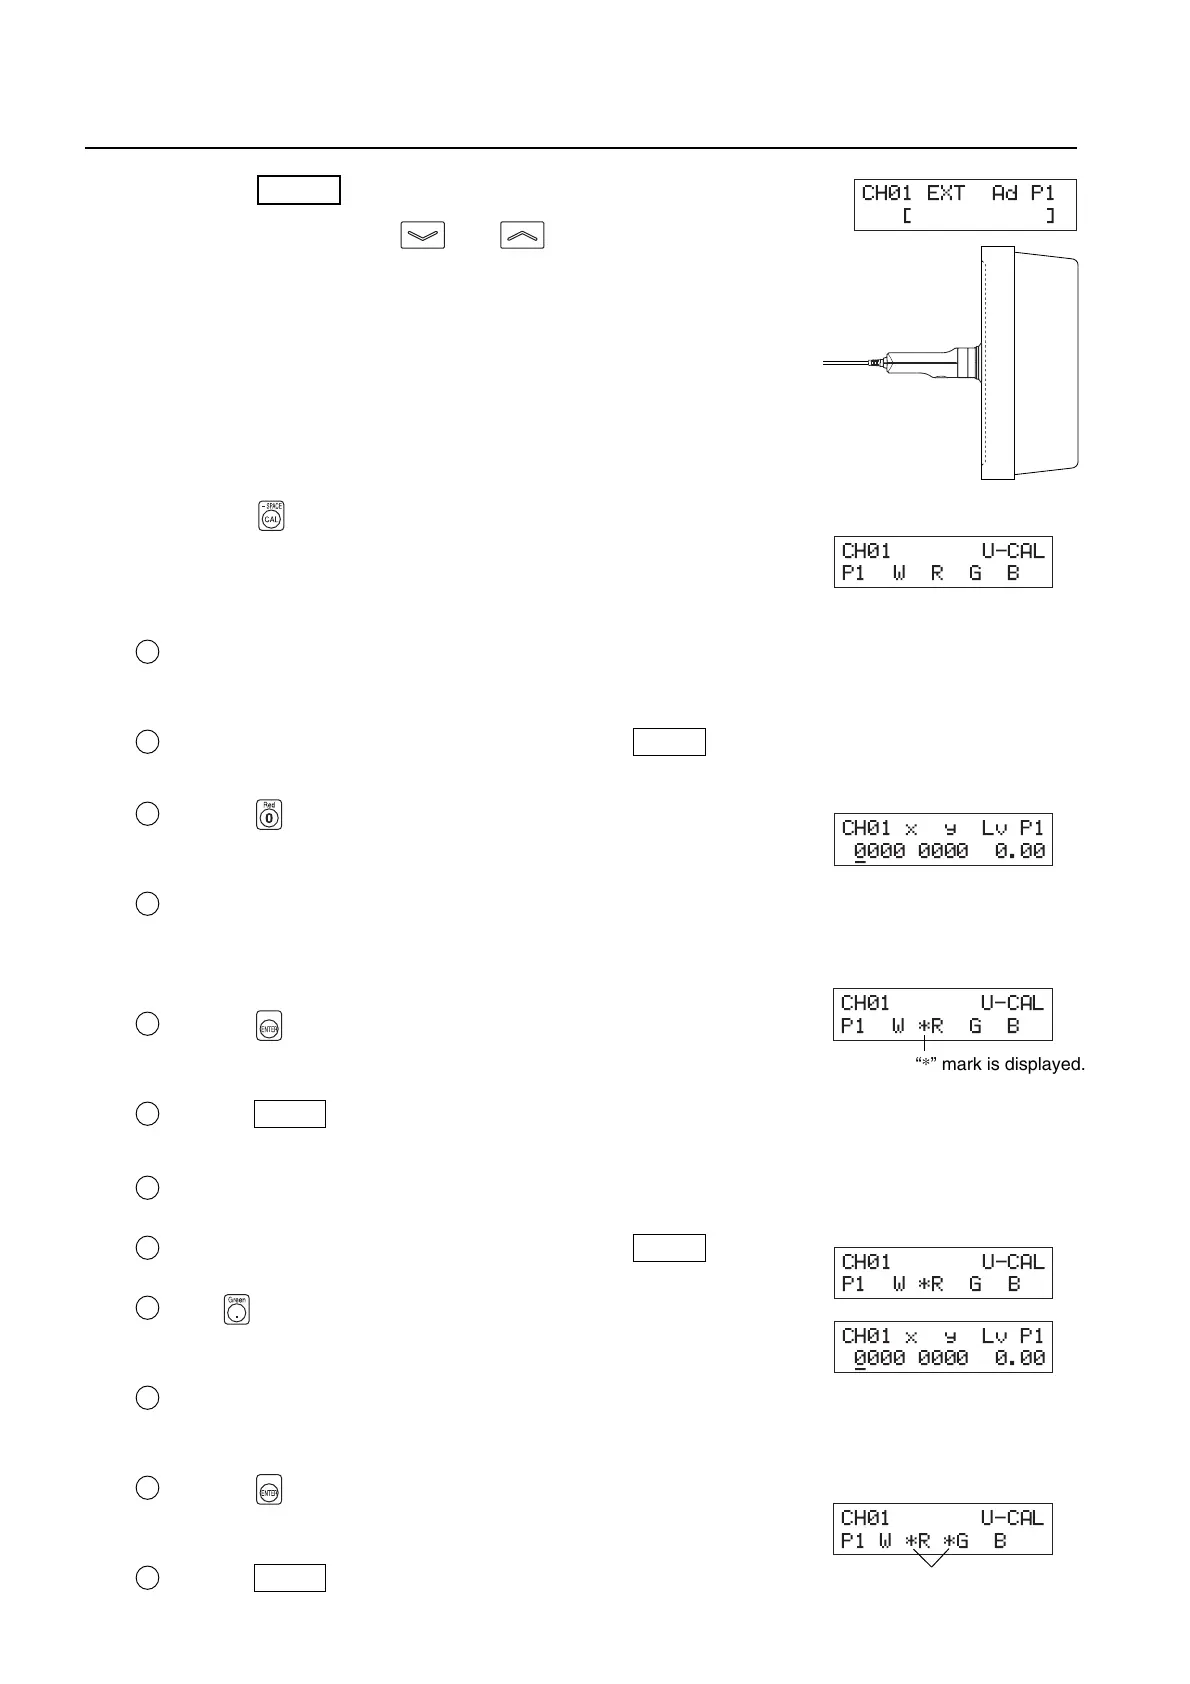
1. Press the MODE key to select xyLv measurement mode.
2. Press the MEMORY CH and keys until the memory
channel where you want to perform user calibration ap-
pears.
A memory channel other than CH00 must be selected.
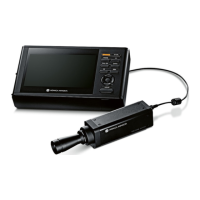
3.Place the measuring probe with the display and take mea-
surement.
Set the display so that it can display four colors (RGBW) whose xyLv val-
ues are known.
4. Press the key.
The LCD display section will switch to the user calibration input screen.
5. Enter the emission characteristic of R and calibration val-
ues (x, y, Lv).
1 Place the measuring probe with the display, which is now emitting mono-
chrome light of R.
Currently measured values will be displayed.
2 While the probe is placed with the display, press the HOLD key.
The measured values will be hold and the HOLD LED lights up.
3 Press the key.
The LCD display section will switch to the R calibration value input
screen.
4 Enter calibration values (x, y, Lv).
Enter them in the same way as when you enter W calibration values for
white calibration (see step 7 in “Performing White Calibration” on page
52).
5 Press the key.
The LCD display section will return to the user calibration input screen,
with the “*” mark displayed on the left of “R”.
6 Press the HOLD key to resume measurement.
6. Enter the emission characteristic of G and calibration values (x, y, Lv).
1 Place the measuring probe with the display, which is now emitting monochrome light of G.
Currently measured values will be displayed.
2 While the probe is placed with the display, press the HOLD key.
The measured values will be hold and the HOLD LED lights up.
3 Press key.
The LCD display section will switch to the G calibration value input
screen.
4
Enter calibration values (x, y, Lv).
Enter them in the same way as when you enter W calibration values for
white calibration (see step 7 in “Performing White Calibration” on page 52).
5 Press the key.
The LCD display section will return to the user calibration input screen,
with the “*” mark displayed on the left of “G”.
6 Press the HOLD key to resume measurement.
“*” mark is displayed.
CH01 U-CAL
P1 W *RGB
CH01 x y Lv P1
0000 0000 0.00
_
CH01 U-CAL
P1W*R*G B
CH01 U-CAL
P1WRGB
CH01 x y Lv P1
0000 0000 0.00
_
CH01 U-CAL
P1 W *RGB
“*” mark is displayed.
CH01 EXT Ad P1
[]