ProgramCombinationSequencerSamplingSong PlayGlobalMediaEffectAppendices
v
2. Combination mode. . . . . . . . .37
Combination P0: Play................................... 37
Select and play combinations.
0–1: Prog. Select
Select a program for each timbre
...........37
0–2: Mixer
Specify pan and level
...............................40
0–3: Arpegg. A
Select an arpeggio pattern and make
settings for arpeggiator A
.......................40
0–4: Arpegg. B
Select an arpeggio pattern and make
settings for arpeggiator B
........................40
0–5: Sampling
Perform sampling; make audio input
settings etc.
................................................41
Combination P1: Edit–Program/Mixer................ 42
Select the program for each timbre, and specify pan and
level.
1–1: Program/Mixer
Specify program, pan, and level of each
timbre
........................................................42
Combination P2: Edit–Trk Param ..................... 43
Set various parameters for each timbre.
2–1: MIDI Channel
Specify MIDI channel and status for each
timbre
........................................................43
2–2: OSC
Make settings such as mono/poly and
portamento for each timbre
....................43
2–3: Pitch
Make pitch-related settings such as
transpose and bend range for each timbre
....................................................................44
2–4: Other
Make delay and scale settings for each
timbre
........................................................45
Combination P3: Edit–MIDI Filter..................... 45
Specify MIDI message reception filtering for each timbre.
3–1: MIDI 1
Program changes, aftertouch etc.
...........45
3–2: MIDI 2
Joystick, ribbon controller
.......................46
3–3: MIDI 3
Realtime control knobs
............................46
3–4: MIDI 4
SW1/2, foot controller etc.
......................46
Combination P4: Edit–Zone/Ctrl....................... 47
Specify the key range and controllers for each timbre.
4–1: Key Z
Specify the key zone sounded by each
timbre
........................................................47
4–2: Vel Z
Specify the range of velocities sounded by
each timbre
................................................47
4–3: MOSS Setup
Displayed if the EXB-MOSS option is
installed; set EXB-MOSS parameters
.....48
4–4: Controller
Specify the function of the [SW1] and
[SW2] keys, and B-mode functions of the
REALTIME CONTROLS [1]–[4] knobs
.48
Combination P7: Edit–Arp...............................49
Make settings for arpeggiators A and B.
7–1: Setup
Assign arpeggiators to each timbre
.......49
7–2: Arpegg. A
Select an arpeggio pattern and make
settings for arpeggiator A
.......................50
7–3: Arpegg. B
Select an arpeggio pattern and make
settings for arpeggiator B
........................50
7–4: Scan Zone
Specify the ranges of notes and velocities
that will operate the arpeggiator
............50
Combination P8: Edit–Insert FX........................51
Specify the output bus for each timbre, and make insert
effect settings.
8–1: Routing
Specify the output bus and master effect
send levels for each timbre
......................51
8–2: Insert FX
Select insert effects, turn them on/off, and
make chain settings
..................................52
8–3: IFX 1
Parameter settings for IFX1
.....................52
8–4: IFX 2
Parameter settings for IFX2
.....................52
8–5: IFX 3
Parameter settings for IFX3
.....................52
8–6: IFX 4
Parameter settings for IFX4
.....................52
8–7: IFX 5
Parameter settings for IFX5
.....................52
Combination P9: Edit–Master FX ......................53
Make settings for the master effects, the master EQ, and
Valve Force.
9–1: Master FX
Select the master effects, turn them on/
off, and make chain settings
...................53
9–2: MFX 1
Parameter settings for MFX1
..................53
9–3: MFX 2
Parameter settings for MFX2
..................53
9–4: Master EQ
Parameter settings for master EQ
..........53
9–5: VALVE FORCE
Settings for Valve Force
...........................54
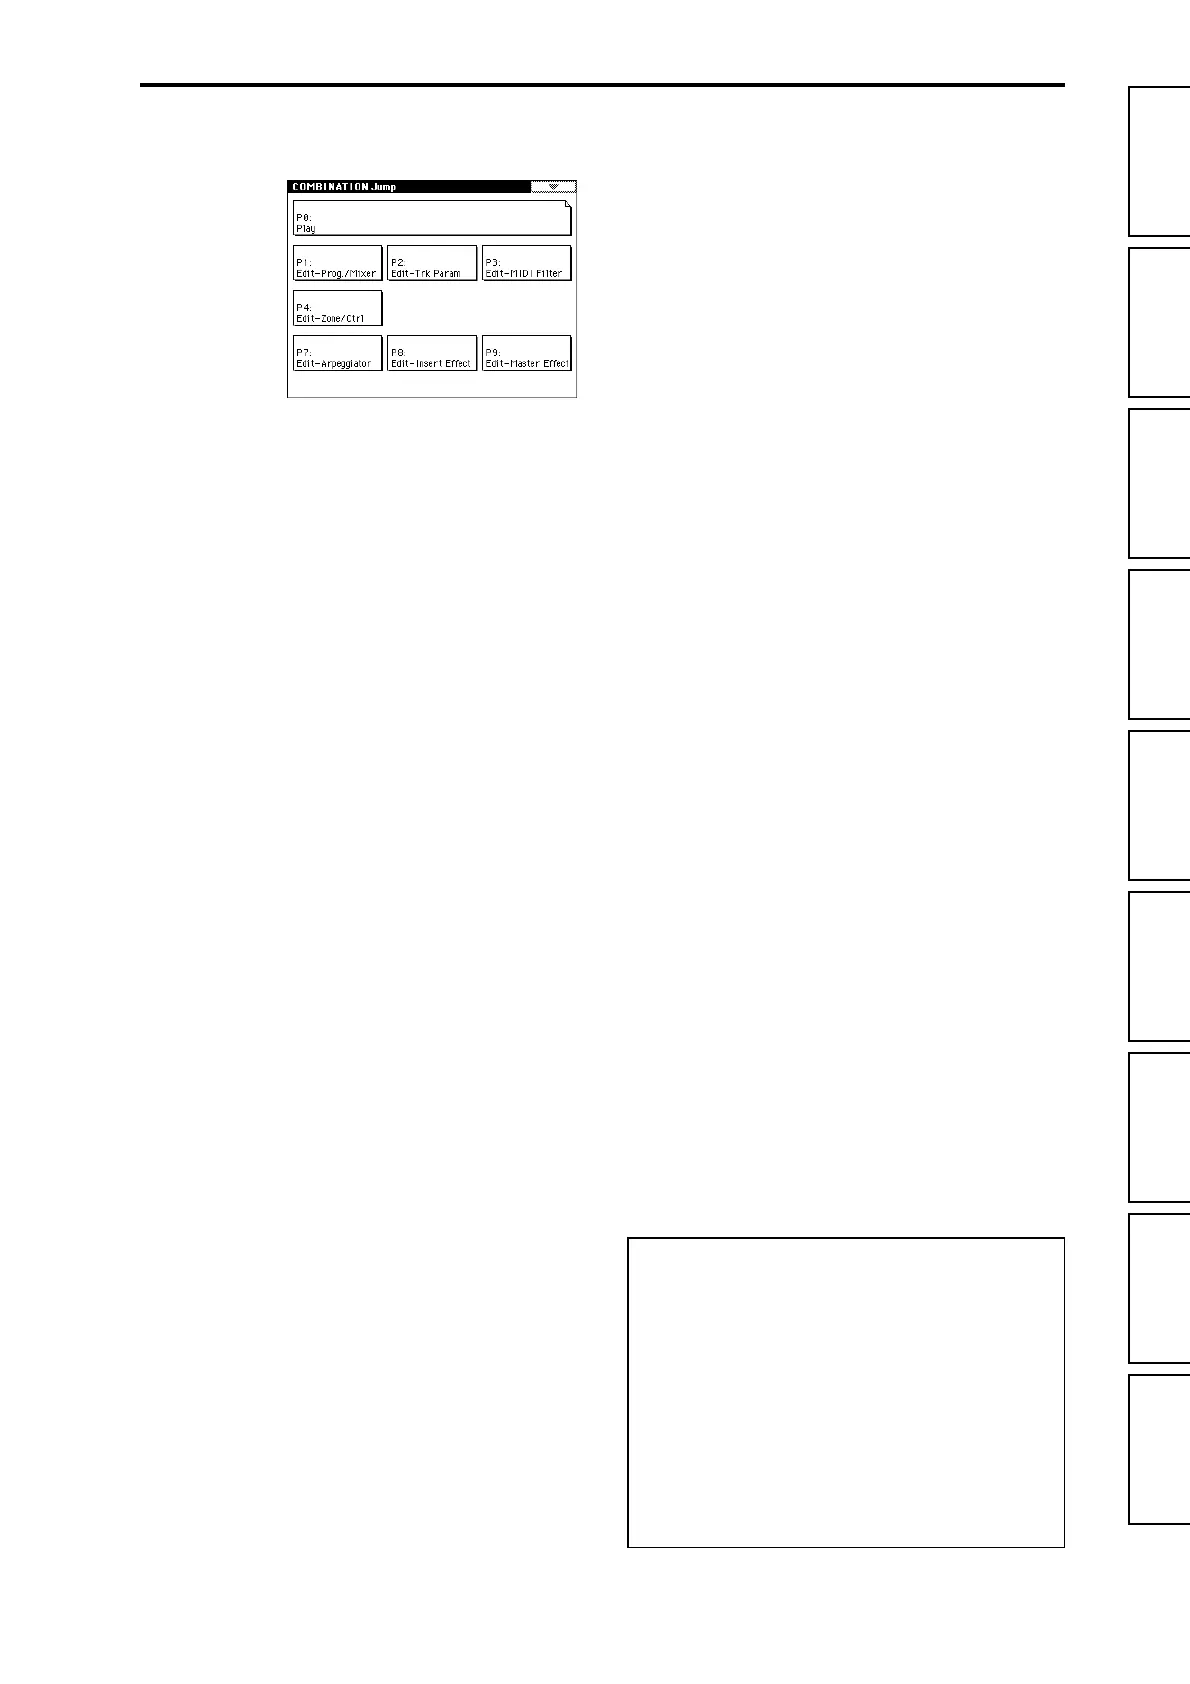
About the Jump pages
The LCD screens shown here are the Jump pages for each
mode.
The Jump page is a page menu that lets you access the var-
ious pages within each mode.
Here’s how to access the Jump page, and select the desired
page.
• Press the [MENU] key to access the Jump page. In the
LCD screen, press the page that you want to select, or
press the numeric key [0]–[9] corresponding to the
number of the desired page. (
☞
OG p.9, 13)
• Alternatively, you can hold down the [MENU] key and
press the numeric key [0]–[9] corresponding to the
number of the desired page.
 Loading...