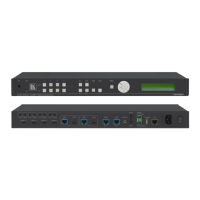
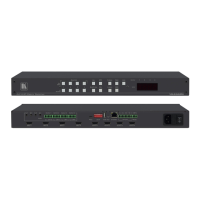
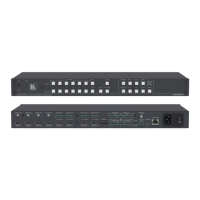
1 IR Receiver LED The red LED is illuminated when receiving signals from the Infra-red
remote control transmitter
2 POWER Switch Illuminated switch for turning the unit ON or OFF
3 ALL Button Use ALL to select all inputs or all outputs (see section 7.1)
4 OFF Button Use OFF to disconnect one or all outputs (see section 7.2)
5 IN Buttons Press an INPUT selector button to select an input (from 1 to 4)
6 OUT Buttons Press an OUTPUT selector button to select an output (from 1 to 4)
7 STO Button Press to store an input setting
8 RCL Button Press to recall an input setting
9 LOCK Button Press to toggle disengaging the front panel buttons and to acquire
the EDID (see section
7.4)
10 EDID Button
Press to acquire the EDID
11 7-segment Display Displays the selected input switched to the output (marked above
each input)
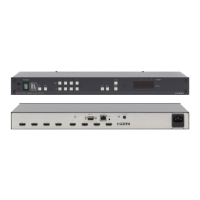
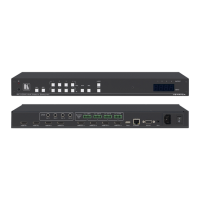
12 IN HDMI Connectors Connect to the HDMI sources (from 1 to 4)
13 OUT HDMI Connectors Connect to the HDMI acceptors (from 1 to 4)
14 RS-232 9-pin D-sub Port Connects to the PC or the RS-232 Remote Controller
15 ETHERNET Connector Connects to the PC or other Ethernet Controller
16 RESET Button Press the reset button to reset to the ETHERNET factory default
definitions
2
IP number − 192.168.1.39
Mask – 255.255.255.0
Gateway – 192.168.1.1
:
17 REMOTE IR Connector Connect to an external IR receiver unit for controlling the machine
via an IR remote controller (instead of using the front panel IR
receiver)
18 Power Connector with Fuse AC connector enabling power supply to the unit
1 Illuminates when configuring the EDID
2 First disconnect the power cord and then connect it again while pressing the RESET button. The unit will power up and load
its memory with the factory default definitions