SETUP
WARNING:
!
Disconnect saw from power before making any adjustments.
ATTENTION
!
The saw blade is aligned perpendicular to the saw
base and the bevel indicator set at 0° at the factory. To ensure accurate
cuts, check the alignment and the position of the bevel indicator as
indicated below.
ATTENTION
!
Both set screws must be turned the same amount in
the same direction.
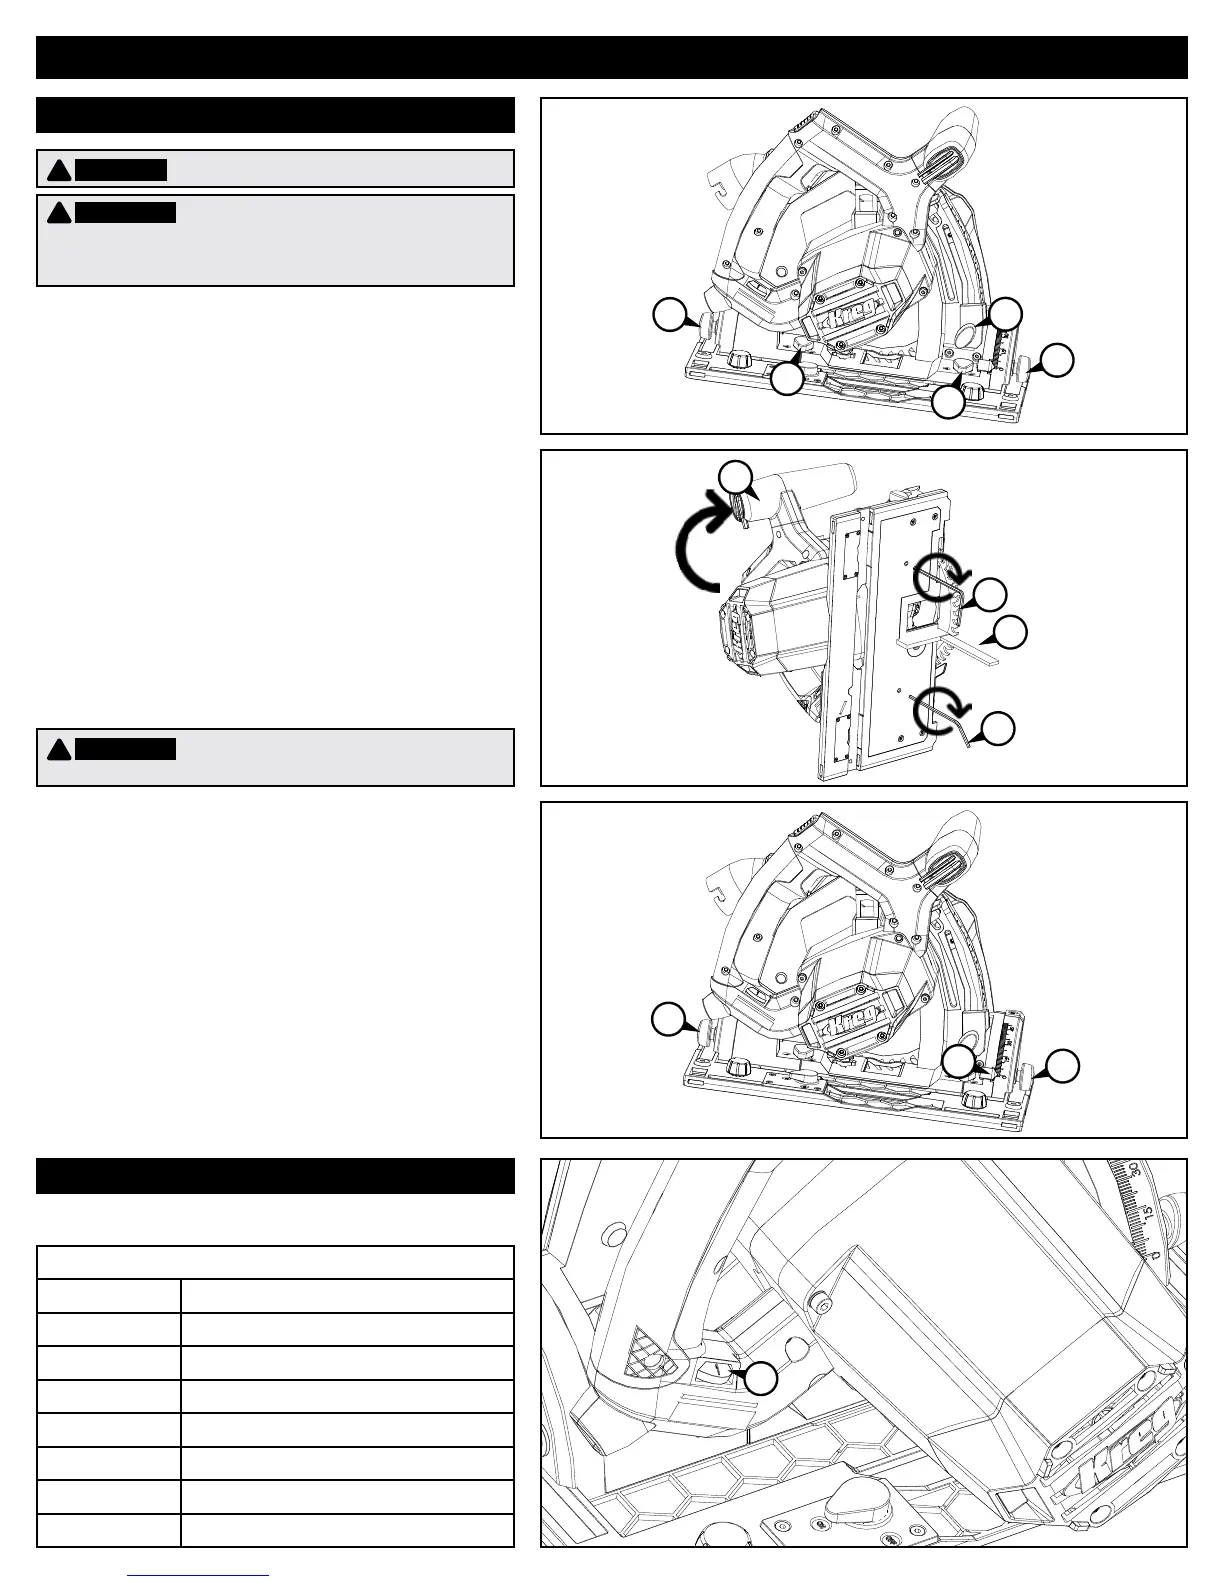
Calibrate the bevel scale
(1)Verifythatthe-1°beveloverridesare
inthe0°position.(SeeBevelcutsin
theUsingthesawsection.)
(2)Adjustthecut-depthstoptofulldepth.
(3)Loosenthefrontandrearbevellocks.
(4)Removesplinterguardfromblade
housing,thenplungethesawtofull
depth and hold.
(5)Checktheblade-to-baseangle
withasquare.
(6)Adjusttheanglebyturningthe
set screws.
(7)Tightenthefrontandrearbevellocks.
(8)Setthebevelindicatortothezeromark
andreinstallthesplinterguard.
1
3
2
3
1
6
6
5
4
Speed Control
(1)Turnthespeed-controldialtoadjustbladespeed.
1
SAW MOTOR SPEEDS
Dial Setting Revolutions Per Minute (RPM)
1 2,000
2 2,200
3 3,000
4 3,900
5 5,000
6 5,500
MAX 6,000
7
8
7