RUNNING GEAR OPERATION
Operating instructions • Load Carrier • 505410638-02 • 07/2019
29
► Tighten the lock nut.
ü The height of the draw fork is set.
Adjusting the length of the draw fork us-
ing a tool
WARNING
accident hazard due to an unsecured
length adjustment at the draw fork!
An unsecured length adjustment at the
draw fork can cause accidents.
► Ensure that the threaded bolt is prop-
erly secured after adjusting the length
or changing the tractor unit.
Length adjustment, or a change of tractor
unit, can cause the overall length of the
train to be exceeded. Check the following
points every time you adjust the length or
during every vehicle change:
○ Ensure that the threaded bolts are
properly secured with the securing
devices,
○ Check the legally permitted overall
length of the train and
○ the distance between trailer and tractor
unit.
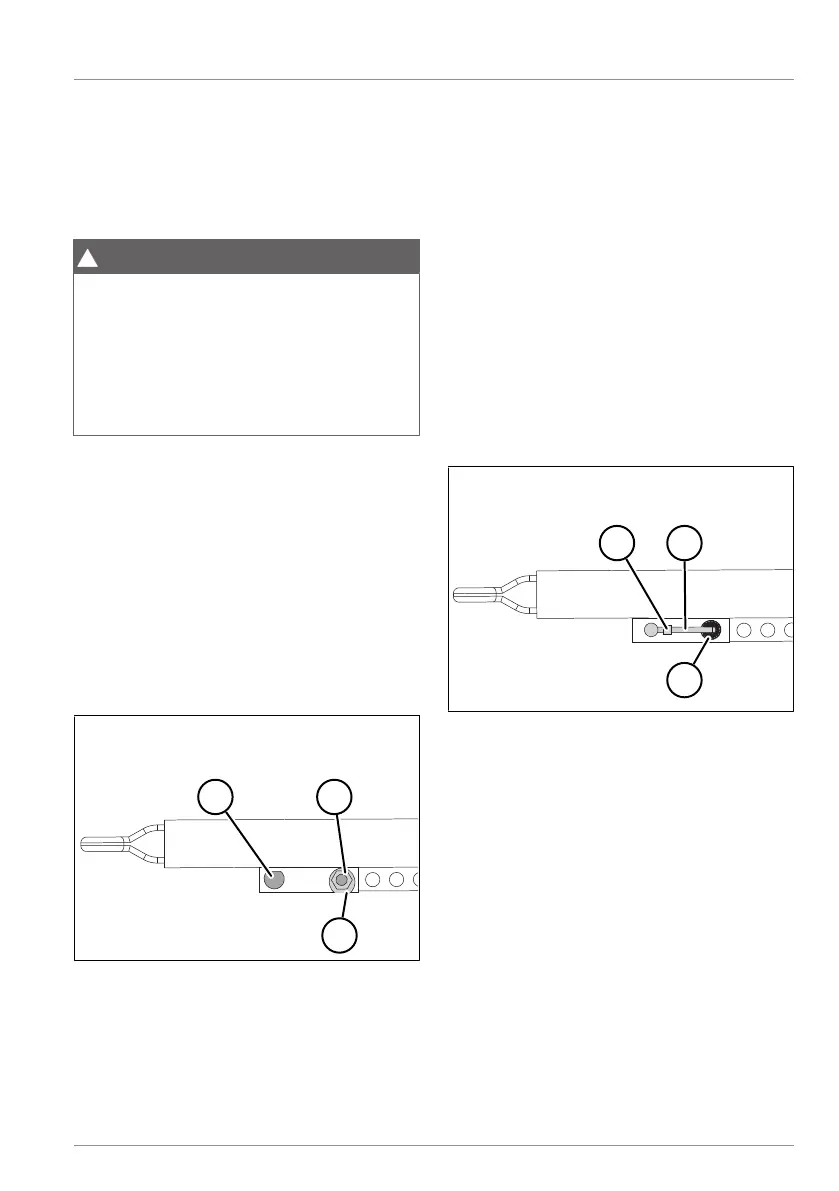
Fig.5-9: Length adjustment with tool
1 Threaded bolt (head)
2 Nut with threaded bolt
3 Retainer plate
► Unhitch the trailer(see "7.2 Hitching and
unhitching the trailer", pg.88).
► Loosen the nuts with a spanner and
unscrew them from the threaded bolts.
► Remove the threaded bolts.
► Place the draw bar in the desired posi-
tion by shifting it in or out.
► Reinsert the threaded bolts.
► Screw the nuts on the thread and
tighten at approx. 300 Nm. The draw-
bar tube should not have any play in
the clamp bearing.
► Secure the nuts using the retainer
plates.
ü The length of the draw fork is set.
Adjusting the length of the draw fork us-
ing rapid resetting
Fig.5-10: Length adjustment via rapid reset-
ting
1 Clamping bracket
2 Control lever
3 Crown nut
► Unhitch the trailer(see "7.2 Hitching and
unhitching the trailer", pg.88).
► Pull the control lever from the clamping
bracket.
► Insert the control lever into the crown
nut's groove and release it by turning
counterclockwise.
► Use the control lever to unscrew the
crown nuts from the threaded bolt to-
gether.
► Remove the threaded bolts.