✓ The notes and steps stated in (⇨ Section 7.5.1 Page 52) to (⇨ Section 7.5.2 Page
53) have been observed/carried out.
✓ The bearing assembly as well as the individual parts are kept in a clean and level
assembly area.
✓ All dismantled parts have been cleaned and checked for wear.
✓ Any damaged or worn parts have been replaced by original spare parts.
✓ The sealing surfaces have been cleaned.
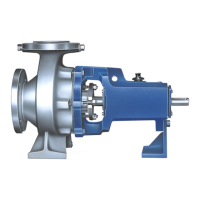
1. Clamp casing cover 161 into a vice.
2. Insert the first packing ring, ensuring that its cut edge is in a horizontal
position.
3. Hold the packing ring in place and slide shaft protecting sleeve 524.01
(chamfered side first) into the gland packing chamber from the pump end.
4. Slightly expand the inside diameter of the packing ring by moving shaft
protecting sleeve 524.01 back and forth. Then pull out shaft protecting sleeve
524.01.
Insert lantern ring 458, if any (see drawing above).
Insert subsequent packing rings one at a time, with their joints staggered at
approximately 90°.
When the last packing ring has been inserted, shaft protecting sleeve 524.01
remains in the packing chamber.
5. Insert stuffing box ring 454.01 with the drilled hole down.
6. Fit gland follower 452 and lightly fasten it by hand with the two hexagon nuts
920.02; watch discs 550.01.
7. Place the entire casing cover 161 with shaft protecting sleeve 524.01 into the
locating fit of bearing bracket 330.
8. Fit and tighten hexagon head bolts 901.22, if any.
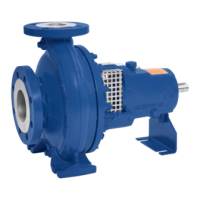
7.5.4
Fitting the impeller
✓ The notes and steps stated in (⇨ Section 7.5.1 Page 52) to (⇨ Section 7.5.3 Page
55) have been observed/carried out.
✓ The bearing assembly/mechanical seal as well as the individual parts are kept in
a clean and level assembly area.
✓ All dismantled parts have been cleaned and checked for wear.
✓ Any damaged or worn parts have been replaced by original spare parts.
✓ The sealing surfaces have been cleaned.
✓ Impeller bore, shaft and keyways are clean and free from burrs.
1. Insert keys 940.01 into the shaft keyway.
2. Insert joint ring 411.08 into shaft protecting sleeve 524.01.
3. Coat the impeller seat with a suitable lubricant.
4. Slide impeller 230 onto shaft 210.
5. Thread impeller nut 922 with inserted joint ring 411.31 onto shaft 210 and
tighten. (⇨ Section 7.6.3 Page 60)
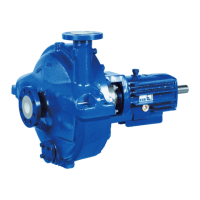
7.5.5
Installing the back pull-out unit
WARNING
Back pull-out unit tipping over
Risk of crushing hands and feet!
▷ Suspend or support the bearing bracket at the pump end.
✓ The notes and steps stated in (⇨ Section 7.5.1 Page 52) to (⇨ Section 7.5.4 Page
57) have been observed/carried out.
✓ Any damaged or worn parts have been replaced by original spare parts.
7 Servicing/Maintenance
MegaCPK
57 of 74
 Loading...