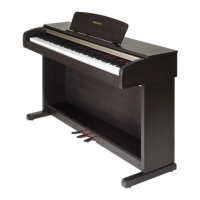
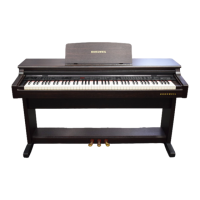
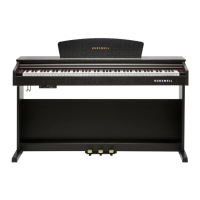
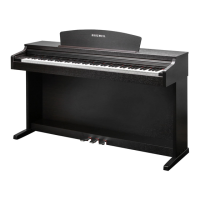
Mark Pro TWOi
20
5. Connect the flat ribbon cable from the Front Panel Board to J4 on the Connector Board. Be
sure to install a cable locking clip on the connector.
6. Connect all the stranded wire cable from the Engine Board to the Scanner Board and from
Front board to Scanner board..
Removing
the Amp Board
1. Follow the procedure described to remove the top panel Assy.
2
. Following Steps 3–5, disconnect the cables listed in Table 2-3
Ref. Name Cable Type Destination
J1
Power supply
standard wire
POWER SUPPLY
J7
L-woofer
standard wire
Light Speaker
J8
L-woofer
standard wire
Light Speaker
J11 Mark Pro 2i power standard wire Engine Board
J12 Engine I/O standard wire Scanner Board
J13 USB standard wire Scanner Board
J15 Audio standard wire Engine Board
Table 2-3 Amp Board cables
3. Disconnect the hook-up wire cable on the Amp Board.
4. Remove the cable locking clips. Be sure to set the cable locking clips safely aside so that
you can install them when you reconnect the cables.
5. Remove the all screws .
Note: Do not remove any other hardware from this portion of the rear panel.
6 . Remove the Amp Board.
 Loading...