Page | 3
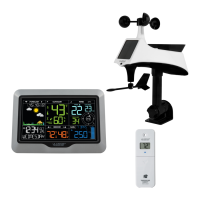
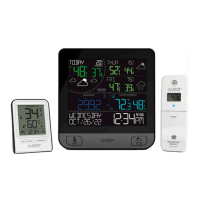
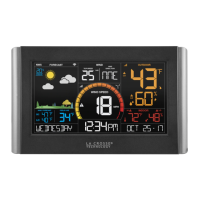
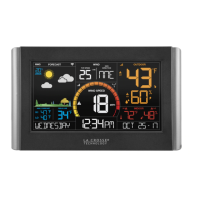
Professional Remote Monitoring Station
Insert batteries (in any order):
• 3-AA batteries into multi-sensor
• 2-AA batteries into thermo-hygro sensor
• 5 volt power cord (required) into V40-PRO station
*3-AA batteries for optional backup of your time and date
*Battery operation only, station will not update sensor or Wi-Fi data. Power cord is required.
STEP 1: POWER UP
STEP 2: STATION OPTIONS
OPTION 1
CONNECT WITH LA CROSSE VIEW™ APP
The easiest and fastest way to setup your station!
• Enjoy all of the standalone station features along with the enhanced feature set from your
La Crosse View™ app! Continue with these instructions on page 4.
OPTION 2
OPERATE AS A STANDALONE STATION
Full Weather Station Features
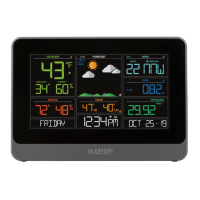
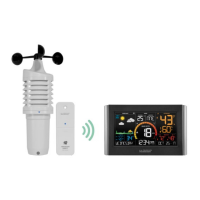
• Monitor your backyard temperature, humidity, wind speed, wind direction and rainfall information
on the easy-to-read LCD display. Continue with these instructions on page 9.
• You always have the option of connecting to the La Crosse View™ App at a later time if you choose.
STEP 3: MOUNTING BASICS
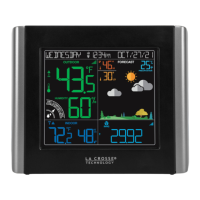
At this time, all of your sensor information should be displayed on your station.
Here are a few quick tips for mounting your sensors:
THERMO-HYGRO
Keep out of direct sunlight & ensure the sensor is well-ventilated.
• We recommend mounting under a deck or eave facing north.
MULTI-SENSOR
Ensure the sensor is mounted vertically – an unobstructed rooftop is ideal.
• Your wind sensor should be the tallest object in the area to avoid any obstructions.
• You may need to clean the rain funnel of debris from time to time, to avoid inaccurate rainfall readings.
• For accurate direction, face the solar panel South.
• For detailed sensor setup and mounting instructions, see page 18.