LAARS Heating Systems
Page 36
# Altitude of Installation
0 0~1999 ft (0~609 m)
1 2,000~4,499 ft (610~1,645 m)
2 4,500~7,699 ft (1,646~2,346 m)
4 7,700~10,000 ft (2,347~3,048 m)
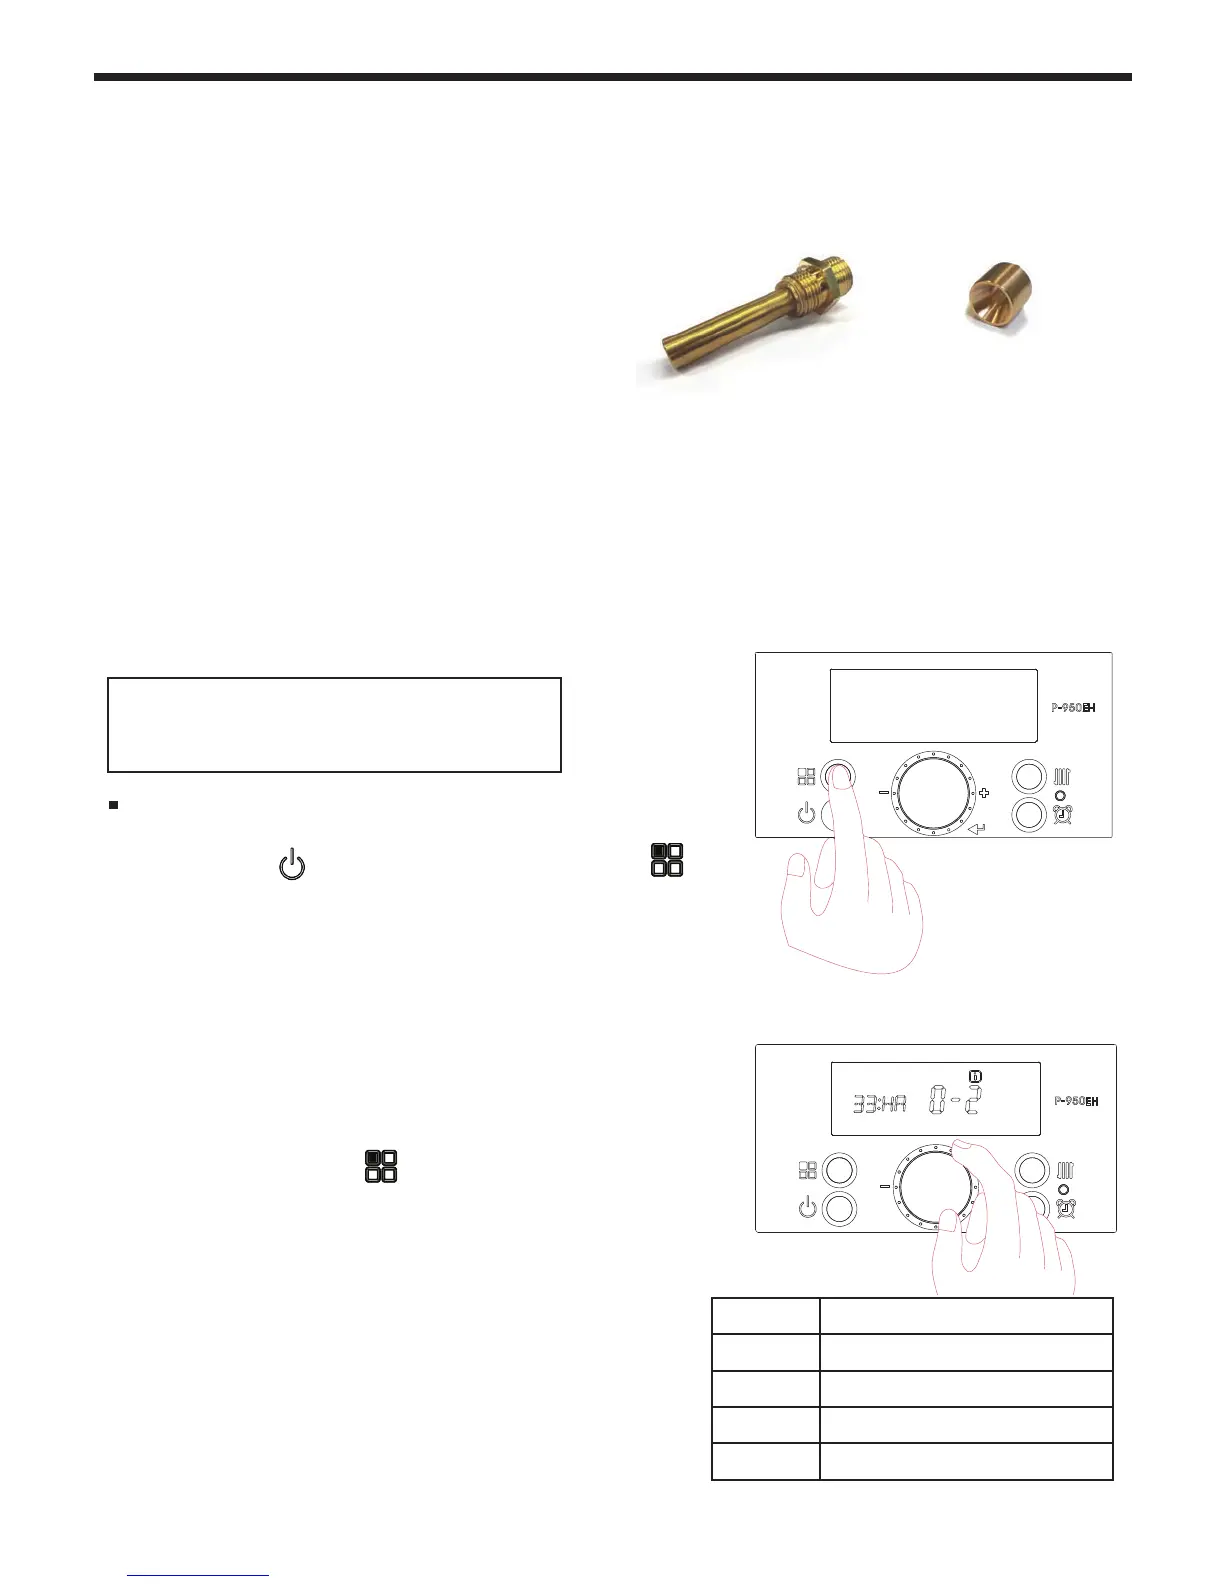
High Altitude settings (2,000 ~ 10,000 ft)
1. With the Power
turned OFF, press the 'Modes button' for
5 seconds to get into the Installer Parameters Mode.
2. Turn the dial (E) until ‘33:HA’ appears.
3. Press the dial (E).
4. Set the high altitude value by turning the dial.
Refer to table.
5. Press the dial again (E) to save the setting.
6. Press the ‘Modes button’
for one second, to Save the
number and to go back to initial status.
4.12HighAltitudeInstallationsandOrices
The Mascot FT is shipped with a Natural Gas
Nozzle or Orice that is designed for altitudes up
to 3,000 ft. Yet the Mascot FT may be installed
(without modication) at elevations up to 10,000 ft,
as the unit will de-rate at high altitudes.
Mascot FT’s that have been converted to propane
will also de-rate at high altitudes up to 10,000 ft.
To order a specialized ‘High Altitude’ Gas Line
Nozzle or Orice to allow full rate operation,
please visit
www.laars.com/support/sales-reps.aspx
to get the contact info for your nearest Laars Sales
Representative.
The Mascot FT does have some settings
within the Control Display that can be
adjusted to suit your installation altitude.
See Section 4.13 for instructions to change out
the Gas Line Nozzle in the Mascot FT.
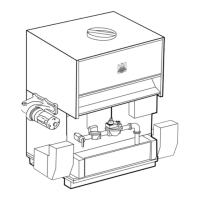
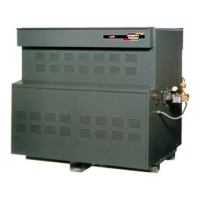
A Gas Line Orice used
in the 199 MBH model
Gas Line Nozzles are used
in the 80 thru 140 MBH
models