Cat. No. 9.900.900.758
CopyRight © 2013
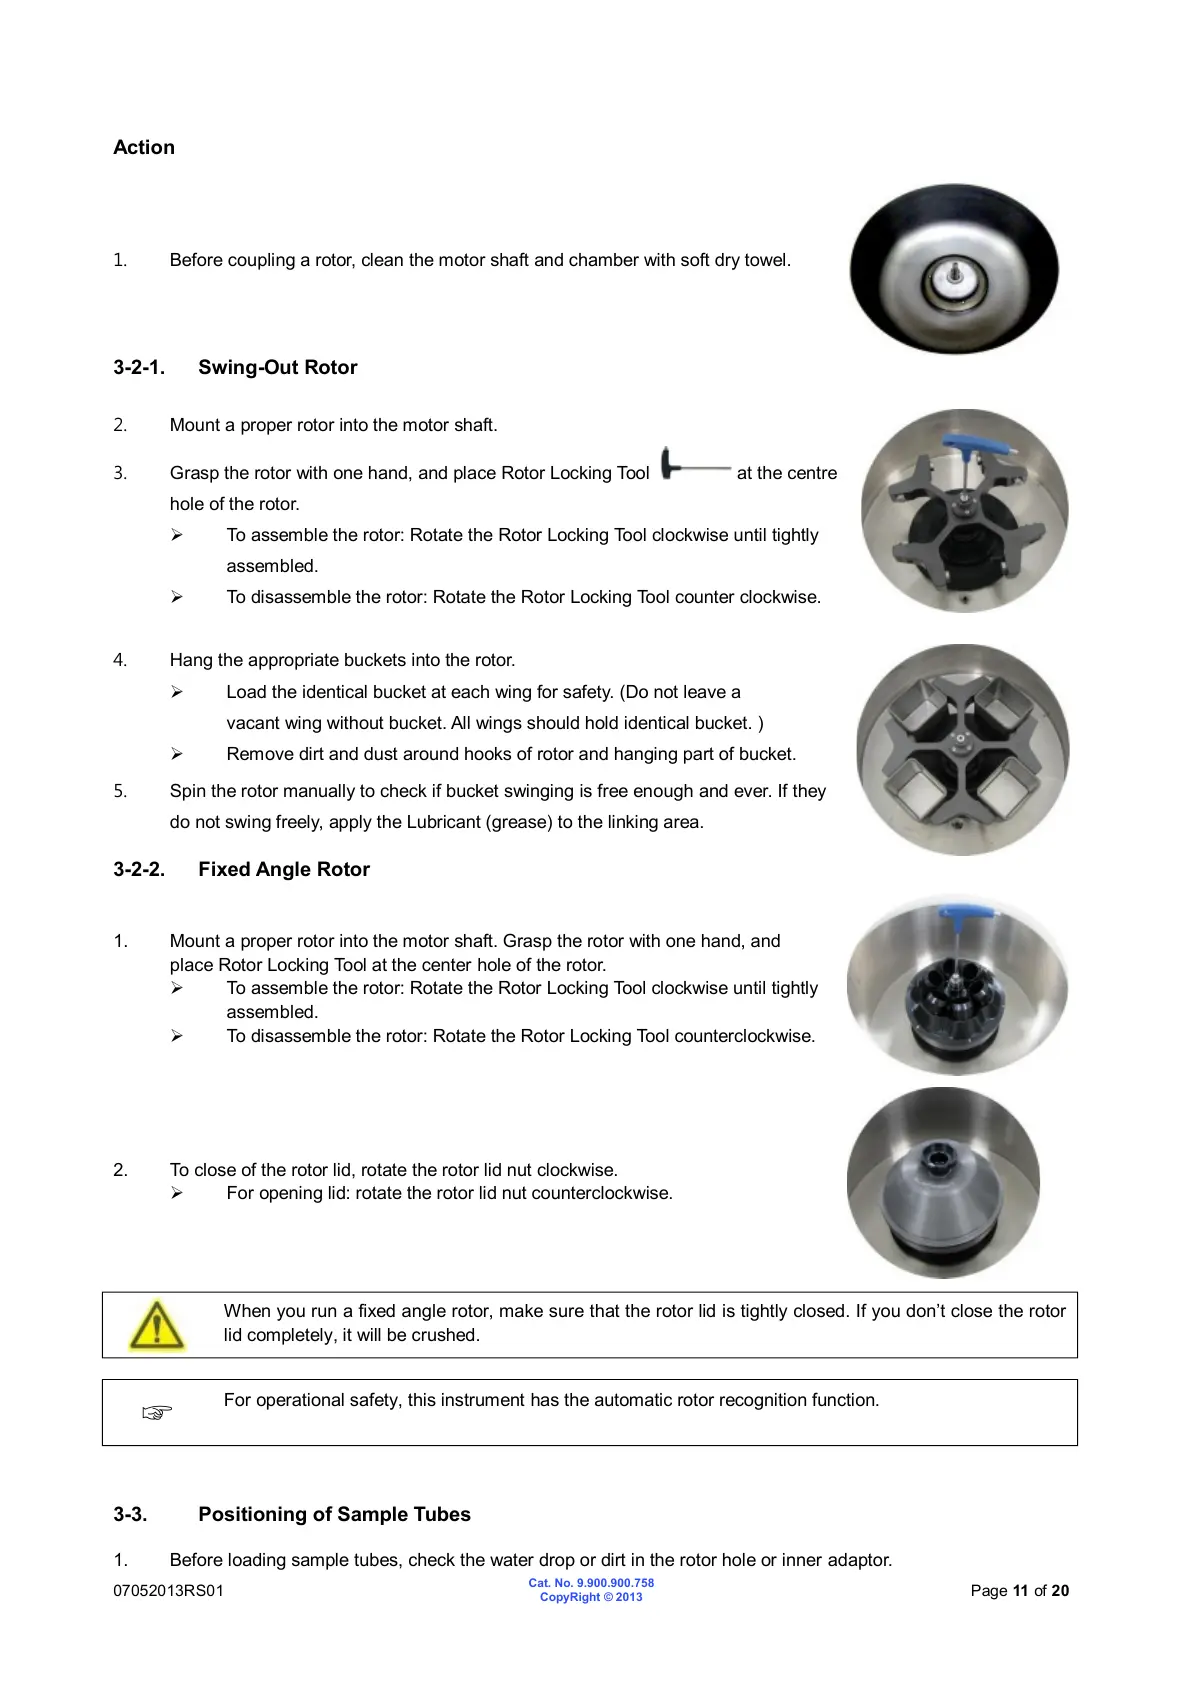
1. Before coupling a rotor, clean the motor shaft and chamber with soft dry towel.
2. Mount a proper rotor into the motor shaft.
3. Grasp the rotor with one hand, and place Rotor Locking Tool at the centre
hole of the rotor.
To assemble the rotor: Rotate the Rotor Locking Tool clockwise until tightly
assembled.
To disassemble the rotor: Rotate the Rotor Locking Tool counter clockwise.
4. Hang the appropriate buckets into the rotor.
Load the identical bucket at each wing for safety. (Do not leave a
vacant wing without bucket. All wings should hold identical bucket. )
Remove dirt and dust around hooks of rotor and hanging part of bucket.
5. Spin the rotor manually to check if bucket swinging is free enough and ever. If they
do not swing freely, apply the Lubricant (grease) to the linking area.
1. Mount a proper rotor into the motor shaft. Grasp the rotor with one hand, and
place Rotor Locking Tool at the center hole of the rotor.
To assemble the rotor: Rotate the Rotor Locking Tool clockwise until tightly
assembled.
To disassemble the rotor: Rotate the Rotor Locking Tool counterclockwise.
2. To close of the rotor lid, rotate the rotor lid nut clockwise.
For opening lid: rotate the rotor lid nut counterclockwise.
When you run a fixed angle rotor, make sure that the rotor lid is tightly closed. If you don’t close the rotor
lid completely, it will be crushed.
For operational safety, this instrument has the automatic rotor recognition function.
3-3. Positioning of Sample Tubes
1. Before loading sample tubes, check the water drop or dirt in the rotor hole or inner adaptor.