G
Gina ThompsonJul 27, 2025
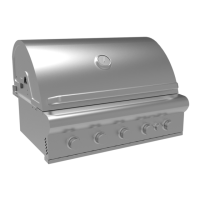
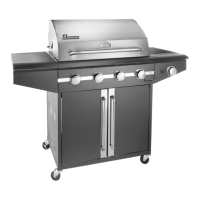
Why my Landmann 42170 Grill will not light?
- TTara WebbJul 27, 2025
Several factors can prevent your Landmann Grill from lighting. First, ensure the LP cylinder valve is open. If it is, check the LP cylinder gas level and replace it if low. Also, verify that the igniter battery is correctly installed or replace it if needed. If these steps don't work, try match lighting following the manual's instructions. Check for loose connections to the igniter or electrodes and reconnect or replace them. Ensure the electrodes are dry and free of debris; dry them with a cloth or clean them with rubbing alcohol. Finally, if there's still no spark at the igniter tip, consider replacing the igniter.