10
Chapter 4 Chapter 3
4
4.1
1. Make sure that the pre-stamped workpiece and all contact surfaces are free of dirt, burrs and chips.
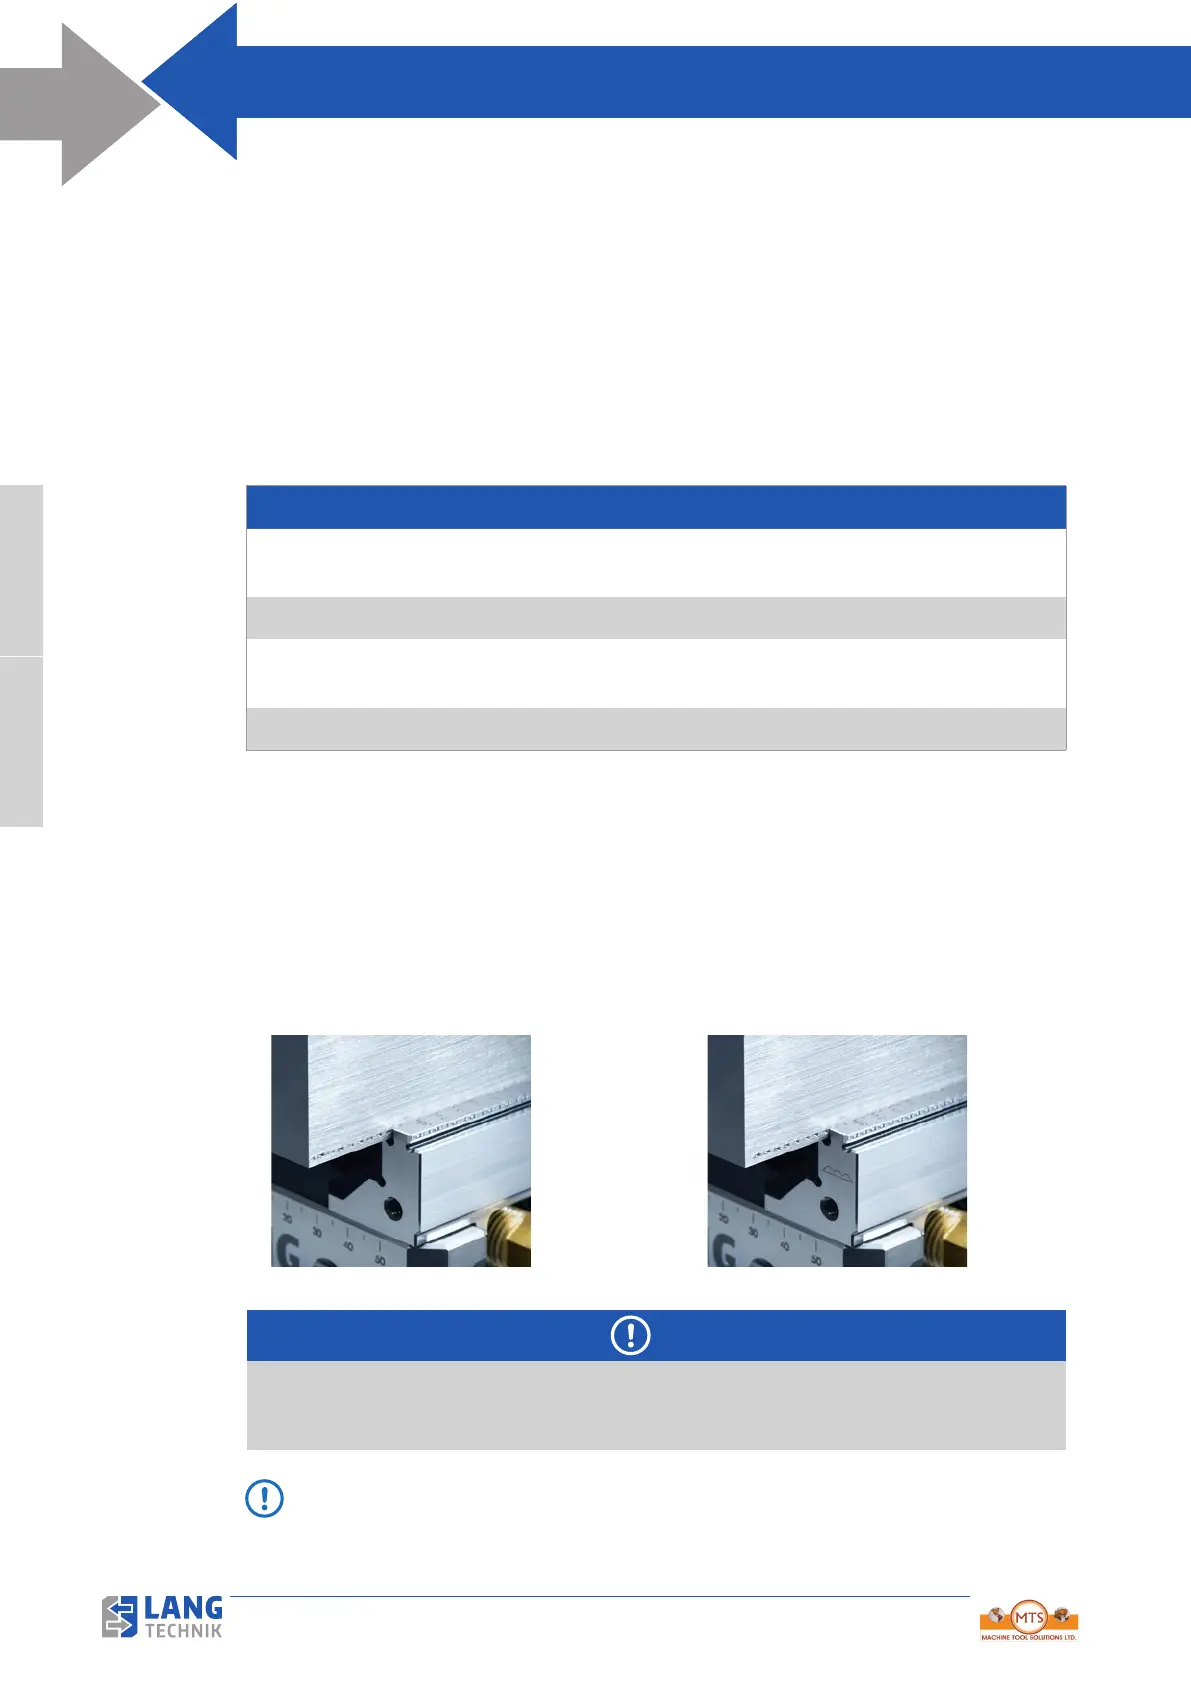
2. Insert the pre-stamped workpiece into the holding serration. The pre-stamped workpiece engages in the serration
every 6 mm (with Makro•Grip
®
) or every 3 mm (with Makro•Grip
®
FS).
NOTE
We recommend pre-clamping the workpiece with a hexagon wrench and then setting the desired holding
force with the torque wrench. This ensures maximum reproducibility and helps to avoid deformations
in the workpiece.
Tip! If possible, we recommend pre-stamping workpieces to prevent wear on the clamping device and thus
achieve a long product service life.
3
3.1
®
Prerequisite for mounting on a machine table:
The appropriate zero point clamping system is required to mount the 5-Axis Vise on a machine table. With its four
(or two) mounted Quick•Point
®
clamping studs, the 5-Axis Vise is placed in the corresponding locating holes of
the zero point clamping system. The 5-Axis Vise is placed into the zero-point clamping system either manually by
the machine operator or automatically by an automation system. For automated feeding, a pneumatic zero point
clamping system is required, which is controlled either by the CNC machine tool or externally via the pneumatic
interface of a robot. The mechanical opening and closing of a mechanical zero point clamping system by the robot
is also possible.
Procedure for setting up for manual processing:
1. Clean the mounting surfaces of the 5-Axis Vise and the contact surface of the zero point clamping system.
There must be no dirt or chips there.
2. Place the 5-Axis Vise in the zero point clamping system.
3. Actuate the clamping mechanism of the zero point clamping system (with 30 or 60 Nm depending on the
type of zero point plate).
4. The 5-Axis Vise is now ready to hold the workpiece. See chapter Operation.
®
®
FS



 To Next Page