Page 18 - Laser Technology, Inc. LTI 20/20 TruSpeed Metric User’s Manual 3rd Edition
Copyright (c)[2013] Laser Technology, Inc. All rights reserved. Unauthorized duplication, in whole or in part, is strictly prohibited
Taking a Sample Measurement
1. Ensure that the TruSpeed is powered ON and that the Speed Mode is
active.
2. Use the sighting scope and aiming reticle to aim the instrument to a
convenient target. An interior wall will do.
3. To fire the laser:
Press and hold the TRIGGER. The laser will fire after a short delay
(about one-half of a second).
-or-
Press the TRIGGER twice.
The 1st press turns on the in-scope aiming reticle.
The 2nd press takes the measurement.
4. Continue to press the TRIGGER and keep the instrument sighted on the
target:
A low-pitched growl means that the instrument is attempting to lock
onto the target.
1 Low-Pitched and 2 High-Pitched Beeps mean that a measurement
error occurred. An error code will be displayed (page 16).
A high-pitched single beep means that a speed was captured. The
measured speed will be displayed on the LCD screen and will be
projected in the scope, just below the aiming reticle.
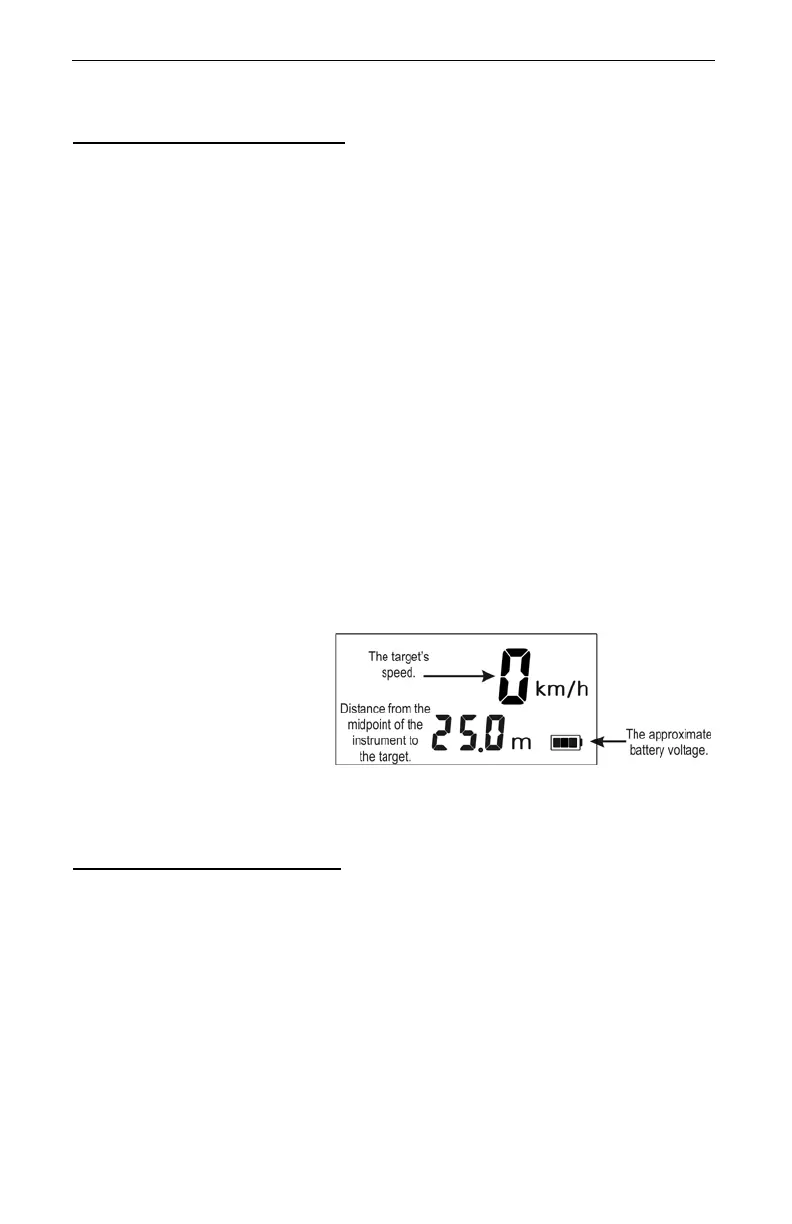
After you release the
TRIGGER, the instrument will
display the most recent speed
reading and the distance at
which it was captured. The
display screen will look similar
to Figure #16. If you did not
capture a speed, an error code
will be displayed (page 16).
Choosing a Roadside Location
When choosing a spot on the side of the road for measuring moving vehicles, you
will need to consider:
• Is the location safe?
• Do you have a clear line of sight?
• What is the approximate angle between the instrument's position and
the target vehicle's direction of travel?
• What is the approximate distance to the target vehicles?
• How is the weather? Will you need to use the Weather Mode?
 Loading...