Welcome • 5
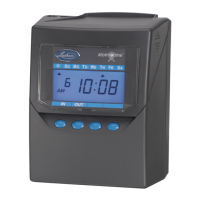
Install the PC700 Series Clock
Step 1: Select a site to install your clock that will be convenient to
employees clocking in and out. When deciding where the clock will
be installed, keep in mind that an 115vAC power outlet should be
within reach of the mounting location as well as a connection to the
network (LAN).
Note: It is recommended to install and mount the clock before
installing the PayClock software. With the clock powered up and
connected to the network (LAN), the software will search for it on the
network and automatically configure the clock.
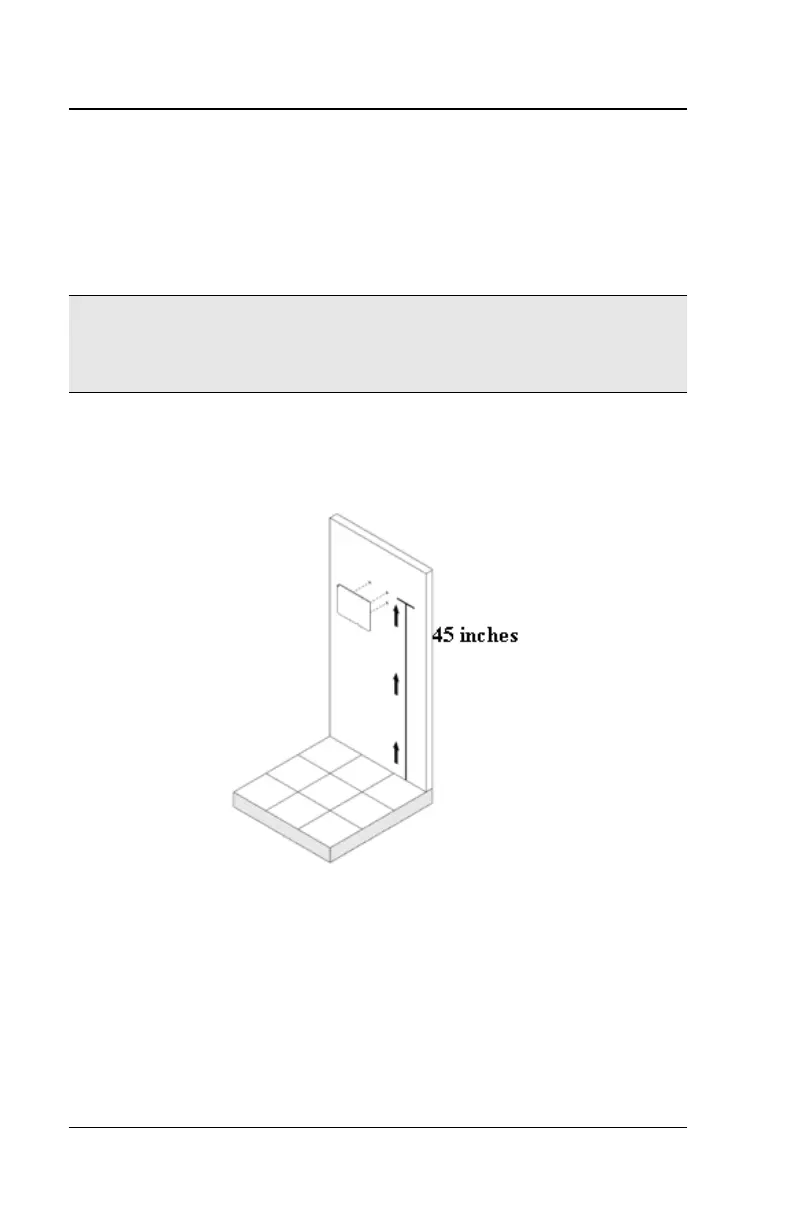
Step 2: After selecting the appropriate installation site, use masking
tape to hold the included Mounting Template onto the wall. Drill holes
using the template as a guide. Note: the bottom of the clock should
be about 45 inches from the floor.
Remove the Template from the wall and install the included
mounting screws. Install the three larger screws, leaving
approximately 3/16 inch of the screws exposed. Do not tighten all
the way. Retain the smaller screw for later.
Note: For sheetrock walls, drill a 3/16” diameter hole through each of
the four screw locations; each approx 1-1/2” deep. Install the plastic
“anchors” included in the mounting screw packet.