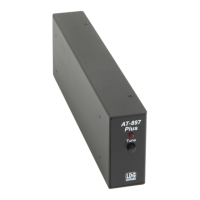
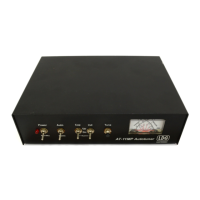
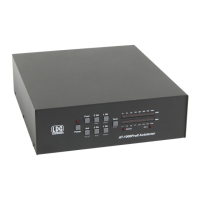
Mounting your AT-897 tuner
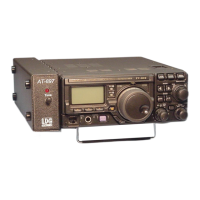
Your AT-897 tuner is designed to be integrated with your FT-897 transceiver by mounting it on the left
side of the transceiver. You don’t have to mount it; it will work fine just sitting on the table next to the
radio. No modifications to your FT-897 transceiver are required; you don’t even have to open the
transceiver’s case.
To mount your AT-897 you will need a small Phillips (cross point) screwdriver. Mounting will go much
smoother if the screwdriver is magnetized. If your screwdriver is not magnetized, you will need tweezers.
Be sure to control static discharge. A grounded static mat is best, but at least touch a ground point like a
light switch before beginning and periodically during installation to control static buildup.
Follow these simple steps to mount your AT-897 tuner:
1. Disconnect all cables from the tuner, and disconnect your FT-897 transceiver from its external power
supply, including the internal batteries if installed.
2. Remove the four plastic feet on the left side of your FT-897 transceiver (as you look at it from the
front). Carefully set them aside; you’ll reinstall them in a few minutes.
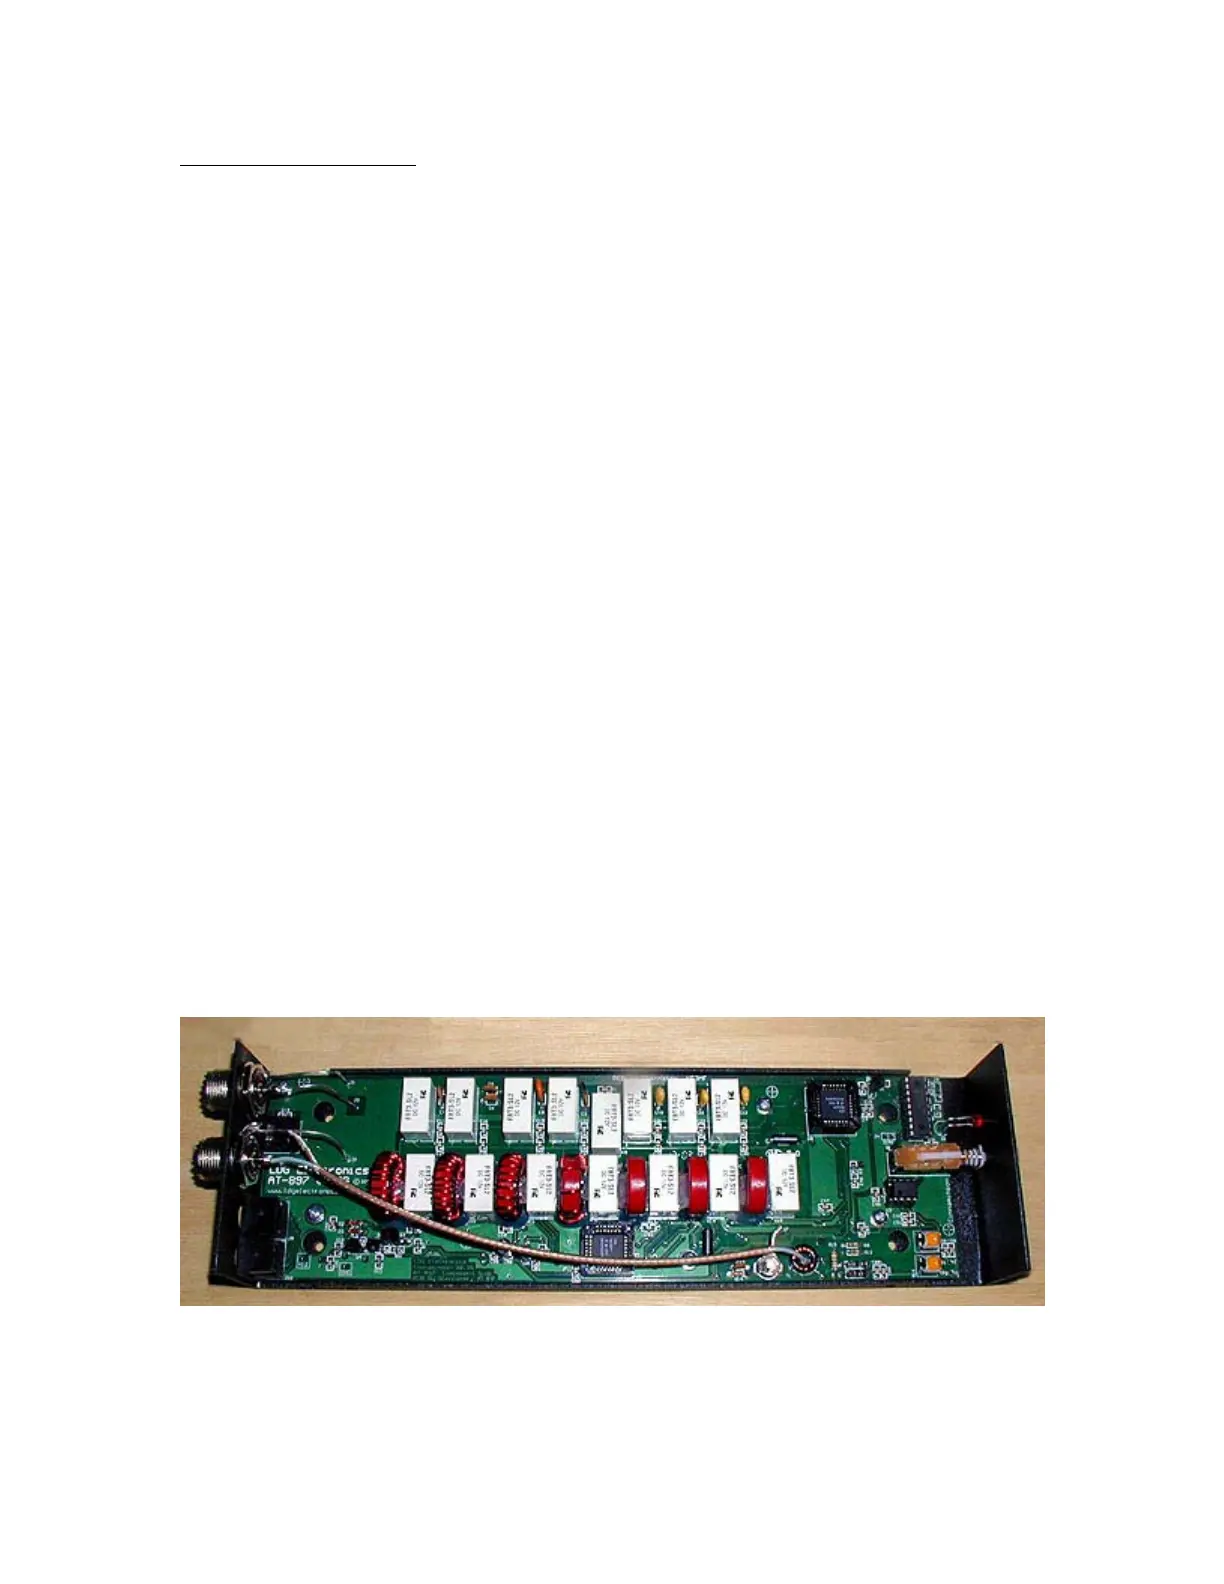
3. Remove the cover of your AT-897 tuner by removing the four flat-head screws on the top and bottom
right of the tuner (as you look at it from the front). Again, set these aside for later re-installation.
Carefully lift the cover clear. The AT-897 circuitry will be fully exposed throughout the mounting
procedure; take care not to damage it.
4. Position the tuner over the holes you opened in the side of the transceiver when you removed the side
feet. The end of the tuner with coax connectors goes toward the back of the transceiver. Line up these
holes with the four mounting holes in the tuner. Locate the four mounting screws provided with the
AT-897. The tuner mounting holes are recessed beneath the PC board under four round holes; this is
why you need a magnetized screwdriver or tweezers. Using your magnetized screwdriver or tweezers,
place the four provided mounting screws into the mounting holes and gently tighten them; do not
overtighten.
5. Place the tuner cover back in position and secure by replacing the four flat-head screws you removed
earlier.
6. Screw the four plastic feet you removed from the radio into the four holes on the left side of the tuner
(as viewed from the front).
That’s it! You’re ready to install the connection cables between the tuner and the transceiver, and the power
supply (or batteries).
Interior of AT-897 tuner
7