SMB/EO1 Series
LECTROSONICS, INC.
14
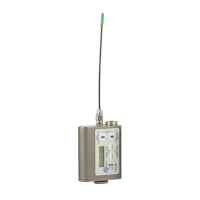
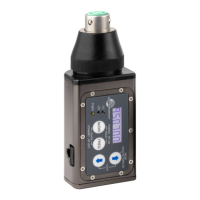
Optional RM/E Remote Control
The RM/E unit gives you remote control of SM Series
transmitters using an audible tone delivered to the mi-
crophone. The panel layout is the same as the trans-
mitters. Simply set the desired value or mode on the
LCD, then press the send button to set the transmitter
to the same setting or mode.
Hold the speaker on the RM/E close to the micro-
phone when pressing the pushbutton. A “dweedle”
tone will play from the RM/E speaker into the micro-
phone and the parameter on the transmitter will be
set immediately.
Available adjustments:
• Audioinputgain
• Frequency
• LockorUnlockModes
• SleepModeON/OFF
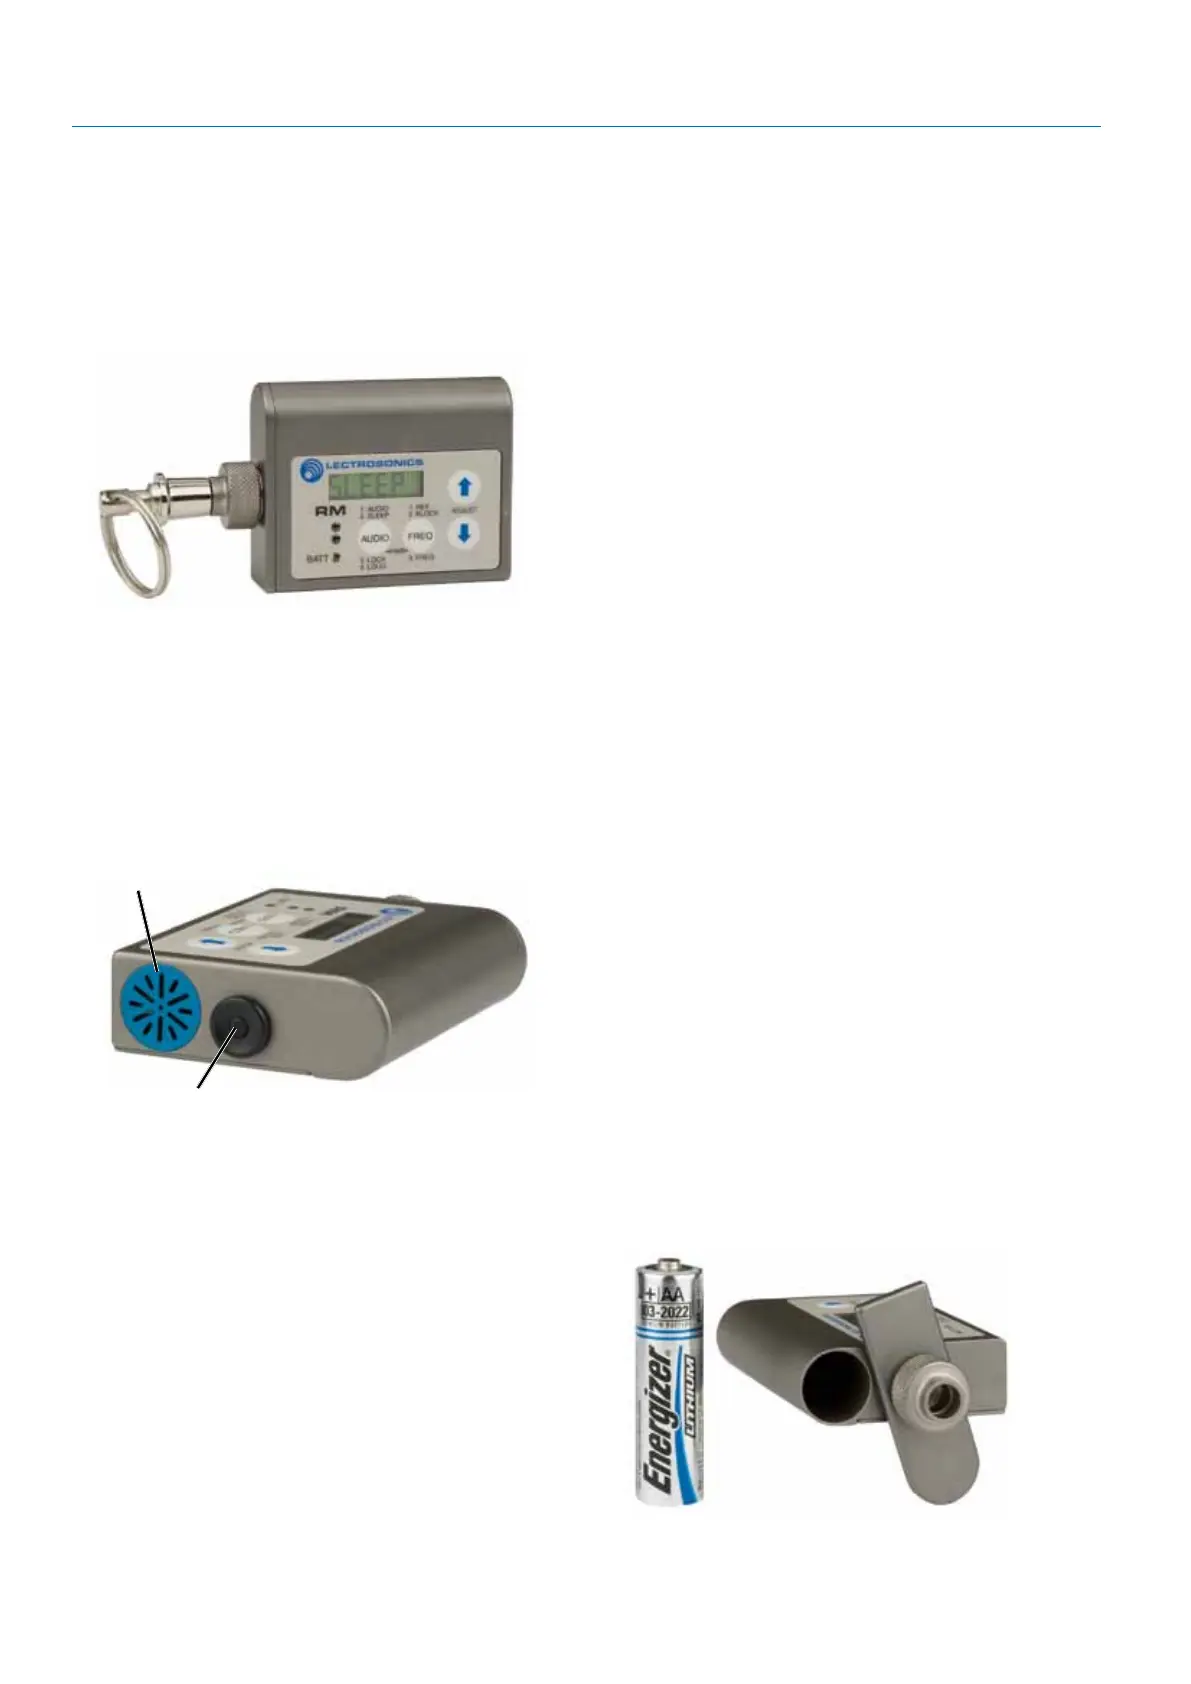
Send Button
Speaker
When the transmitter is in the power saving sleep
mode, it uses only 20% of the normal battery drain,
so battery life with be 5 times longer. This is especially
useful in situations where the transmitter is buried
deep inside costuming and there are waiting periods
between use. The transmitter can “sleep” for several
hours and then be awakened and adjusted when the
production is about to begin.
Powering the RM on and off
To turn the RM/E on or off, press the AUDIO and
FREQ buttons together briefly. The unit powers up on
the page that was displayed when the unit was pow-
ered off last.
The setup screens are accessed with the AUDIO and
FREQ buttons. Once on the desired screen, the value
is adjusted with the UP and DOWN arrow buttons.
To change a transmitter’s setting via the RM/E, select
the screen and value, then press the SEND button
while holding the speaker close to the microphone.
The speaker should be uncovered and held within a
few inches of the transmitter’s microphone. The lon-
gest usable range is about 6 feet, depending on the
microphone and volume settings used.
Only the specific function displayed is altered. For
example, if the remote control is on the Aud (audio
level/gain) screen, pressing the send button will set
the gain on the transmitter but will not affect any other
setting.
Setup Screens
The AUDIO button cycles through 4 screens:
1) Aud - set transmitter’s audio level
2) SLEEP/unSLP - cause transmitter to sleep or wake
up
3) Loc/unLoc - lock or unlock transmitter’s buttons
4) Loud - adjust RM/E speaker volume
(press SEND button for a sa mple tone)
5) Pr - Transmit outpit power (only in SM & SMVs)
The FREQ button cycles through 2 or 3 screens,
depending on the settings:
1) CH - set transmitter’s channel
(using block-independent hex code)
2) b - select a block number
(optional — uncovers next page)
3) 000.000 - set transmitter’s frequency in MHz
(avail. if a block is selected)
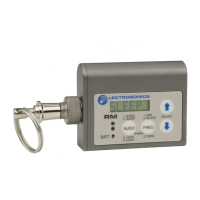
A single AA Lithium battery will operate
the RM/E for up to several years.
Unscrew the knurled knob for access to
the battery compartment.