SMB/EO1 Series
LECTROSONICS, INC.
8
Operating Instructions
Power Up and Boot Sequence
1) Ensure that good batteries are installed in the
unit.
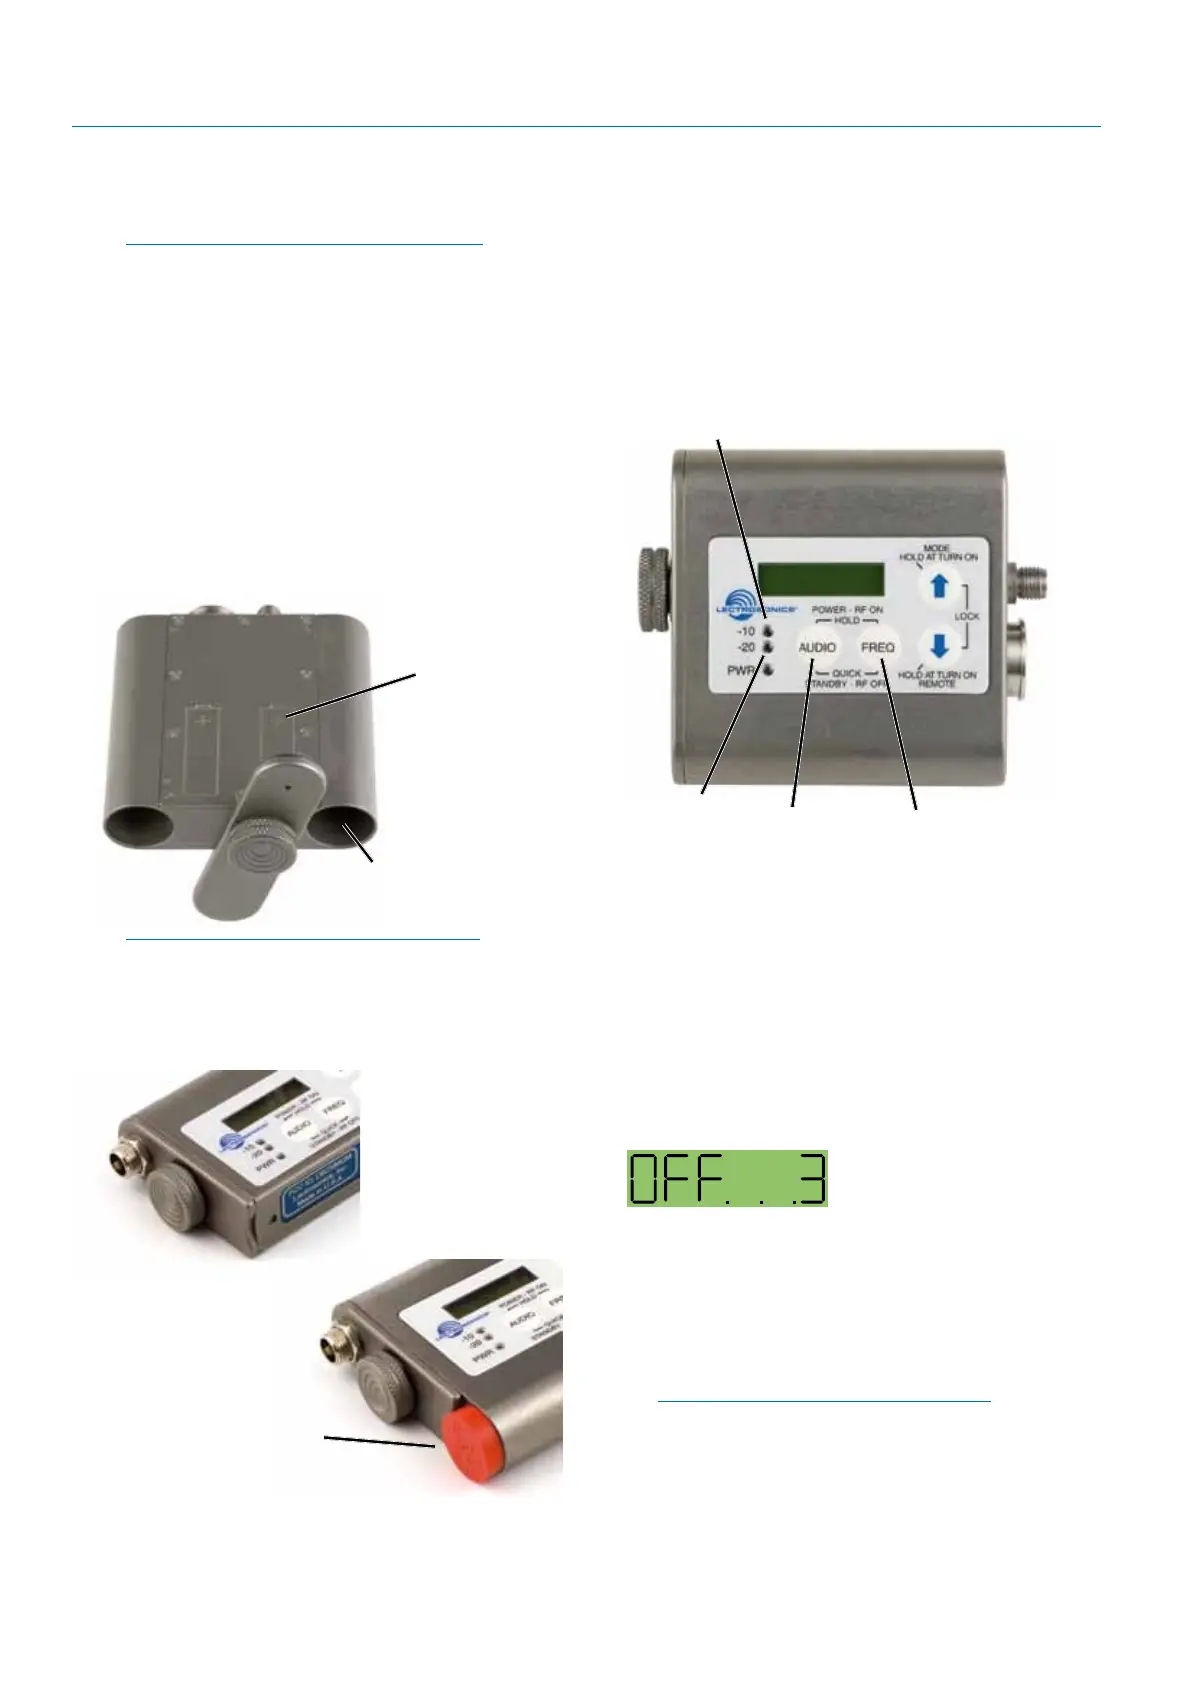
2) Simultaneously press and hold the AUDIO and
FREQ buttons until the Power On Boot Sequence
is initiated. As the unit turns on, the Modulation
LEDs and PWR LED all glow red, then green, and
then revert to normal operation.
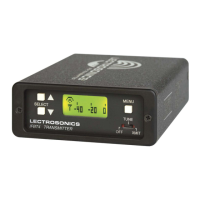
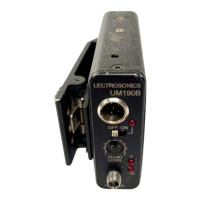
AUDIO
Button
FREQ
Button
Modulation LEDs
PWR LED
The LCD displays a bootup sequence which con-
sists of four screens similar to these examples:
Company Name: Lectro
Frequency Block (bXX) and
Firmware Version (rX.X): b21r1.1
Power Level Pr 50
Compatibility Mode: CP Hbr
Audio: Aud 22
Power Down
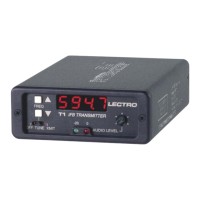
Initial Power Off
Timer Screen
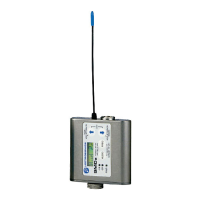
1) Simultaneously press and hold the AUDIO and
FREQ buttons while observing that the word OFF
appears in the LCD along with a counter.
2) Continue holding the buttons in until the counter
reaches 0, and the unit will then turn off.
Note: If the AUDIO and FREQ buttons are
released before the LCD goes blank at the
end of the countdown, the unit will not turn off.
Instead, it will stay energized and the display will
return to the previous screen.
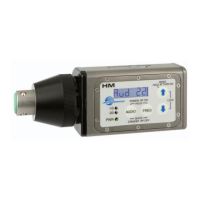
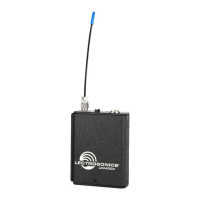
Battery and Battery
Eliminator Installation
Note: Standard zinc-carbon batteries marked
“heavy-duty” or “long-lasting” are not
adequate.
The battery status circuitry is designed for the voltage
drop over the life of lithium batteries.
To install new batteries:
1. Turn the Battery Cover Plate Thumbscrew coun-
terclockwise a few turns until the door will rotate.
2. Insert the new batteries into the housing. The
positive (+) battery terminal goes into the
transmitter first.
3. Align the Battery Cover Plate and tighten the Bat-
tery Cover Plate Thumbscrew.
Insert (+) tip first
on both models
Polarity is
shown on the
back cover
of the dual
battery model
NOTE: Refer to the previous section entitled
Configuring for Power Restore
To install the battery eliminator, loosen the thumb-
screw completely and remove the battery door. Insert
the battery eliminator and tighten the thumbscrew.
Install plastic cap on dual
battery model to cover the
open battery compartment.