GR30/GM30/GR50, Equipment Setup
48
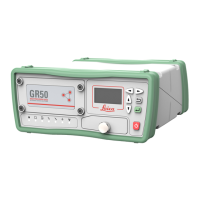
GR50 setup in a
non-DHCP network
using display and
buttons
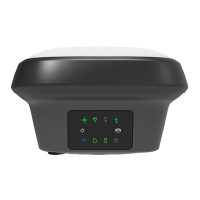
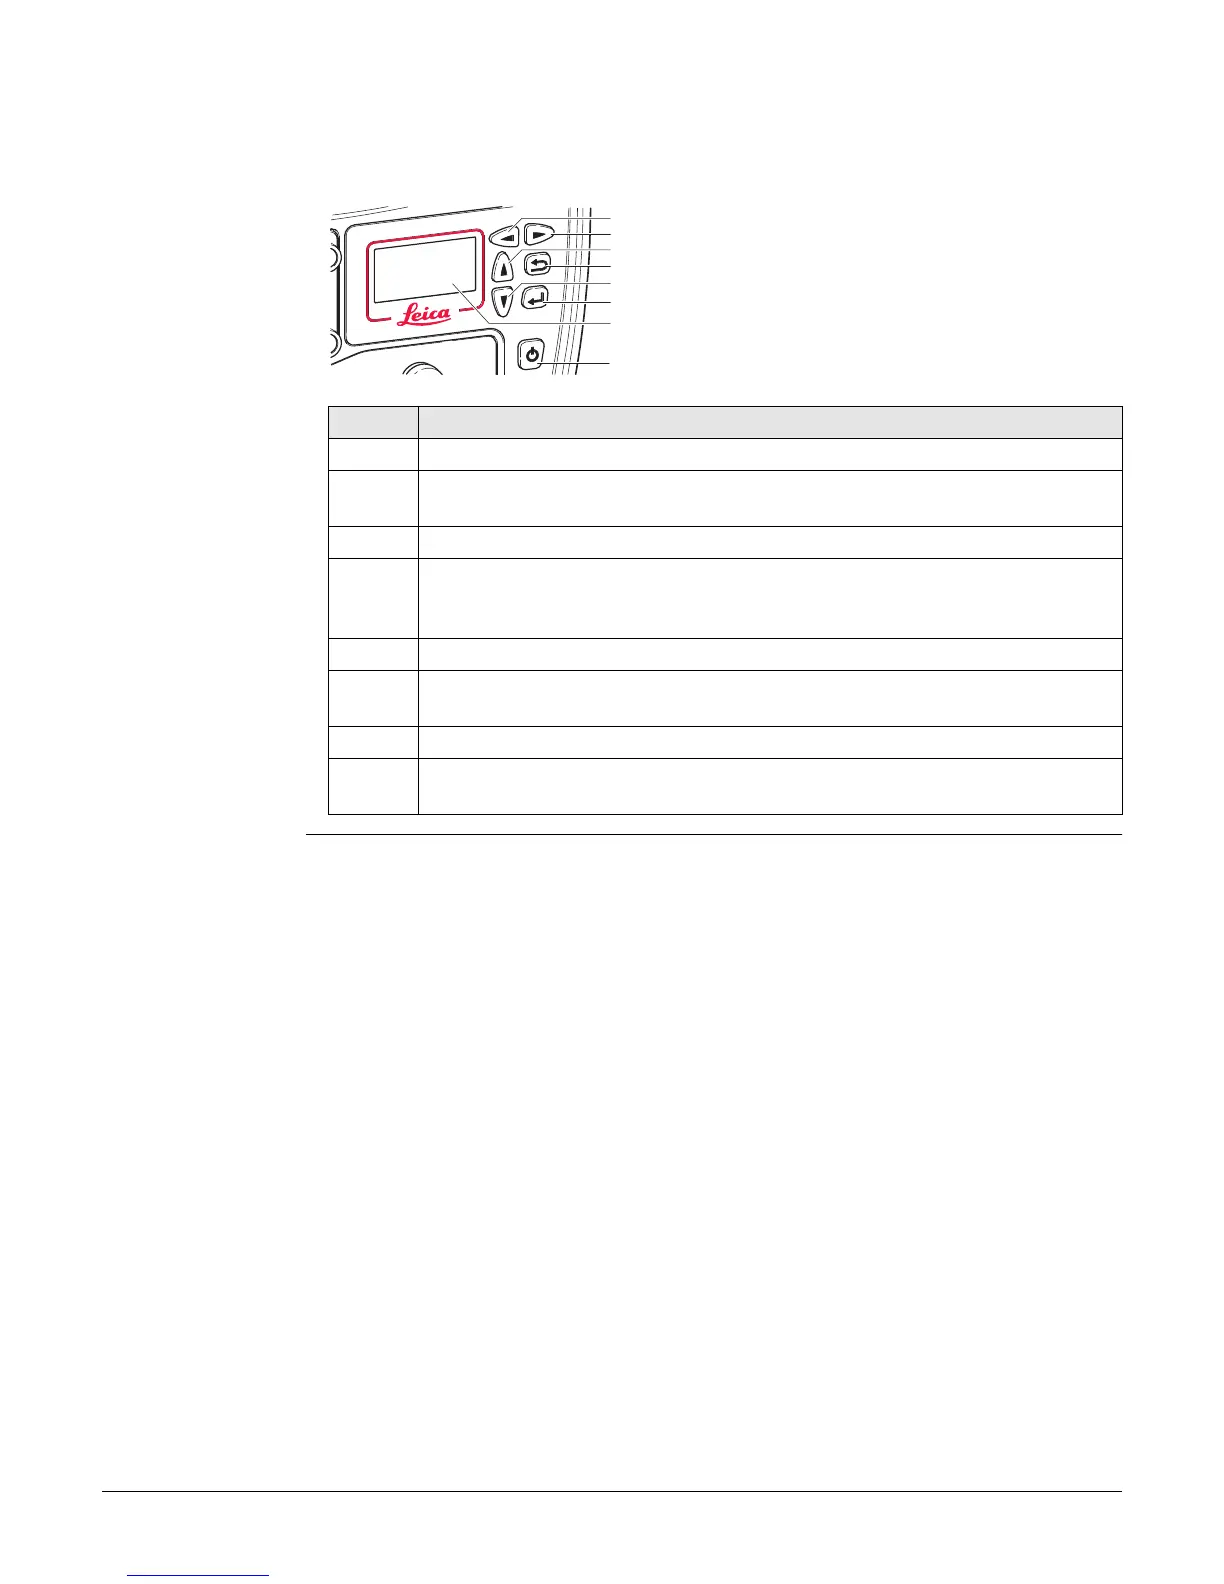
In a field campaign the GR50 can be configured through the display and buttons, to
start or stop pre-configured data streams and logging sessions.
For initial setup, the GR50 IT configuration for setup in a non-DHCP network can be
done through the display and buttons.
a) Left button
b) Right button
c) Up button
d) Cancel button
e) Down button
f) Enter button
g) Display
h) ON/OFF button
Step Description
1. Turn on the GR50.
2. Use the arrow buttons, go to Configuration, Site Config. Enter the coor-
dinates, antenna type and site code.
3. Press Enter to store all changes.
4. Use the arrow buttons go to Configuration, Network Config. Enter the IP
address, Subnet mask and gateway of the network to connect the instru-
ment to.
5. Press Enter to store all changes.
6. For a field campaign setup, select Logging/Streaming and start or stop
pre-configured data streams and logging sessions.
7. Press Enter to store all changes.
8. Refer to the "GR Series Operational Manual (Online Help) for further details
on using the instrument.
GR25_003
a
b
c
d
e
f
h
g
 Loading...