42
Version 2.0, Revision I
Instrument Setup
4
1
3
2
4
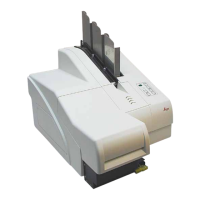
Fig. 34
3. Open the hood (→ "Fig. 34-1"), then press the CLEAN and LOADED
keys control panel (→ "Fig. 37-1") simultaneously.
4. The print head (→ "Fig. 35-2") moves upward to a position approx. 1 cm away from the sealing
lip (→ "Fig. 35").
5. Raise the lever (→ "Fig. 35-1"), then remove the black transport plate (→ "Fig. 35-3") and insert
the replacement plate (→ "Fig. 36-1") required for printing.
1
3
2
Fig. 35