44
Version 2.0, Revision I
Instrument Setup
4
1
3
2
4
5
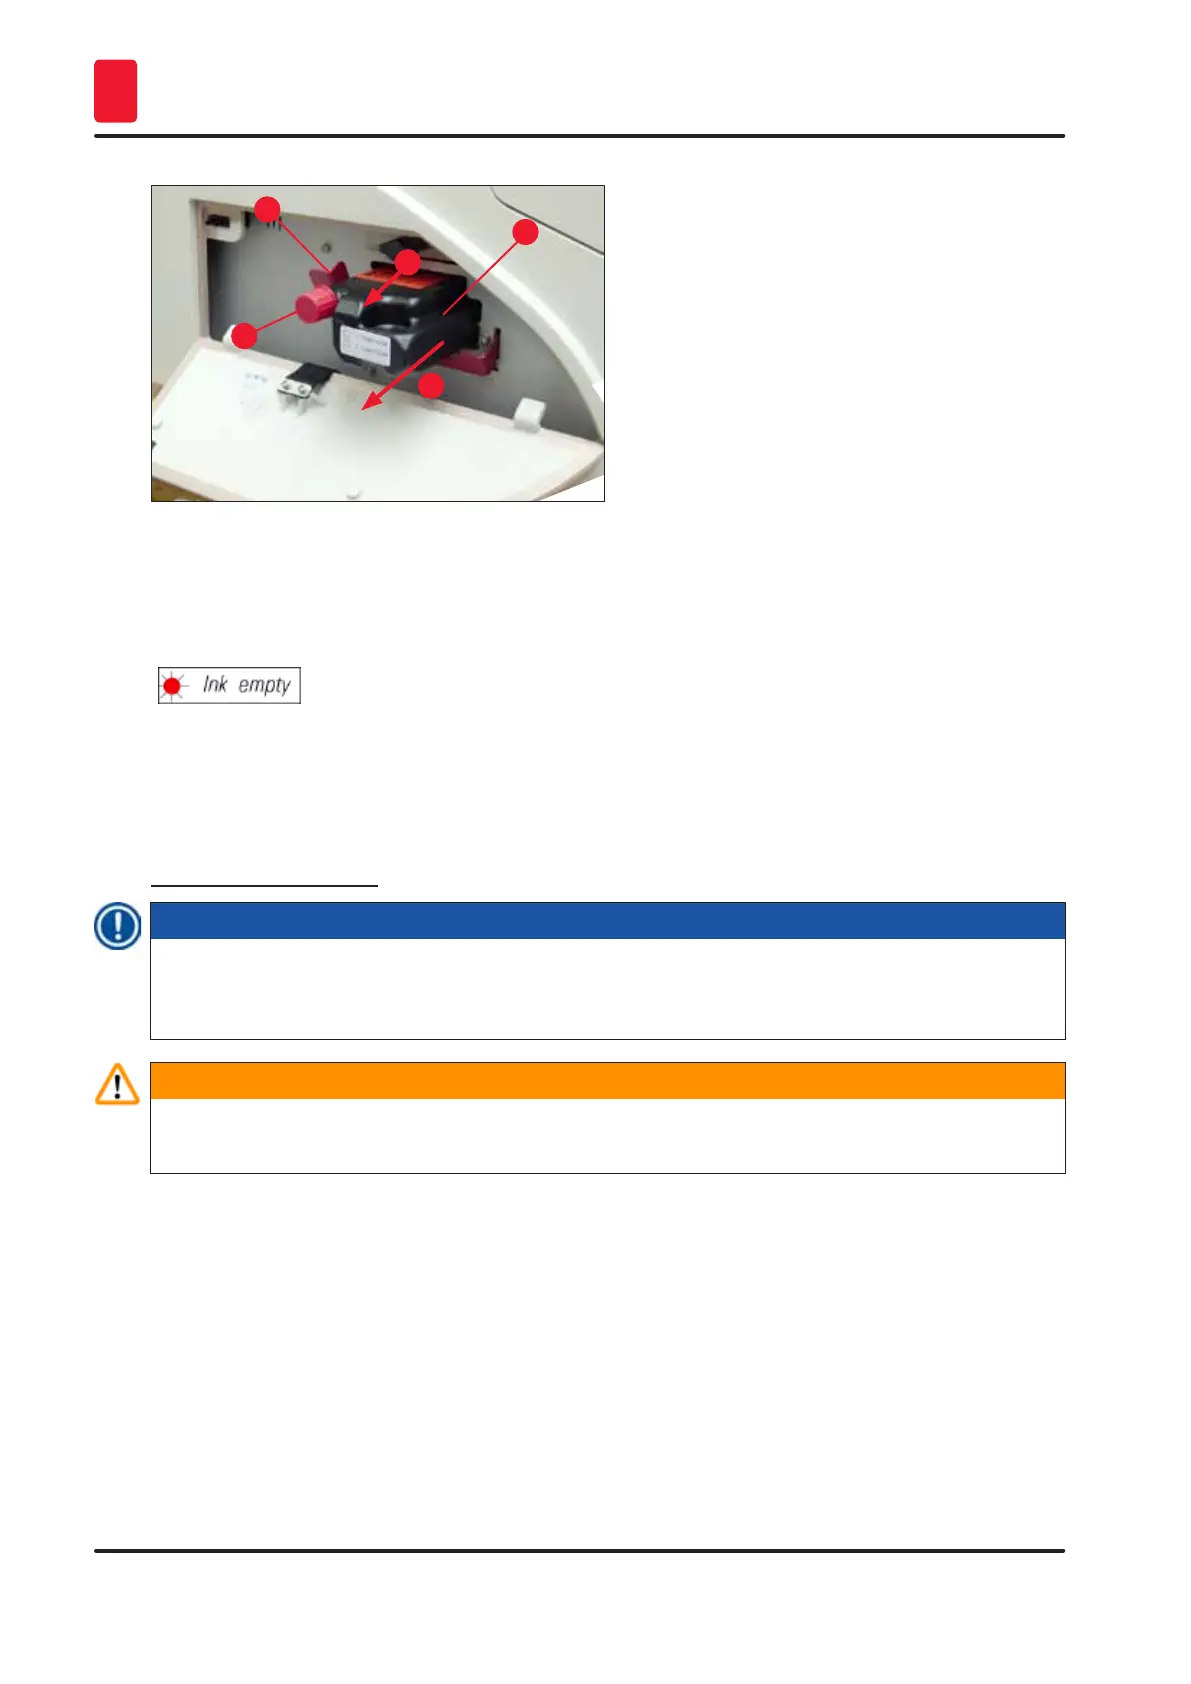
Fig. 38
L The activation of a sensor in the cartridge slot blocks all functions so that no air is sucked into
the ink system.
12. The INK EMPTY indicator LED lights up and remains on.
Store the removed transport cartridge in a sealed container. The cartridge is full and can be
used twice more to clean the print head. The expiration date can be found on the red label.
Inserting the ink cartridge
Note
• In this instruction, an example of how to insert the ink cartridge is shown using the Leica IP S
printer. This also applies to the Leica IP C printer.
• Follow the information on the flag attached to the ink cartridge.
Warning
The ink cartridge has to be replaced after 3.5 months at the latest or after 60,000 prints. On the white
surface on the front side of the ink cartridge, note the date when the ink cartridge was installed.
1. Take a new ink cartridge from the carton and remove the plastic packaging.
2. Carefully shake the ink cartridge 2 to 3 times.
3. Pull the red retaining bracket (→ "Fig. 39-1") forward and insert the new ink cartridge about
halfway into the slot (→ "Fig. 39-2").
4. Open the red protective cap (→ "Fig. 39-3") one turn counterclockwise.