23
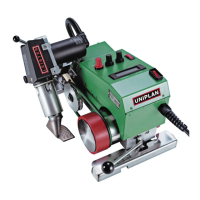
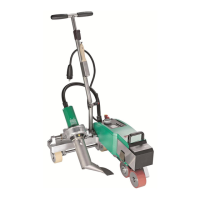
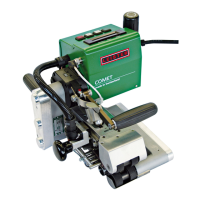
Adjust the welding pressure by turning the
adjustment screw (10) as shown in Diagram A.
Adjust the pressure in accordance with the
welding instructions of the material manufacturer.
Tighten the locking screw (11) by hand.
Caution:
If the maximum welding pressure of
1000 N is exceeded, mechanical damage
can result.
Observe the scale on the machine!
4
5
Diagram A
Welding pressure
Step
max. welding pressure 1000 N
[
N
]
1000
900
800
700
600
500
400
300
200
100
1234561234
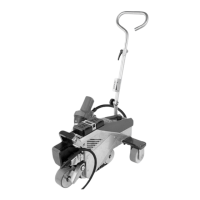
11
10
Welding pressure
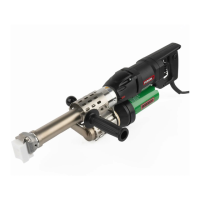
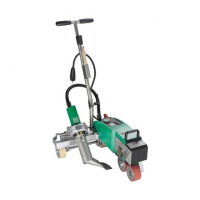
Press the lever locking mechanism (12) to the side and at the same time rotate the lever for welding
pressure (9) upwards. Manually loosen the locking screw (11). Using the adjusting screw for welding
pressure (10) adjust the clamping arm (31) to maximum opening. Tension the clamping arm (31) using
the lever for welding pressure (9).
Insert the test strips (lower and upper membranes) of the material to be welded between the lower
drive/pressure roller (20) and the upper drive/pressure roller (21).
Turn the adjustment screw (10) until the drive/pressure rollers (20/21) lightly touch the material to be
welded.
Press the lever locking mechanism (12) to the side and at the same time rotate the lever for welding
pressure (9) upwards. Remove the test strip.
9
9
12
11
31
31
21
20
10
10
A B
A
A
B
11
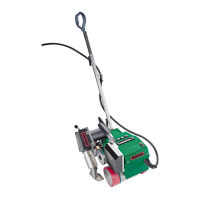
Adjustment of the welding parameters
4
5
1 TURN 600 N
1 STEP 100 N
PRESSURE