27
• Adjust welding parameters (see page 23, 24).
• The hot wedge temperature must be reached.
•
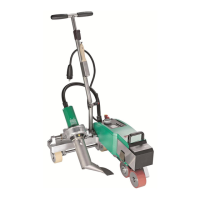
Guide and position the automatic welding machine into the over-lapped geomembrane liner or film.
• Switch on drive motor with key on keyboard (4)
• Engage the hot wedge (7).
• Apply pressure to the lever for welding pressure (9).
Start of welding process
• Check the welded seam (welded bead / weld path).
If required, correct the speed with the keys on the keyboard (4).
•
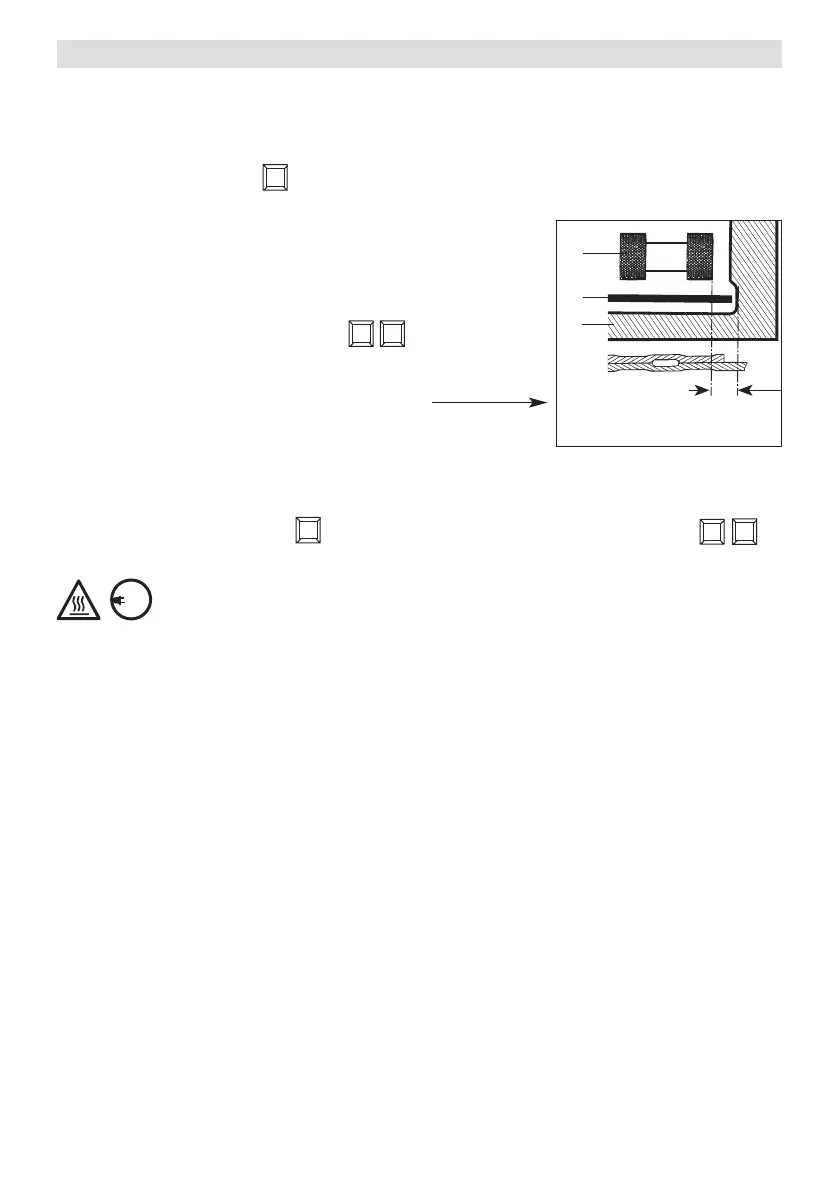
The automatic welding machine is guided along the overlap with the
guide handle (13), so that the frontal width of the overlap is kept
within the 20 mm / 0,8 inch zone
(see diagram B).
End of welding process
•
1 cm before the end of the welded seam release the tension lever (9) and pull the hot wedge (7) out
of the overlap and lift up.
• Switch off the drive motor with key on the keyboard (4). Switch off the heating with the keys
(press both at the same time) on the keyboard (4).
After completion of the welding work, allow the hot wedge (7) to cool down and remove the
power supply cord from the mains socket.
Diagram B
21
15
23
Max. frontal
width of overlap 20 mm
M
+–
M
H
+
Welding procedure for tunnel construction, groundworks and hydraulic engineering
230
400