26
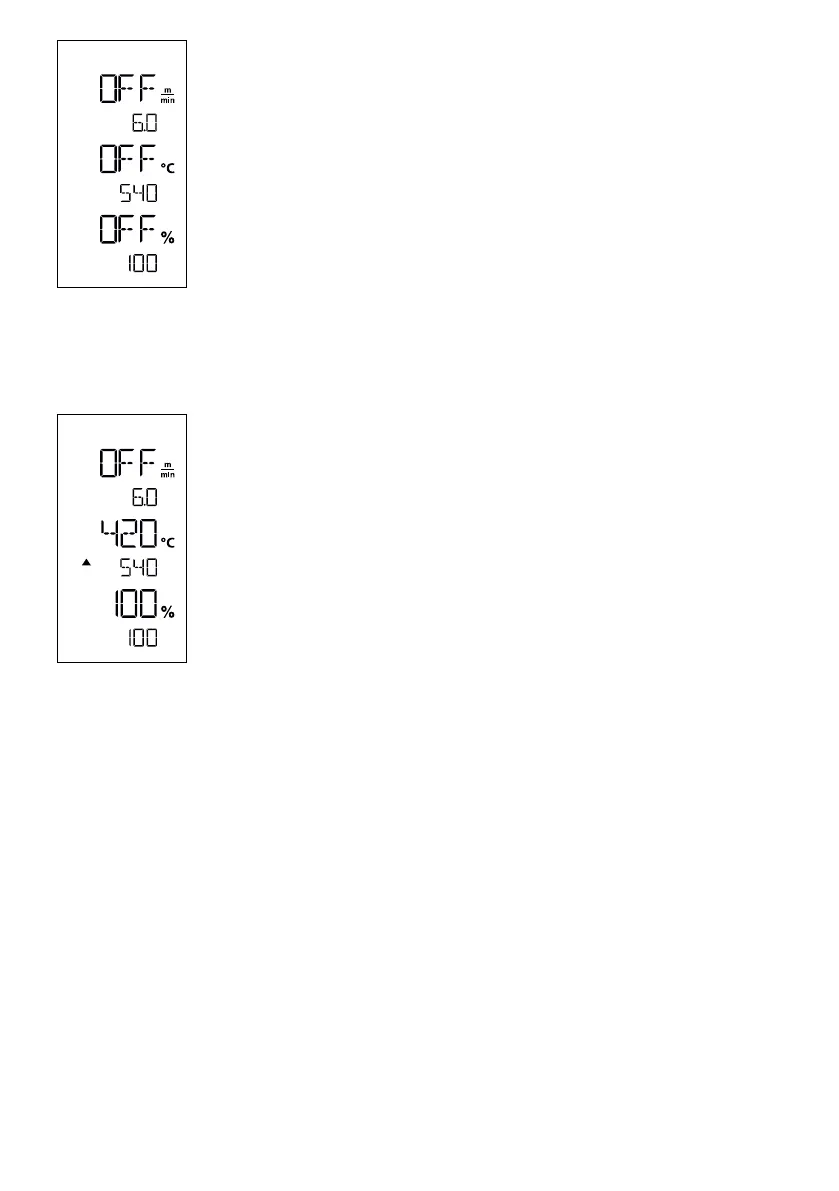
If the drive is switched o, then the welding parameters for temperature, air volume, and
speed are set as follows in the display fields (44):
Using the Confirm key (42), you can move the cursor to the desired parameter.
Use the Plus / Minus keys (41/43) to set the value of the selected parameter.
When the drive is switched on, the welding parameters are set in the same way and
transferred immediately. The cursor automatically switches back to the drive speed row 5
seconds after the entry has been made.
• As soon as you have turned on the heating, you will see a dynamic display of the
current air temperature (setpoints and actual values).
• Make sure that the welding temperature has been reached before commencing work
(the heat-up time is three − five minutes).
• Slightly fold the top piece of material behind the contact pressure roller. This ensures
that the nozzle can be inserted between the two pieces of material.
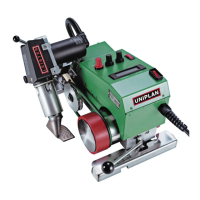
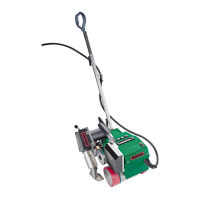
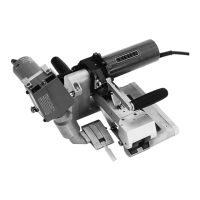
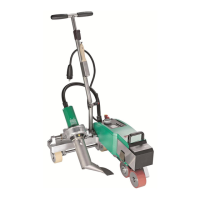
Commencing welding
• Rotate the lever to engage the nozzle (10); the hot-air blower (9) is lowered automatically and the welding
nozzle is inserted between the two pieces of material.
• The drive motor automatically starts as soon as the hot-air blower (9) is engaged.
You can also start the device manually with the Drive "On/O" key (39).
Guiding the device during the welding process
Use the housing to guide the hot-air welder along the overlap, constantly monitoring the position of the overlap
guide roller (18).
When welding with the hot-air welder, do not force the welder along the seam, lest this causes welding defects.
Welding sequence
Welding preperation
 Loading...