18
Fig. 5.7 is the simple installation process of wired controller; please pay
attention to the following items:
(1) Before installation, please cut off the power for indoor unit.
(2) Pull out the two-core twisted pair from the installation hole on wall, and then
pull this wire through the " ” shape hole at the rear side of Soleplate of wired
controller.
(3)Stick the bottom plate of wired controller on the wall and then use Self-tapping
Screw ST3.9X25 MA to fix Soleplate and installation hole on wall together.
(4) Connect two-core twisted pair to H1 and H2 wiring column and then fix the
screws.
(5) Set two-core into the groove at left side of wiring column, and then bundle
panel and Soleplate of wired controller together.
Note: If the wire size of the selected communication line is too large, you can peel
some sheath layer of communication wire to satisfy installation requirements.
Installation way two :
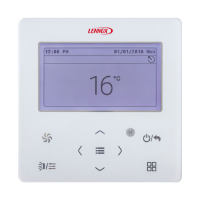
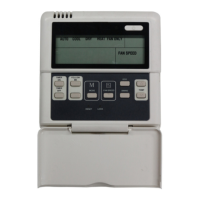
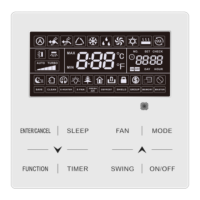
Wired Controller VEWCL1B
 Loading...