10.Ifyouareinstructedtoreturntheolddiagnosticmodule,followallpackaginginstructionsanduseany
packagingmaterialsthataresuppliedtoyouforshipping.
Whattodonext:
•Toworkwithanotherpieceofhardware,gototheappropriatesection.
•Tocompletethereplacement,goto“Completingthepartsreplacement”onpage184
.
Replacingthediagnosticmoduleforservermodelswith2.5-inchharddiskdrives
Attention:Donotopenyourserverorattemptanyrepairbeforereadingandunderstanding“Safetyinformation”
onpageiiiand“Guidelines”onpage75.
Toreplacethediagnosticmoduleforservermodelswith2.5-inchharddiskdrives,dothefollowing:
1.Removeallmediafromthedrivesandturnoffallattacheddevicesandtheserver.Then,disconnectall
powercordsfromelectricaloutletsanddisconnectallcablesthatareconnectedtotheserver.
2.Iftheserverisinstalledinarackcabinet,removetheserverfromtherackcabinetandplaceitonaflat,
clean,andstatic-protectivesurface.SeetheRackInstallationInstructionsthatcomeswiththeserver.
3.Removetheservercover.See“Removingtheservercover”onpage77.
4.Removethefrontbezel.See“Removingandreinstallingthefrontbezel”onpage79.
5.Removethecoolingshroud.See“Removingandreinstallingthecoolingshroud”onpage82.
6.Locatethediagnosticmodule.See“Servercomponents”onpage31.
7.Removetheleftcage.See“Removingandreinstallingtheleftcage”onpage84.
8.Removethefrontpanelboard.See“Replacingthefrontpanelboard”onpage165.
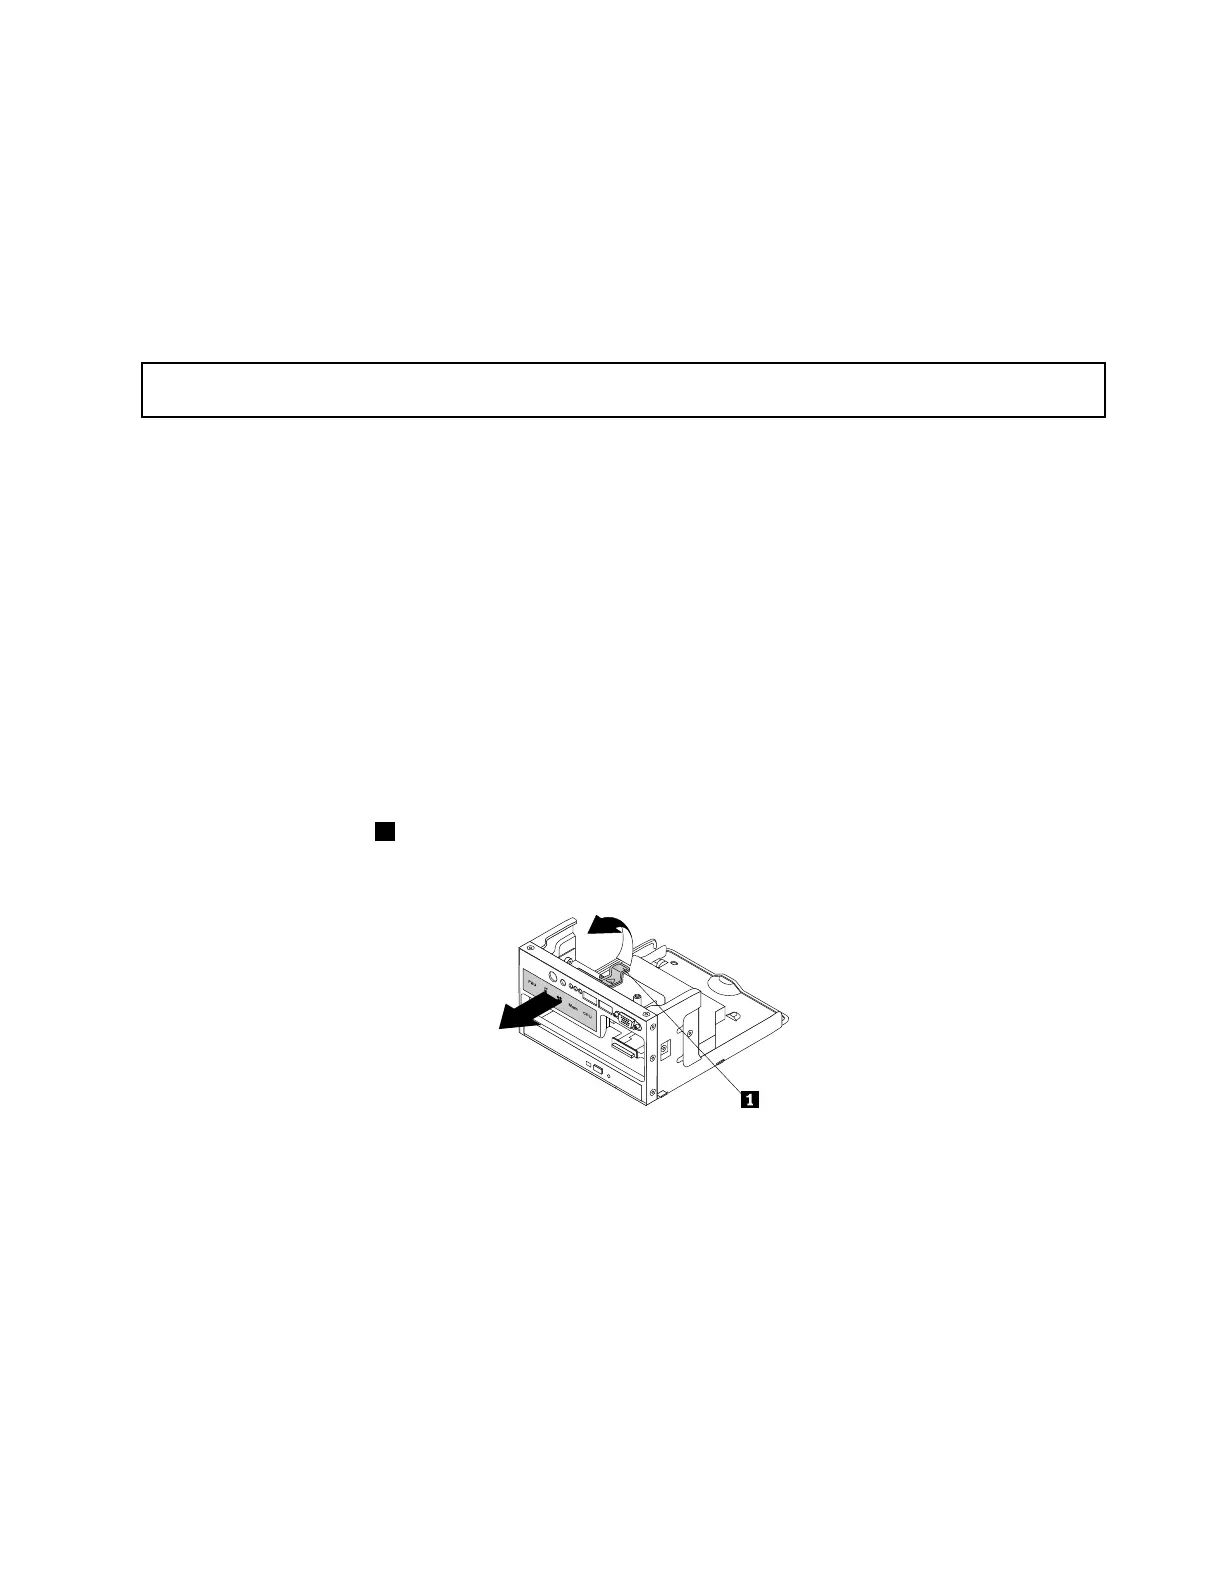
9.Disconnectthecablefromtherearofthediagnosticmodule.
10.Pressthereleasetab1inthedirectionasshownandthenpushthediagnosticmoduleoutofthe
frontoftheleftcage.
Figure142.Removingthediagnosticmodulefromtheleftcageofservermodelswith2.5-inchharddiskdrives
11.Touchthestatic-protectivepackagethatcontainsthenewdiagnosticmoduletoanyunpaintedsurface
ontheoutsideoftheserver.Then,takethenewdiagnosticmoduleoutofthepackage.
Chapter6.Installing,removing,orreplacinghardware171