Lewmar Swing Thruster Product and Installation Manual ref 500146 iss.3 | 7
Trim the sawn-out section of hull until it is a good fit against
the angled surface formed as above. Adjust the hatch with filler,
so it fits perfectly in opening. When the hatch is in place in the
opening, the outside of the hatch at the forward edge must be
at least 1 mm higher than the outside of the hull. The aer edge
and sides of the hatch must be flush with the outside of the hull.
Locate the hatch provisionally using rapid-curing filler. Check
that the hatch is centred in the opening when the thruster is
retracted. The hatch must be adjusted to the tunnel, so that the
hatch is no thicker than 5-7 mm where the ends of the tunnel lie
against the hatch.
A stainless square washer is included, and this is to be glassed in as a stop for the brace. It may be necessary to
glass a projection onto the hull in the centre of the brace to ensure that the motor is at the correct angle in the
retracted position.
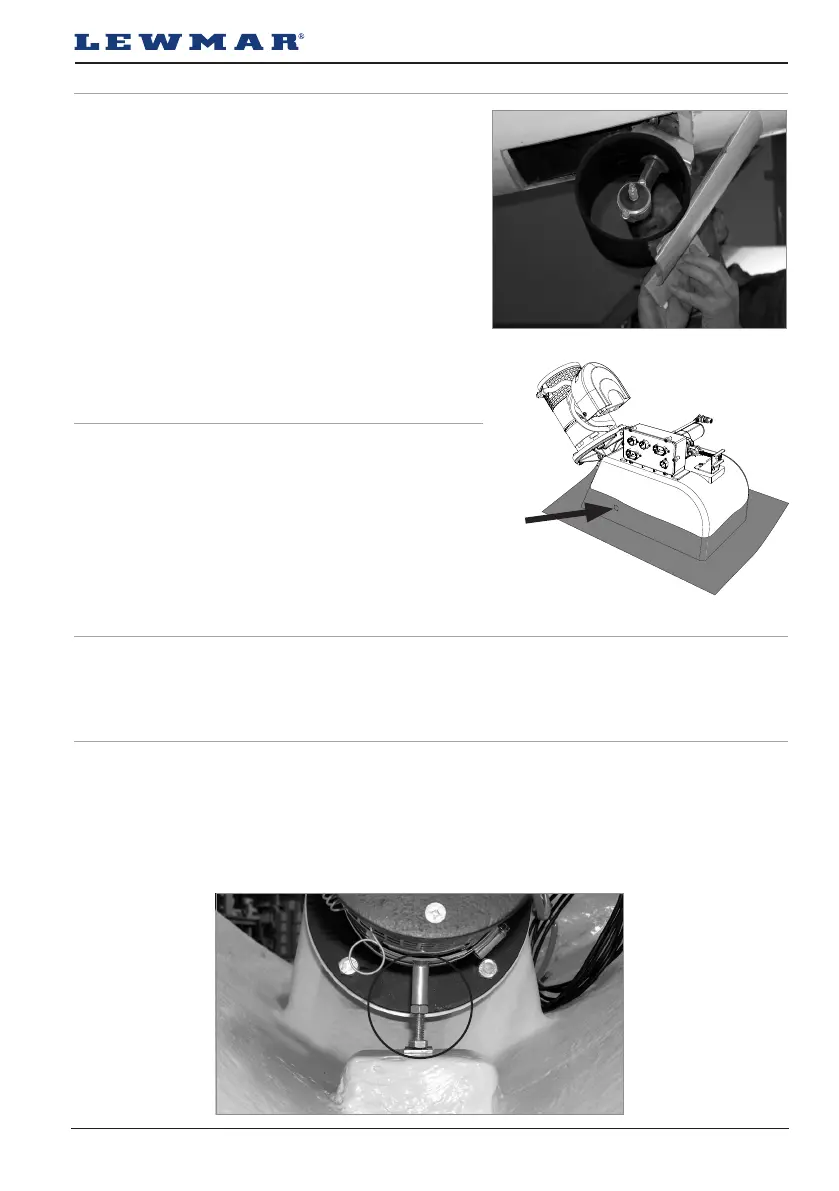
To adjust the length of the brace: Retract the thruster. Check that the hatch is lying against the lip, and does not
stand proud of the hull. Then tighten the screw until its head touches the washer on the lip. Lock the nut.
NB! On the model 250, the lip must be moulded by the installer/boatbuilder.
3.5 Install the hatch
Consult the boat designer on the number of layers and the method to
be used. The lamination must not be less than 6 layers and must be
tapered, starting with 1x300gm mat and then 5x600gm.
To prepare the box, sand the area to be laminated and then clean with
solvent.
On the sides and the rear of the box, lamination should cover at least
100mm up the box and cover over the coach bolt heads. On the front
of the box, lamination should go up to a point just below the hinge.
3.6 Glass in the finished box, and
the tunnel to the hatch
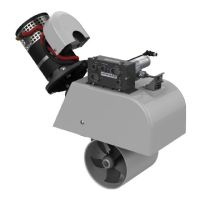
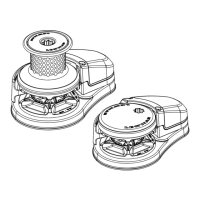
Check that the shear pin on the motor goes into the channel in the sha. Turn the motor slowly forward and back
to find the correct position. Insert the bolts and washers on the motor.
3.7 Install the drive sha and motor assembly
3.8 Brace