1
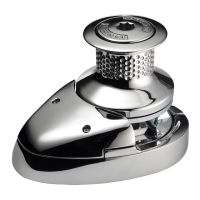
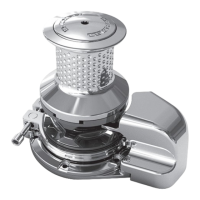
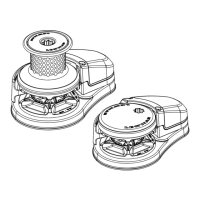
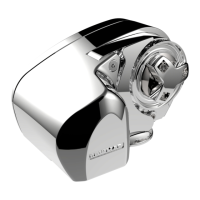
ro-Series & Pro-Fish Windlass
As a pru
ent act of seamans
ip, anc
or recovery operations
re
uire the undivided attention of ski
er and crew to
reven
personal in
ur
or damage to the vessel.
In a t
pical anchor recover
situation, the windlass will pass
throu
h a number of o
erational
hases.
3.1 Safet
fi rs
To avoi
persona
injuries ensure t
at
im
s, fi ngers an
c
ot
ing
are
ept c
ear of t
e anc
or ro
e an
win
ass
uring operation.
A
ways ensure t
at t
ere are no swimmers or
ivers near
y w
en
ropping your anc
or
3.2 U
e of clutch on Pro-Serie
To ti
hten the clutch - usin
the Installation Tool & Clutch Leve
su
lied, rotate the clutch nut (1) clockwise, this will
ri
the
gypsy, effective
y
oc
ing it to t
e win
ass gear train.
To s
ac
en t
e c
utc
- turn t
e nut antic
oc
wise, t
is wi
free
t
e gypsy a
owing it to turn in
epen
ent
y of t
e win
ass gear
train. A
ways remove t
e
an
e after use.
3.3 U
e of clutch on Pro-Fi
h freefall
Pr
D
WN
n f
r 2
n
n
il
h
n
h
r i
n
r
freefall. (Note: Pressin
the DOWN button for 5+ seconds will
result in a lon
er clutch re-en
a
ement time durin
the next UP
comman
. If using a rope
c
ain ro
e, motor astern to create
t
e
esire
scope
Once scope
as
een create
press t
e UP
utton continuous
y
unti
freefa
stops. It norma
y ta
es severa
secon
s to fu
y
re-engage t
e interna
c
utc
mec
anism,
oc
ing t
e win
ass.
Fai
ure to
o t
is cou
resu
t in rope
c
ain creeping out. Press
the UP button continuousl
to recover the anchor
3.4 Letting go under gravit
Insert t
e c
utc
ever into t
e c
utc
nut
1
an
turn it c
oc
wise
to ensure t
at t
e c
utc
is tig
t. Re
ease any in
epen
ent anc
o
oc
s. If it is safe to
o so, pu
ac
on t
e c
utc
ever unti
t
e
anchor and rode begin to pa
out. Control the rate of descent o
the anchor b
pushing the clutch lever forwards. When suffi cien
rode has been paid out, full
tighten the clutch nut once again.
3.5 Lett
ng go un
er power
Re
ease any in
epen
ent anc
or
oc
s. If it is safe to
o so,
et
go un
er power
y operating a
own contro
. Re
ease t
e contro
w
en suffi cient ro
e
as
een pai
out.
3.6
ange Pro-F
s
to power
own mo
e
Lock the Pro-Fish Plun
er (38) in, usin
the Sto
er (41). The unit will
now function as a stan
ar
Pro-Series
3.7 Lying to anchor safel
Vesse
s at anc
or wi
snu
on t
e ro
e an
t
is can cause s
ippage or
apply excessive loads to the windlass.
For maximum safety and to prevent damage, the windlass must not be
l
f
k
h
n
ir
f
r
fr
m
h
n
h
r r
whil
n
h
r
Th
rode should be made fast directl
to a bollard, sampson post or cleat.
.8 Hau
ng
ntie t
e
ri
e or rep
ace t
e ro
e in t
e gypsy. If it is safe to
o
o, operate an ‘Up’ contro
. Having retrieve
t
e anc
or, ensure it
s in
epen
ent
y secure
to prevent its acci
enta
re
ease.
.9 Manua
recovery
nsert a standard 12 mm
”
drive ratchet into the socket
n the end of the Driveshaft (30). Usin
the ratchet, turn the
riv
h
f
l
kwi
.10 Operating tips
en anc
oring, it is
est to power t
e ro
e out, a
owing t
e
esse
to ta
e up stern way
efore fu
scope is
et out. T
is
e
ps
revent the rode from becoming tangled on top of
our anchor
n
h
o aid anchor recover
, we recommend that the vessel’s engine
e used to assist b
moving the vessel towards the anchor. We
o not recommend that the vessel be motored over and be
ond
e anc
or, as t
is can cause t
e ro
e to
amage your topsi
es.
s t
e anc
or approac
es t
e stem
ea
, t
e
ast few feet of
o
e s
ou
e inc
e
in
y ju
icious use of contro
s to avoi
amage to t
e vesse
. Having retrieve
t
e anc
or, ensure it is
ndependentl
secured to prevent accidental release. It is strongl
dvised to use an anchor safet
strap (Part No. 66840011), or a
hain sto
er (Part No. 2417301).
hen mooring stern to, at a suitable distance from the
ett
,
eplo
the anchor to prevent the bow from swinging. Gentl
pa
ut t
e ro
e un
er t
e infl uence of t
e stern way of t
e vesse
s it approac
es t
e jetty. Ma
e fast your vesse
wit
warps from
e stern.
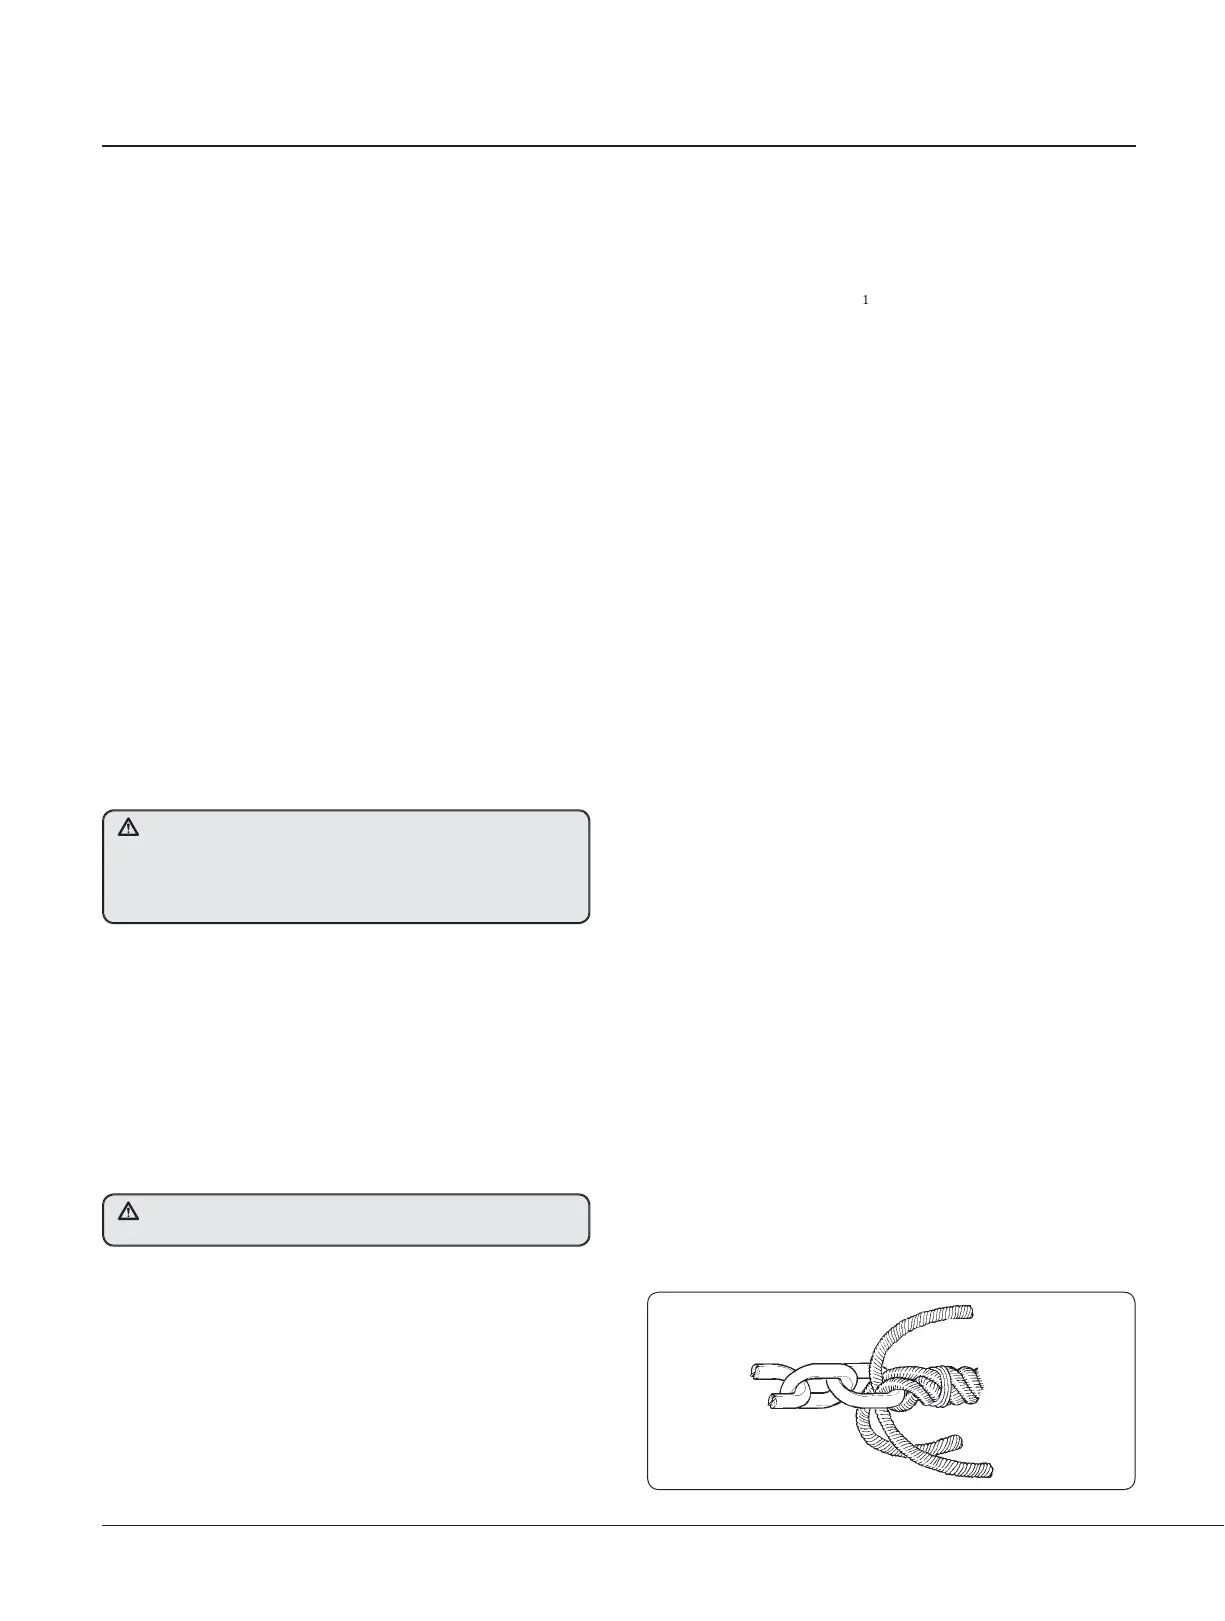
.11 Joinin
rope to chain
hen s
licin
ro
e to chain, select a len
th of chain that will
void having the splice positioned in the g
ps
when the anchor
omes over the stemhead. Furthermore, ensure that the s
lice
s no ti
hter than the ro
e. A hard s
lice is not desired.
ith whipping twine or similar, seize
our rope 200 mm (8”) from
e rope’s en
an
un
ay t
e stran
s.
ass one stran
t
roug
t
e c
ain
in
from one si
e an
t
e ot
er
wo stran
s from t
e opposite si
e. Remove seizing an
comp
ete
ac
sp
ice in t
e norma
manner for four fu
tuc
s.
it
a
ot
nife pare
own t
e t
ree stran
s
y one
a
f of t
eir
i
m
r
n
n
in
wi
w
f
r
r
ith a hot knife, carefull
melt the ends back into the line.
ecause of wide variations in rope t
pe and construction some
xperimentation ma
be required.
hi
the line with
ermanent whi
in
at the be
innin
of the
aper.
e a
ove met
o
of joining is
esigne
to minimize c
afe
etween t
e rope an
c
ain
ut as a matter of pru
ent seamans
ip
e sp
ice s
ou
e c
ec
e
regu
ar
y an
rema
e if t
ere is
ny evi
ence of wear.
i
. 3.
.
. Operating
our windlass
To ensure continuous freefall operation using rope
chain rode, it
is important that the rope is FREE
rom knots or hockles. To avoid
s pro
em we recommen
per
o
ca
y pay
ng out t
e ro
e w
st
motoring astern (in deep water) to unwind and knots or hockles
hat may be
resent
Isolate the windlass electrically and tie rode off to a secure fi xin
oint
rior to carryin
out o
eration 3.6.
 Loading...