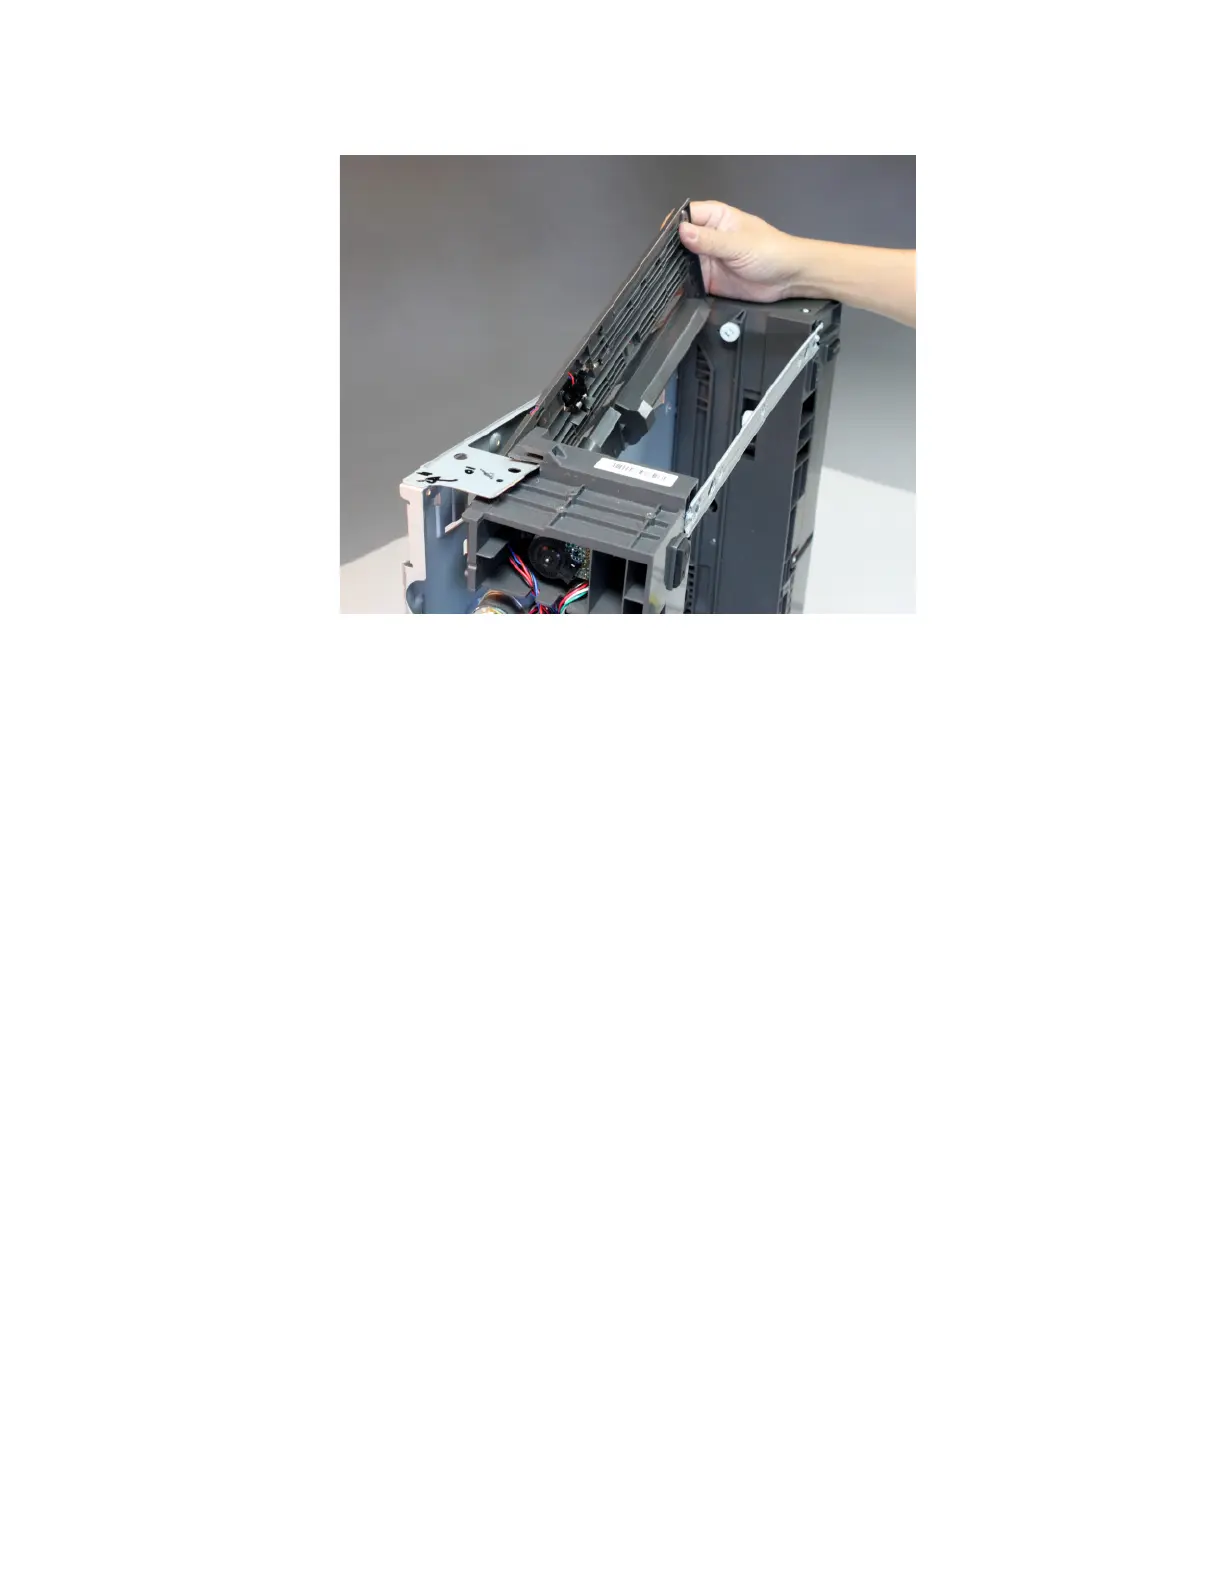
8 To access the cable, lift the left side of the top plate, and pull the sensor assembly away from the drawer.
Note: Pay attention to the original routing of the cable.
9 Route the sensor cable off the drawer, and remove the sensor.
High capacity input tray option removals (MX810, MX811, and
MX812)
• “HCIT and drawer assembly removal” on page 576
• “HCIT removal” on page 576
• “HCIT drawer assembly removal” on page 576
• “HCIT separator roll assembly removal” on page 577
• “HCIT media guide removal” on page 577
• “HCIT front cover removal” on page 578
• “HCIT pick arm assembly removal” on page 579
• “HCIT drawer assembly rear cover removal” on page 580
• “HCIT drawer assembly left cover removal” on page 580
• “HCIT drawer assembly right cover removal” on page 581
• “HCIT controller PCBA removal” on page 582
• “HCIT top cover assembly removal” on page 583
• “HCIT lift drive motor removal” on page 585
• “HCIT drawer assembly interface cable removal” on page 587
• “Sensor (HCIT closed) with flag removal” on page 588
• “Sensor (pick roll position) removal” on page 589
• “Sensor (HCIT pick) removal” on page 591
• “HCIT media feeder removal” on page 592
7463
Repair information
575



 To Next Page