DVR HOOKUP
27
Before Operation (Continued)
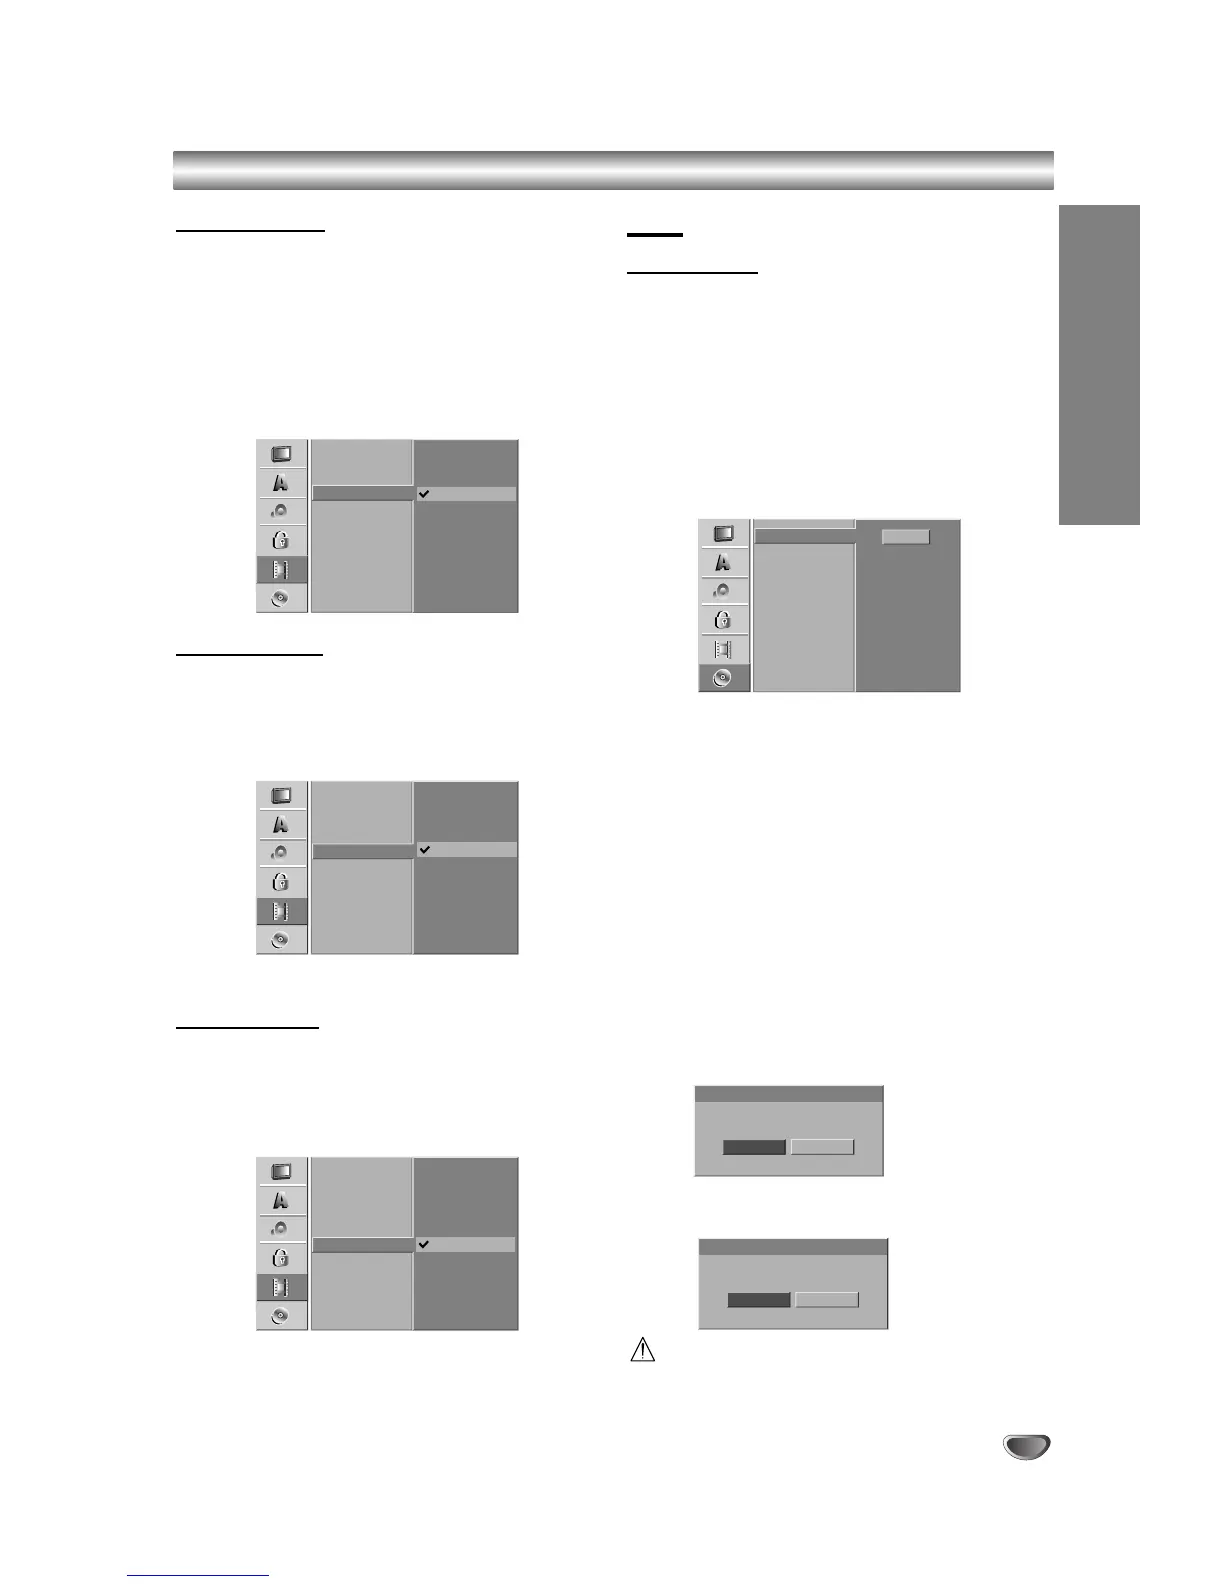
DV Rec Audio
You need to set this if you have a camcorder using
32kHz/12-bit sound connected to the front panel DV IN
jack.
Some digital camcorders have two stereo tracks for
audio. One is recorded at the time of shooting; the other
is for overdubbing after shooting.
On the Audio 1 setting, the sound that was recorded
while shooting is used.
On the Audio 2 setting, the overdubbed sound is used.
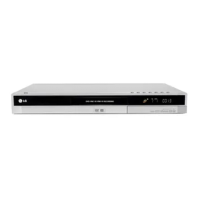
TV Rec Audio
When TV recording with bilingual, you can choose
audio channel to record.
Main+Sub: Main language and Sub language
Main: Main language only
Sub: Sub language only
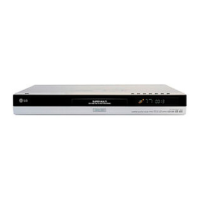
Auto Chapter
When recording, chapter markers are put in specified
setting. You can change this interval to 5 minutes,
10 minutes, or 15 minutes. If you select None, switch off
automatic chapter marking altogether with the No
Separation setting.
Disc
Disc Format
If you load a completely blank disc, the recorder will ini-
tialize the disc.
DVD-R: The recorder initialize the disc to Video mode.
The recording mode will always be Video mode.
DVD-RW: The recorder initialize the disc to VR mode.
DVD+R: The Initialize menu will appears. Select “Yes”
then press ENTER.
DVD+RW: The recorder initialize the disc to DVD+RW
mode.
Also, you can format the disc from the Setup menu as
below.
11
Press SETUP.
The Setup menu appears.
22
Use v / V to select the Disc option.
33
While the Disc option is selected, press B to
move to the second level.
44
Use v / V to select the Disc Format option.
55
Press B to move to the third level.
Start icon is highlighted.
66
Press ENTER.
Disc Format menu appears.
77
In case of DVD-RW, use b / B to select a desired
Disc Format Mode (VR Mode or Video Mode)
then press ENTER.
In case of DVD+RW, go to step 8.
88
Use b / B to select “Ok” then press ENTER.
It takes a few moments to format the disc.
Caution
If you want to change the disc format, everything
recorded on the disc will be erased.



 To Next Page