Adjusting the contrast
Contrast defines the difference between
light and dark in an image. A low contrast
image will appear foggy, whereas a high
contrast image will appear much sharper.
Slide the contrast indicator along the
bar, towards for a lower contrast,
hazier image, or towards for a higher
contrast, sharper image.
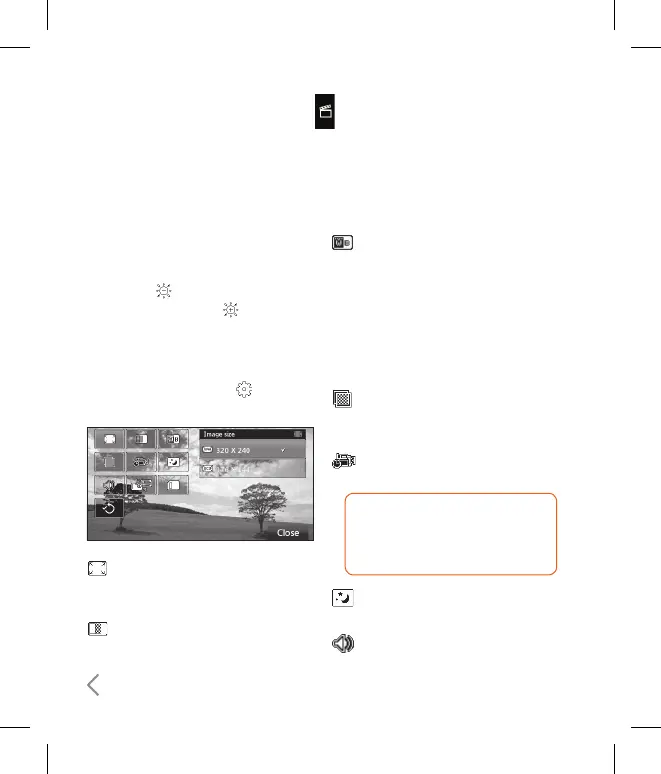
Using the advanced settings
From the viewfinder touch to open
all the advanced settings options.
Image size - Change the size of the
video to save on memory. See Changing
the video image size on page 67.
Image quality - Choose between
Super fine, Fine and Normal. The finer
the quality the sharper a video will be,
but the file size will increase as a result,
which means you’ll be able to store fewer
videos in the phone’s memory.
White balance
- The white balance
ensures that any white in your video
is realistic. In order for your camera
to correctly adjust the white balance
you may need to determine the
light conditions. Choose from Auto,
Incandescent, Sunny, Fluorescent or
Cloudy.
Colour tone - Choose a colour tone
to apply to the video you’re taking. See
Choosing a colour tone on page 68.
Duration - Choose Normal or limit
your video to fit in an MMS.
TIP! If you choose MMS duration,
try choosing a lower image quality
to enable you to shoot a longer
video.
Night mode - Choose between Off
and On.
Voice - Choose Mute to record
a video without sound.
Multimedia menu