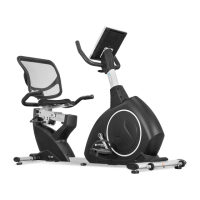
Step 6: Seat/Display Console/Pedals
Parts Required
Seat Bottom
Seat Back
Pedals
Display Console
Hardware Required
Part # Size Description Quantity
E-1 5/16 * 2 1/4 Hex Head Bolt 8
E-2 5/6 Lock Washer 8
E-3 M4 * 15 Phillips Head Screw 4
Seat Bottom
Note: The seat bottom comes with 2 sets of holes.
You may need to try both sets of holes to determine
which is more comfortable.
1. Locate the hardware bag for Step 6.
2. Place the seat bottom over the seat assembly
aligning the holes in the assembly with the
4 holes in the bottom of the seat.
3. Using four 12 mm hexagonal bolts and lock
washers secure the seat bottom to the
seat assembly.
Seat Back
1. Place the seat back over the seat assembly aligning the holes in the assembly with the
4 holes in the back of the seat back.
2. Using four 12 mm hexagonal bolts and lock washers secure the seat back to the
seat assembly.
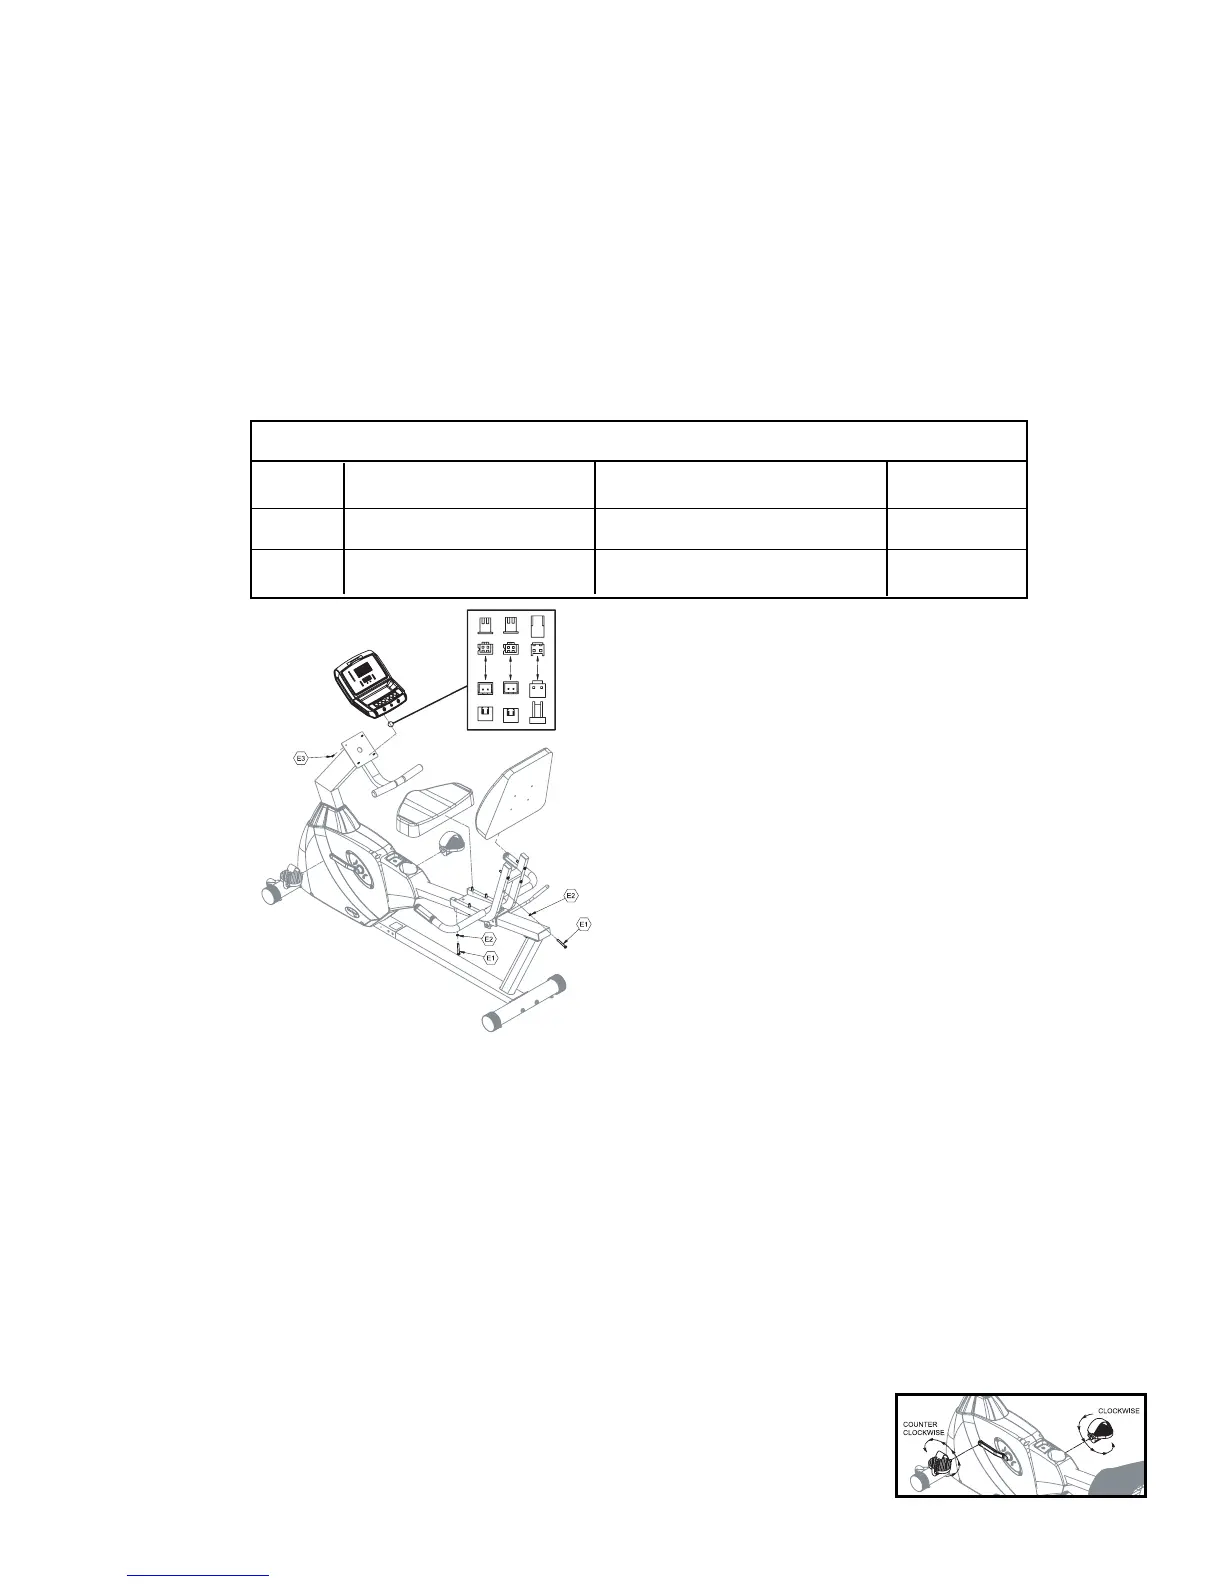
Display Assembly
1. Remove the wire tie from the display bracket and attach the connectors at the back of
the display.
2. Tighten the four Phillips head screws at the back of the display.
Install Pedals
1. Pay attention to make sure the Pedal with an “R” goes on the
right side. This pedal is screwed in clockwise. The Pedal
labeled “L” screws in counter clockwise.
2. Install the pedal straps.
14