25
1. Overview 2. Installation
3. Optional
Installation
9. SETUP AND OPERATION OF THE
FLEXMIKE AND TOPCAT
NOTE: This procedure is easier with two people.
1. Turn the Media Connector power
on. The blue LED on the Topcat
will glow.
2. Remove the Flexmike from
the charger. The Flexmike will
automatically power on and and
mute when it is removed from the
chager.
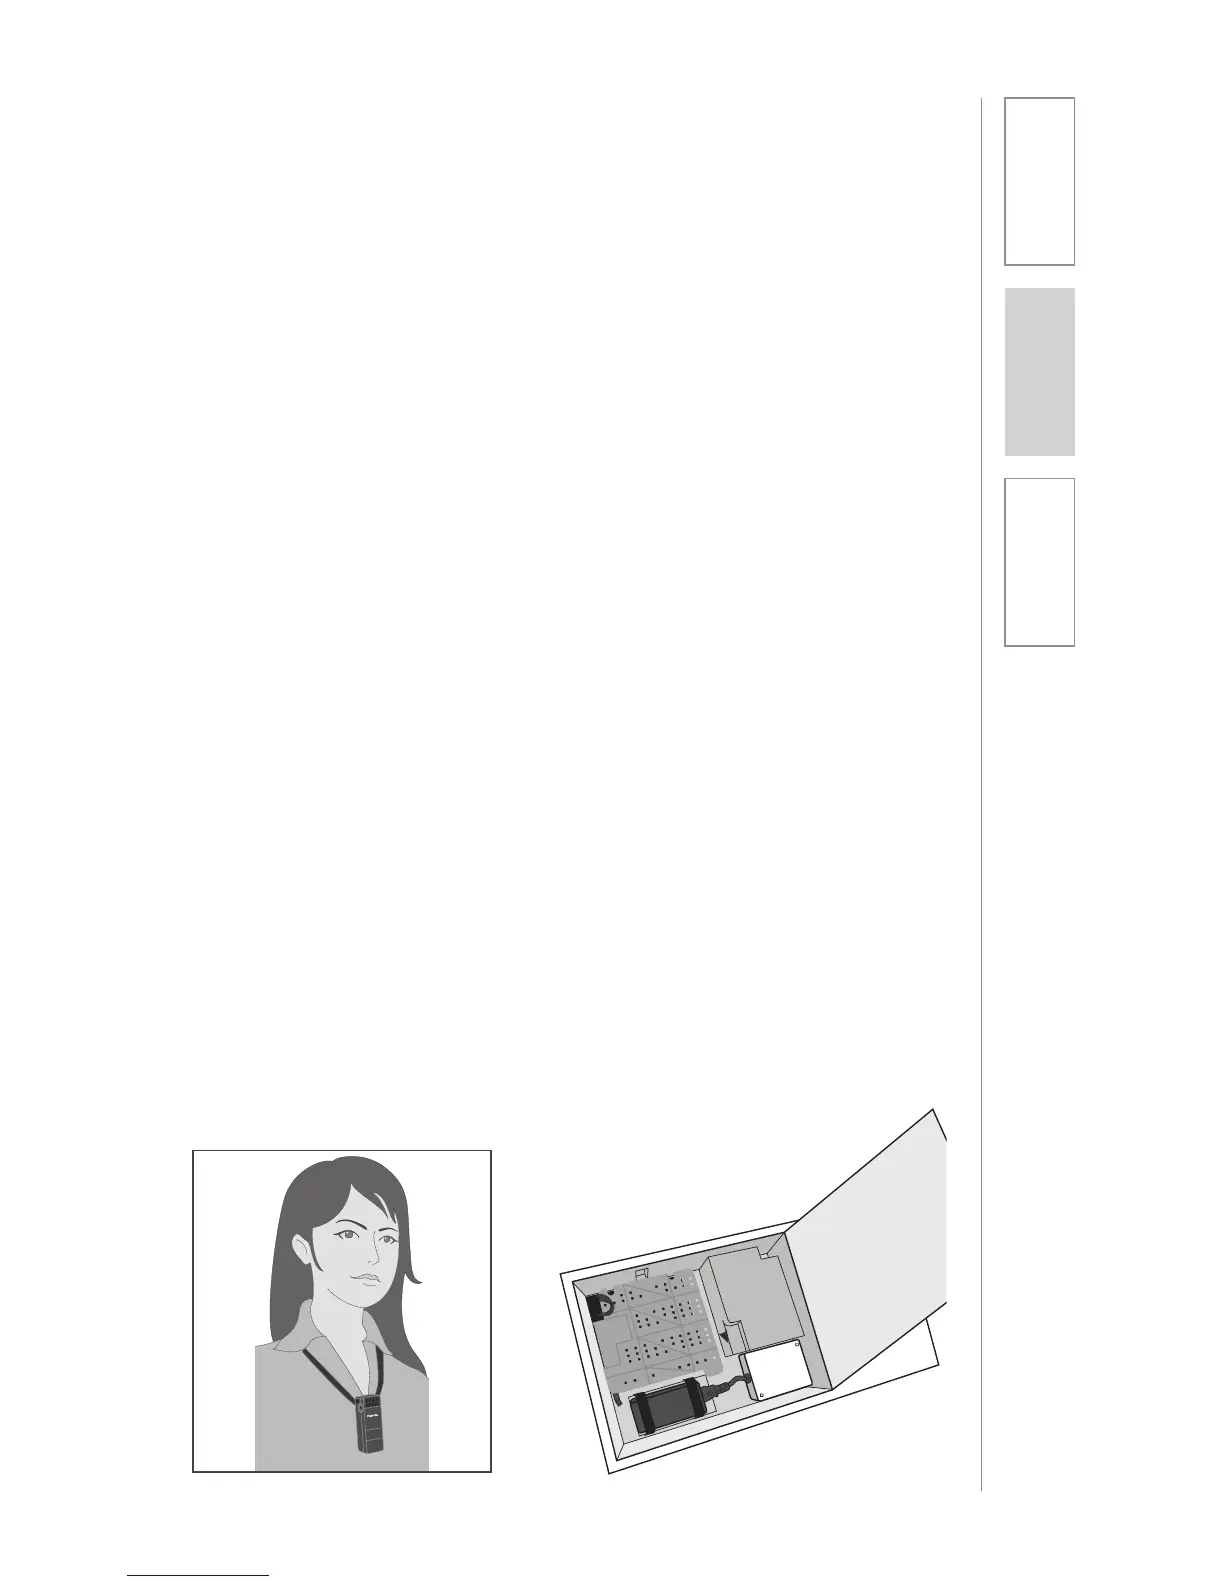
3. Slip the Flexmike with lanyard
around the neck by connecting
the magnetic clasps behind your
neck. Adjust the lanyard so that
top of the microphone is at the
collarbone.
4. Set the Flexmike volume to its
midpoint. Push the up arrow
button 7 times followed by
pushing the down arrow button
3 times. The Flexmike is at its
midpoint.
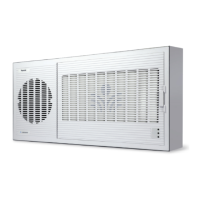
5. On occasion, it may be necessary
to adjust the audio level on the
Topcat upon installation to ensure
optimal levels. Open the speaker
door of the Topcat. Locate the
microphone volume pot and
use a flat blade screwdriver to
slowly adjust the volume of the
microphone so that the user can
barely hear their own voice while
speaking into the microphone.
REMEMBER: This equipment
supplements the user’s voice
so they are able to speak in a
conversational tone. Having the
volume set too high will result in
feedback and listener fatigue.
6. Once initial volume level is set,
walk around the room and listen
for audio dropout and overall
audio quality.
7. The teacher can now use the
controls on the Flexmike to adjust
the volume level from anywhere in
the room. The microphone volume
control has 3 steps up and 3 steps
down from the mid point (7 levels
total).
8. If a second Flexmike was
purchased, there is no need to
readjust the volume on the Topcat
as the volume is now set for both
michrophones.
9. If a Sharemike was purchased,
set the initial volume for the
Sharemike as it does not have
a volume control. Then adjust
the Flexmike to the appropriate
volume level by using the volume
adjustments on the side of the
Flexmike.