IS09 ECN2087
9
LIVE wire colour BROWN with terminal marked L
NEUTRAL wire colour BLUE with terminal marked N
EARTH wire colour GREEN/YELLOW with terminal marked E or
• Secure all wiring and connections.
• Replace the access panel.
• Electrically test the appliance.
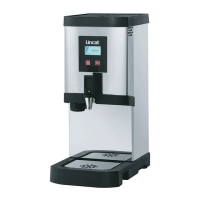
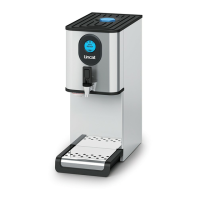
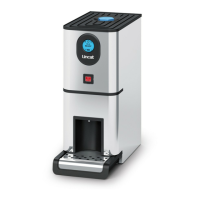
Commissioning the Appliance
• Remove all protective plastic coating.
• Check that the drain down valve is closed.
• Ensure that the upper and lower level sensors are in a vertical position.
• Ensure that all lids are fitted correctly.
• Ensure that the faucet is in the closed position.
• With all appropriate services connected turn on the water supply.
• Switch on the electricity supply. The illumination of the green neon will signify "power on"
to the appliance.
• The appliance will now begin to fill with water.
• Upon the water reaching the lower element sensor the solenoid will close and the element(s)
will begin to heat the water.
• Approximate heating times for the initial fill is: -
EB3 – 12 minutes EB4 – 9 minutes EB6 – 9 minutes
• After the initial fill allow a further 5 minutes after which approximately 1liter of hot water
will be available for use.
• Upon reaching maximum temperature the appliance will call for more water. This is the start
of the cycle.
• The appliance will continue to cycle until the water level reaches the upper level sensor.
• Approximate fill cycle times from the lower sensor to the upper sensor are: -
EB3 – 27 minutes EB4 – 32 minutes EB6 – 35 minutes
• Upon the water reaching the upper level sensor the appliance will switch into standby mode.
• As hot water is drawn off, the appliance will automatically begin to cycle until the water
reaches the upper level sensor.
Note to Installation Engineer
• Instruct the end user on the operating features of the appliance.
• Instruct the end user how to isolate all services in case of emergency.
• Instruct the end user on cleaning and de-scaling of the appliance.
• Advise the end user that these instructions should be retained for safekeeping.