9
Chapter 4: Connecting the Wireless-G Range Expander
Connection to a Wireless Network for Setup
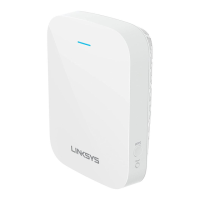
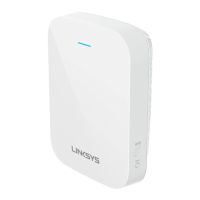
Wireless-G Range Expander
Connection to a Wireless Network for Setup
You should have the Range Expander in the same room as your access point or wireless router during
setup.
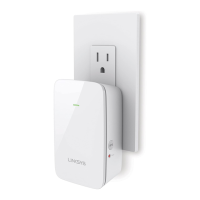
Connect the appropriate power plate and connect it to a power outlet, preferably a surge protector.
Proceed to “Chapter 5: Setting Up the Wireless-G Range Expander.”
Connection for Auto Configuration
You should have the Range Expander in the same room as your access point or wireless router during
setup.
1. Connect the appropriate power plate and connect it to a power outlet, preferably a surge protector.
2. Press the Range Expander’s Auto configuration button for five seconds. The Range Expander will
then automatically detect your wireless network and configure itself with those settings.
4. To move the Range Expander, unplug the power plate from the power outlet.
5. Locate an optimum location for the Range Expander. The best placement is usually at the edge of your
wireless network.
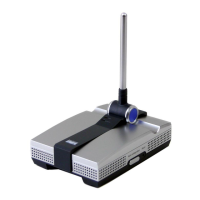
6. Fix the direction of the antenna. Try to place it in a position that will best cover your wireless network.
Normally, the higher you place the Range Expander’s antenna, the better its performance will be. Its receiving
sensitivity can be enhanced by proper Proper positioning of the antenna should enhance its receiving
sensitivity.
3. Connect the power plate to a power outlet, preferably a surge protector.
Congratulations! The installation of the Wireless-G Range Expander is complete.
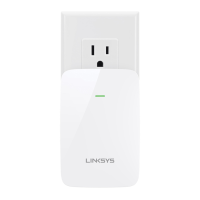
Figure 4-4: Using the Power Plate
with Cord
Figure 4-5: Using the
Power Plate with Plug
NOTE: Not for use
with UK-style
power plugs.
 Loading...